I’m now in a position to be working on various parts of the car at the same time, building the engine up as well as getting to work on the bonnet which has sat in storage for two years while I worked on the rest of the body.
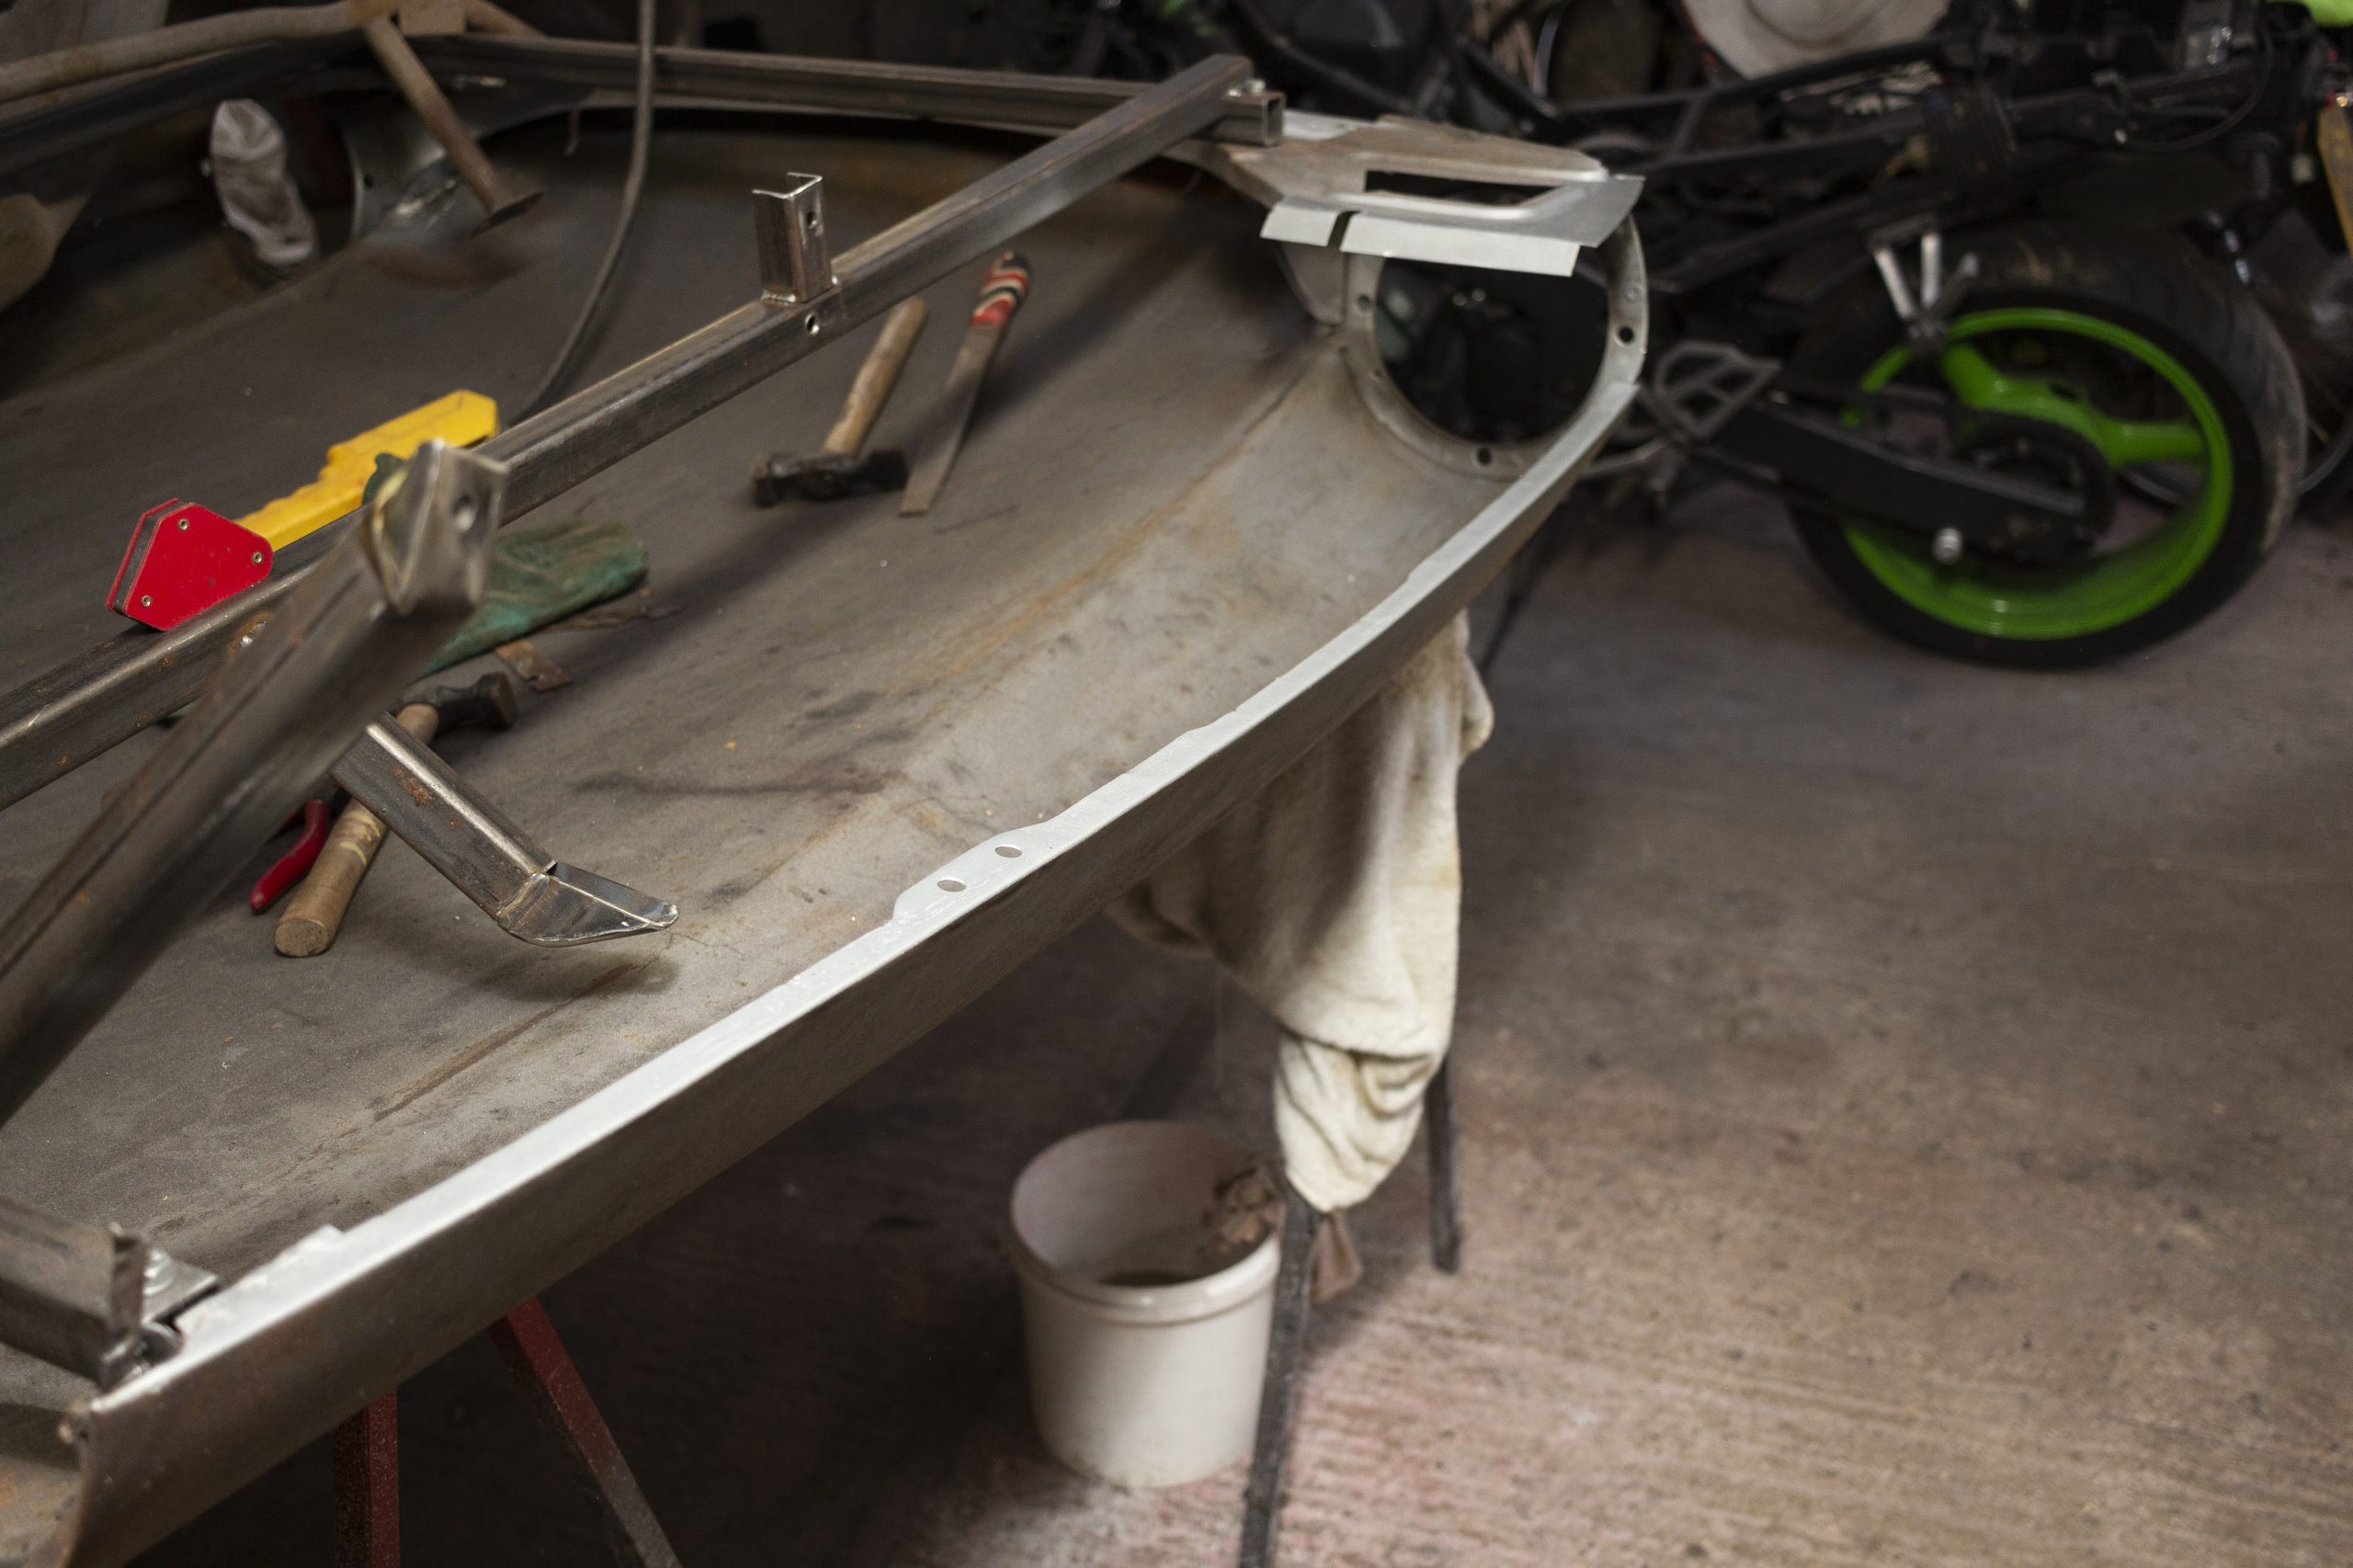
The bonnet, along with all the other panels was chemically dipped to remove all the paint and rust. It is quite badly rusted around the inner arches and wings, particularly along the seams, so my plan was to replace all those panels, both sides. Since it’s such a large proportion of the car and defines much of its shape, I decided to build a jig to keep all the replacement panels in check.
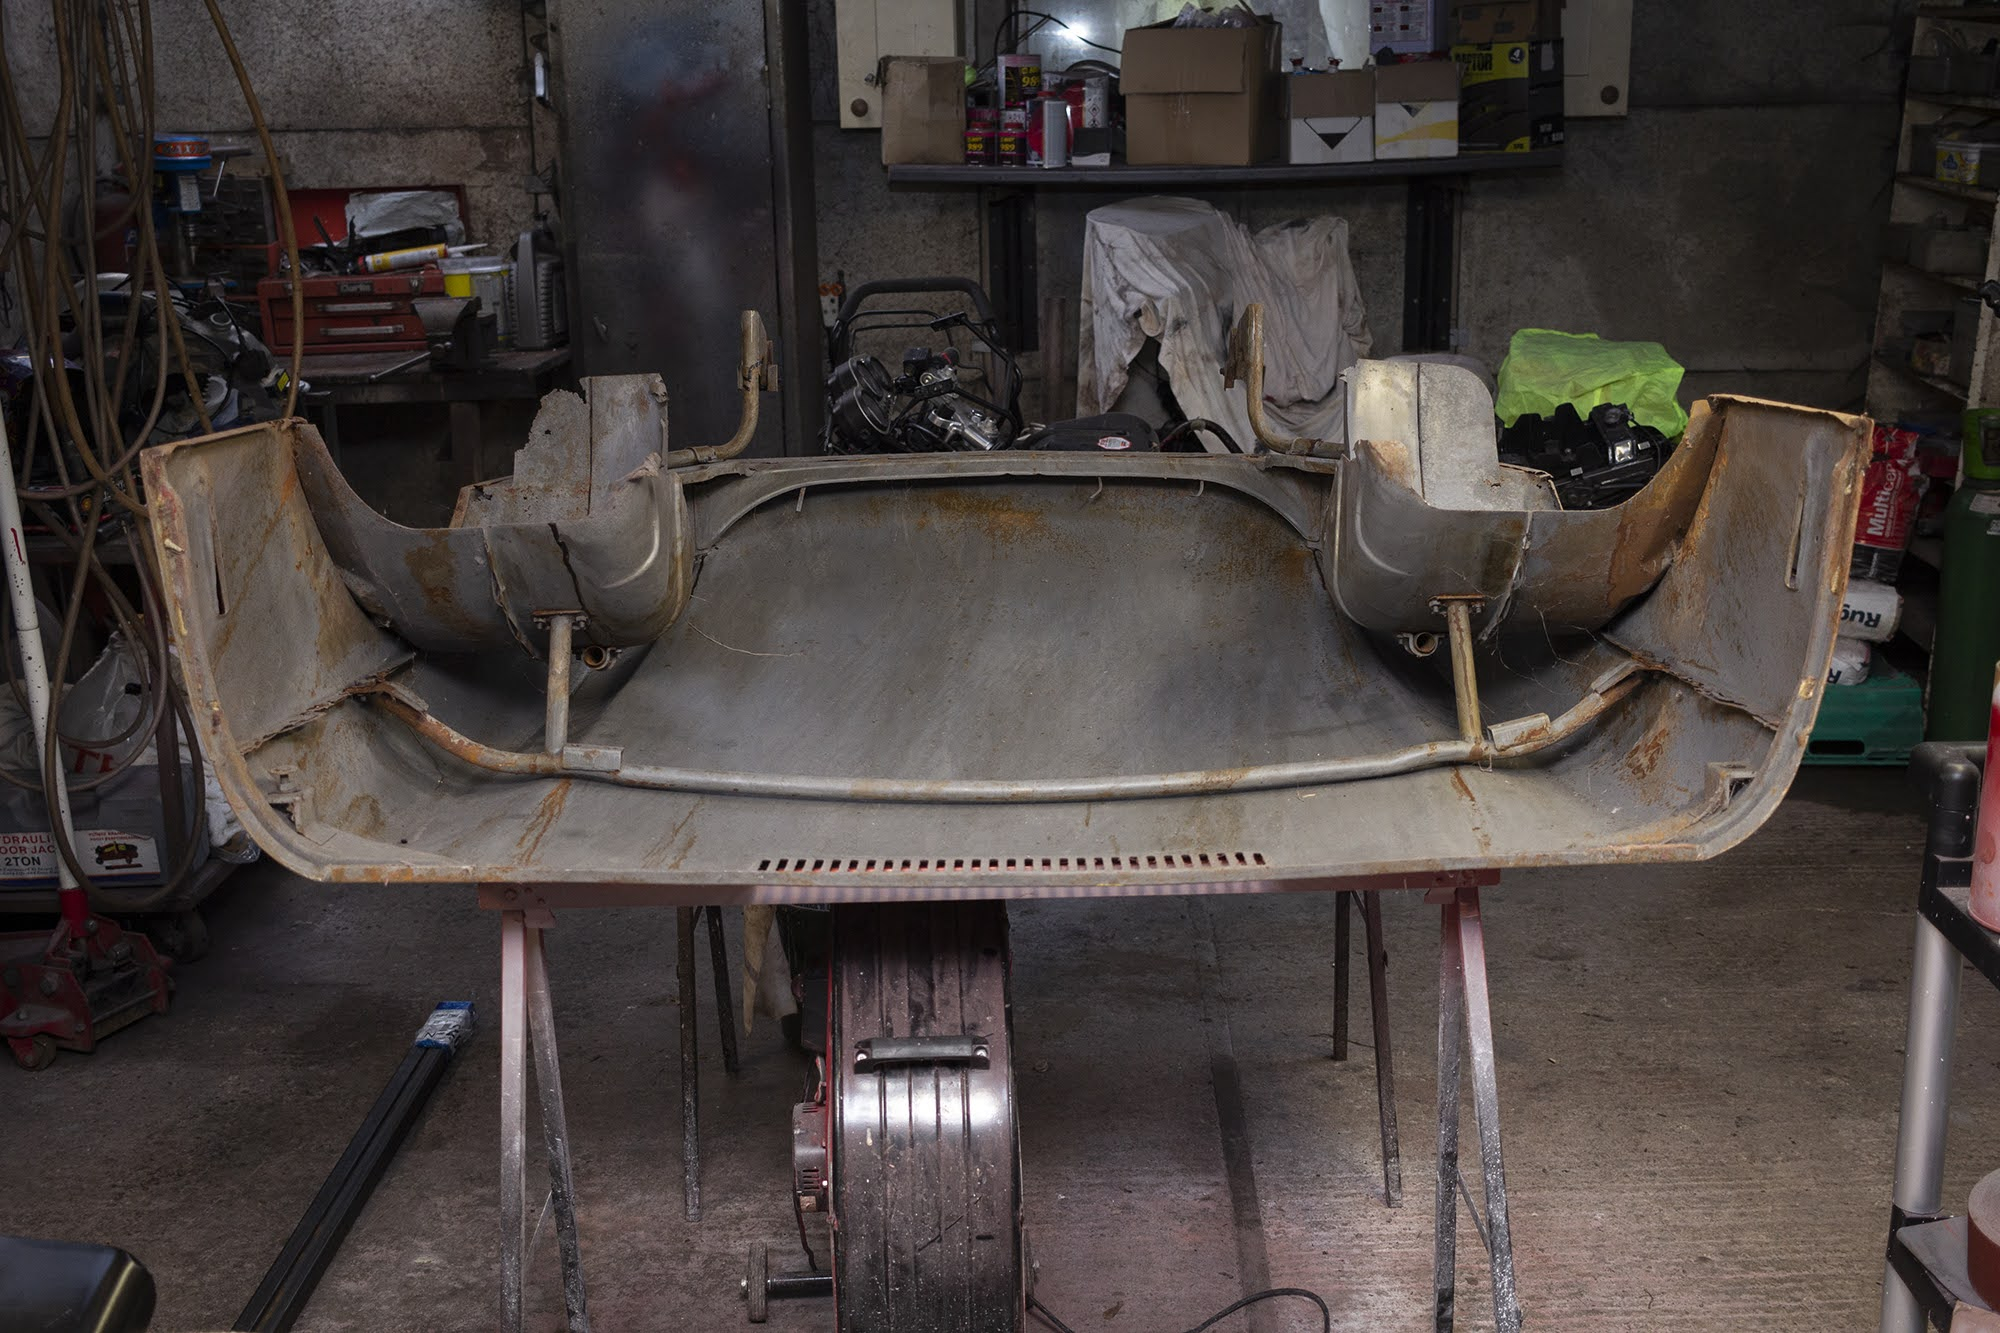
Made from 30mm box section, I picked up off the bonnet cone mounts, the existing frame that goes between both inner arches, the inner arches and the front hinge tube mounts. First, I had to remove the two tubes that support the inner wheel arches which took some persuasion. They have probably been bolted together for 40 years.
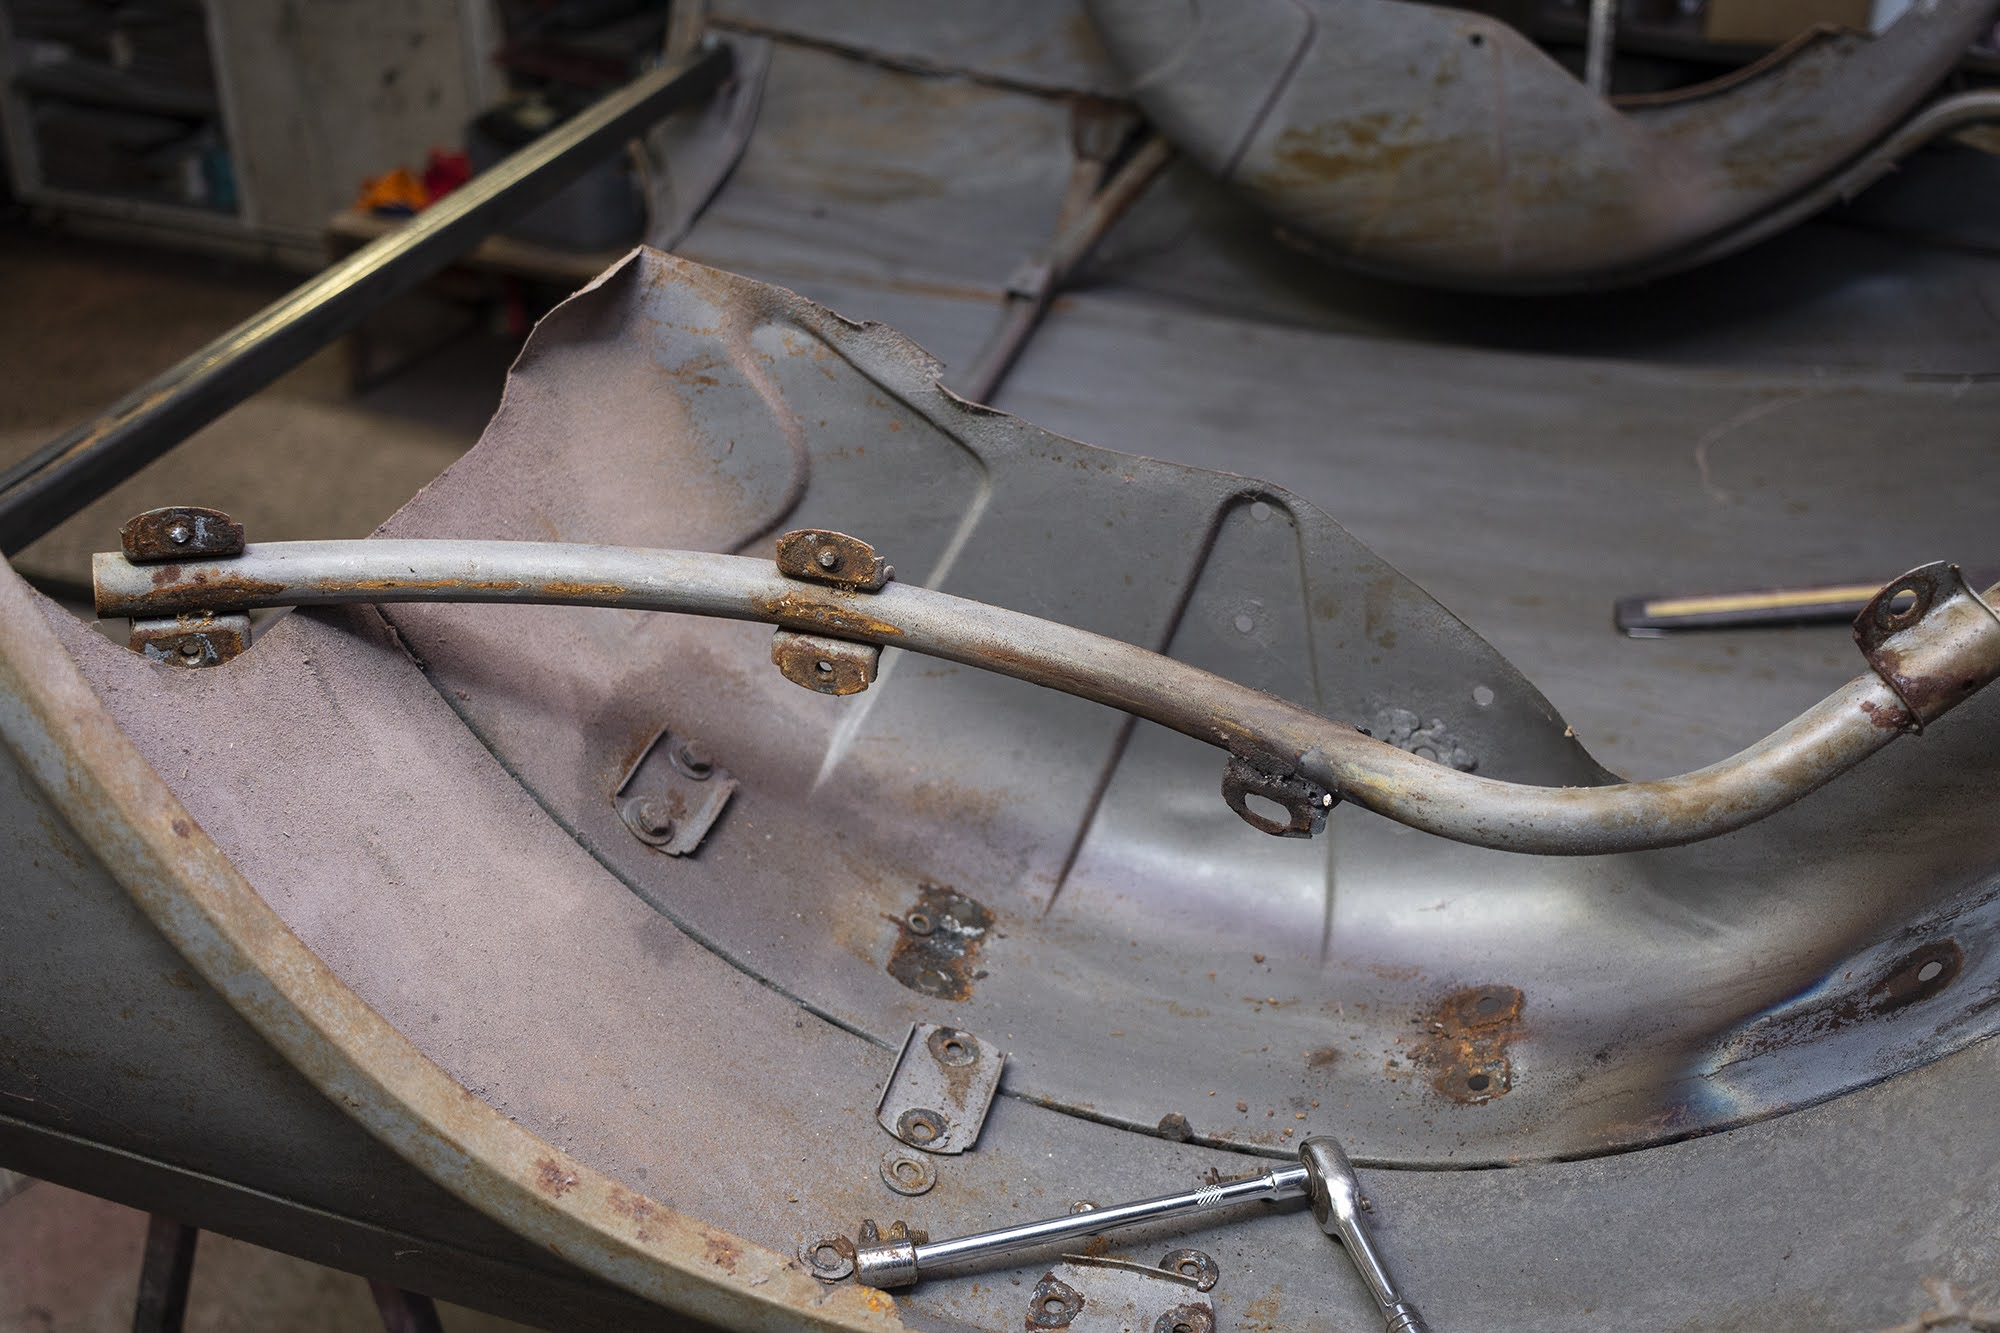
Some of the bolts sheared off and some of the nuts that are welded to the brackets came off too but I will make a point of replacing all the fasteners. The plates that mount inside the arch were quite thin so I will replace those too.
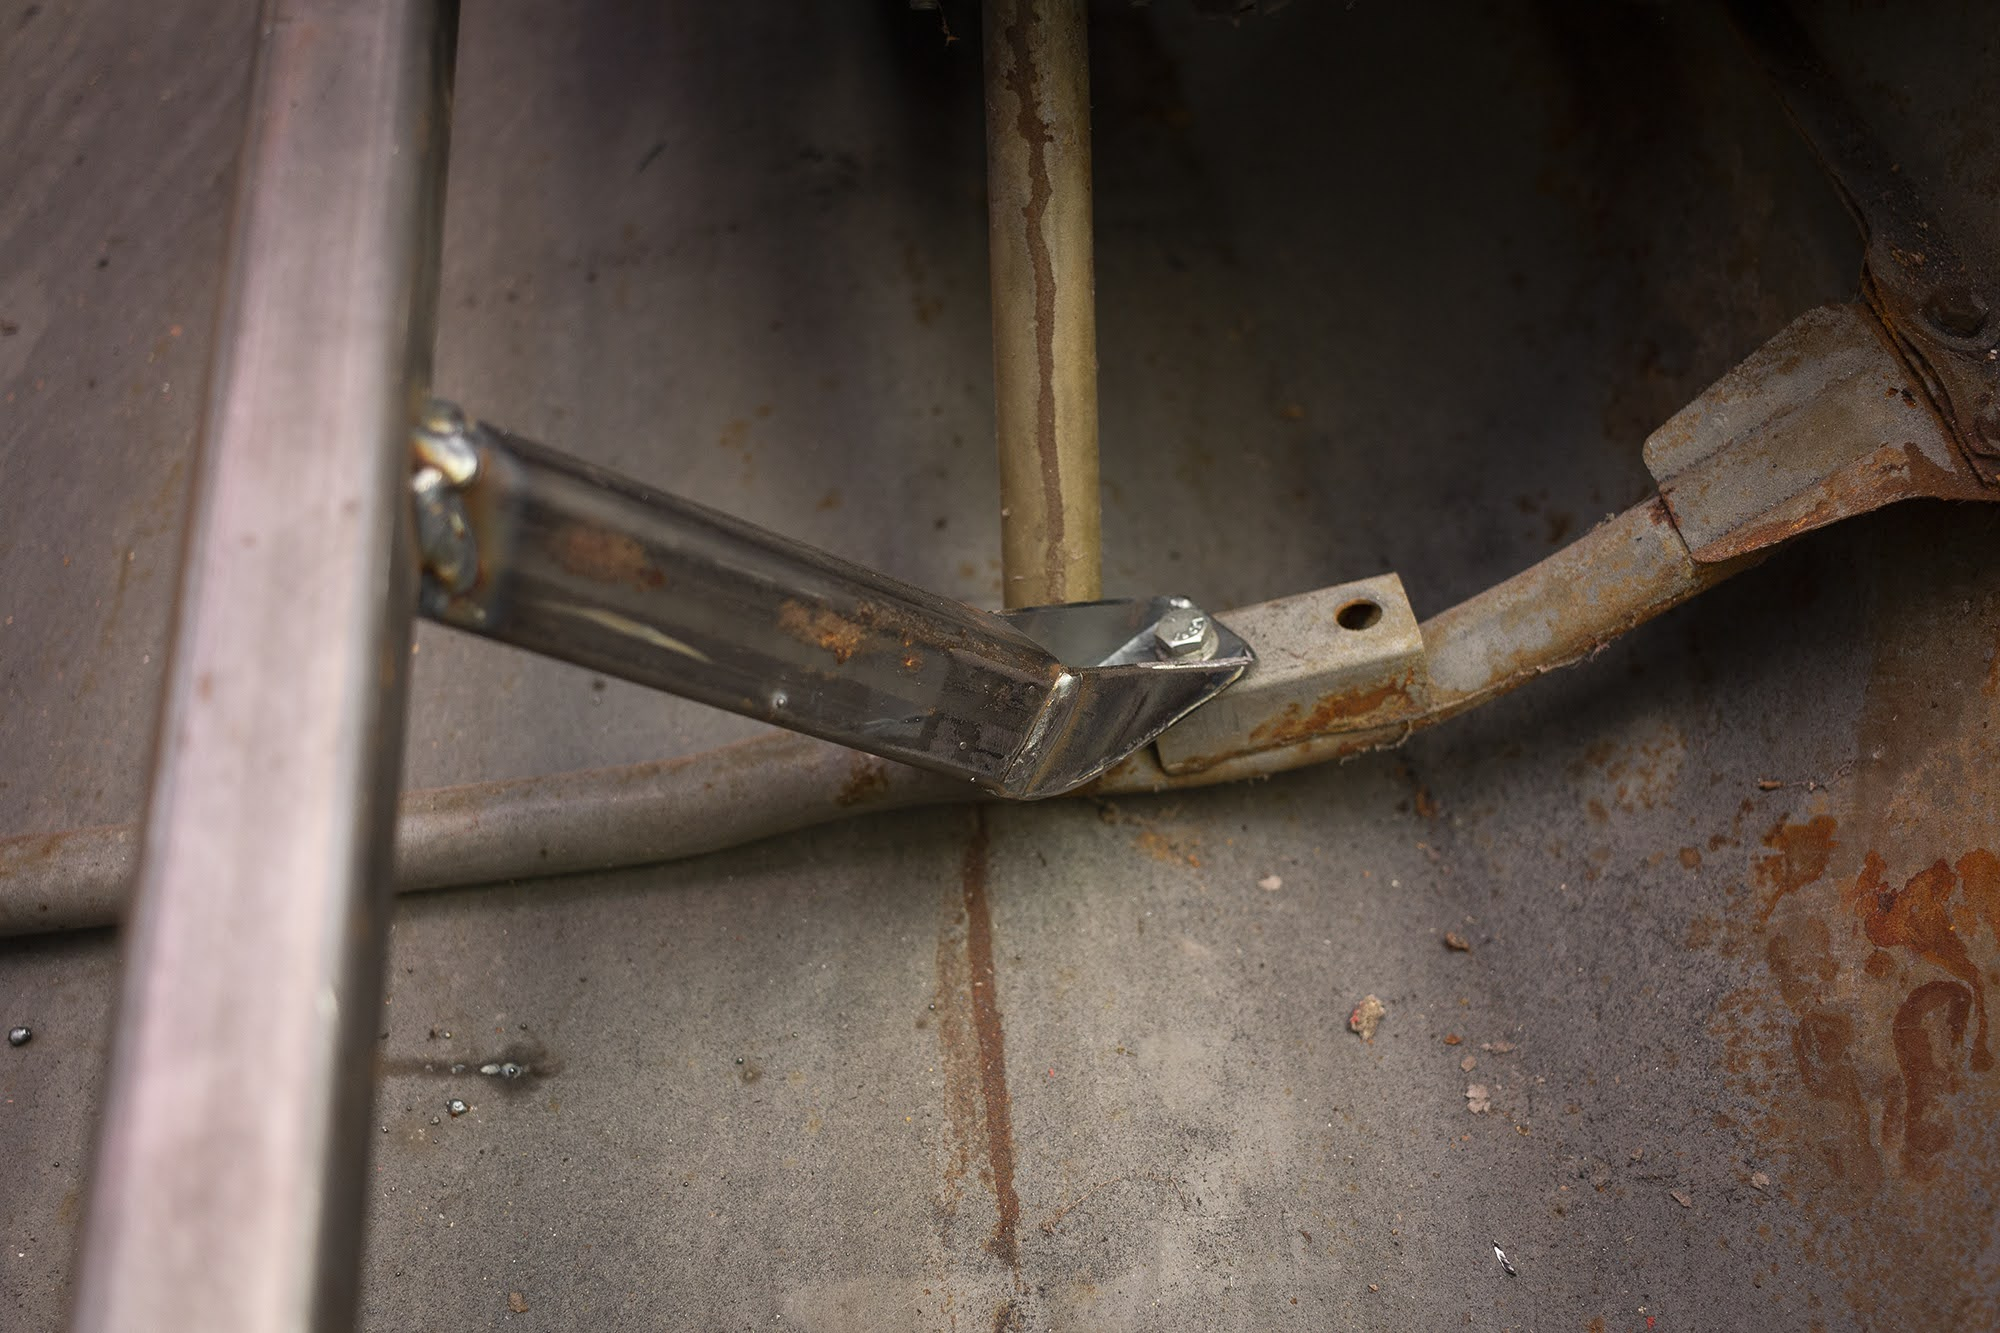
I mounted the jig to the existing tubular frame that mounts to both the inner arches and the seam where the wing meets the main part of the bonnet. This way, when I have a whole side removed, the existing tube will be held in its original position which will help locate the inner arch.
I completed the jig after a full day’s work. Now I had peace of mind before setting about using the angle grinder to remove large panels. 
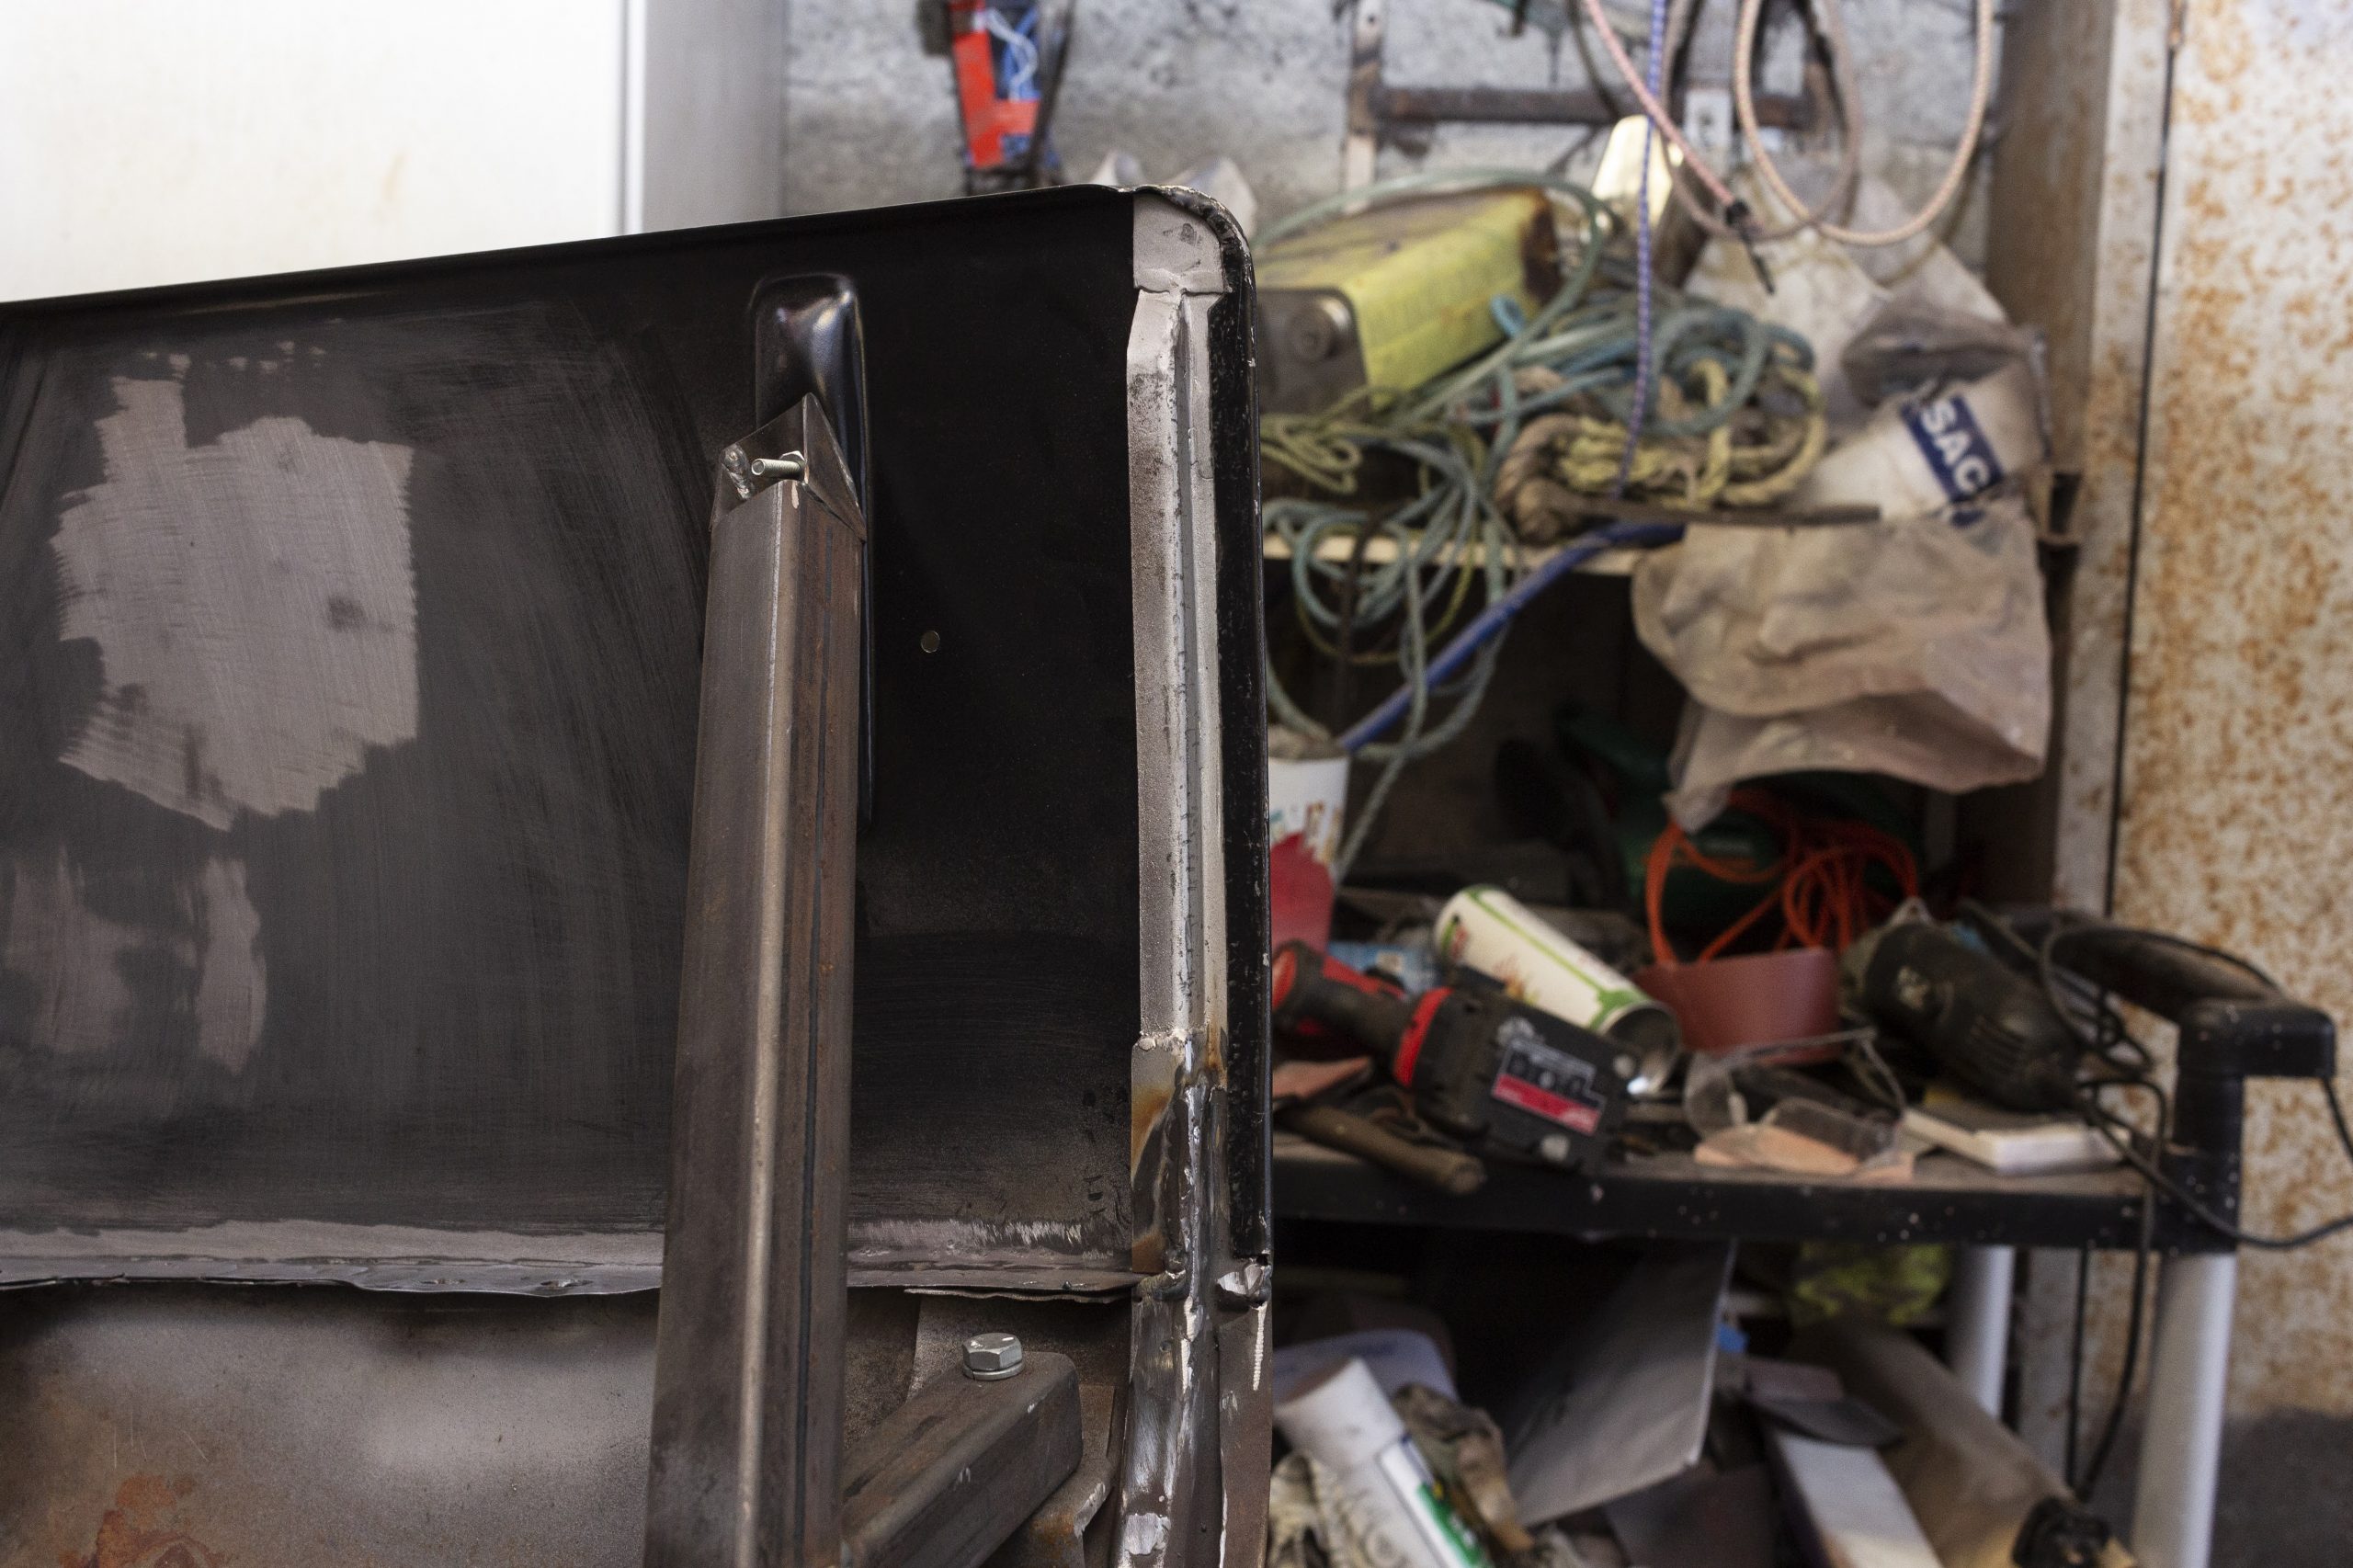
I started by removing the strengthening strip that runs along the rear edge of the bonnet. This was clearly a water trap and was one of the worst areas for corrosion. This is a typical problem area where it’s just spot welded along the rear edge.

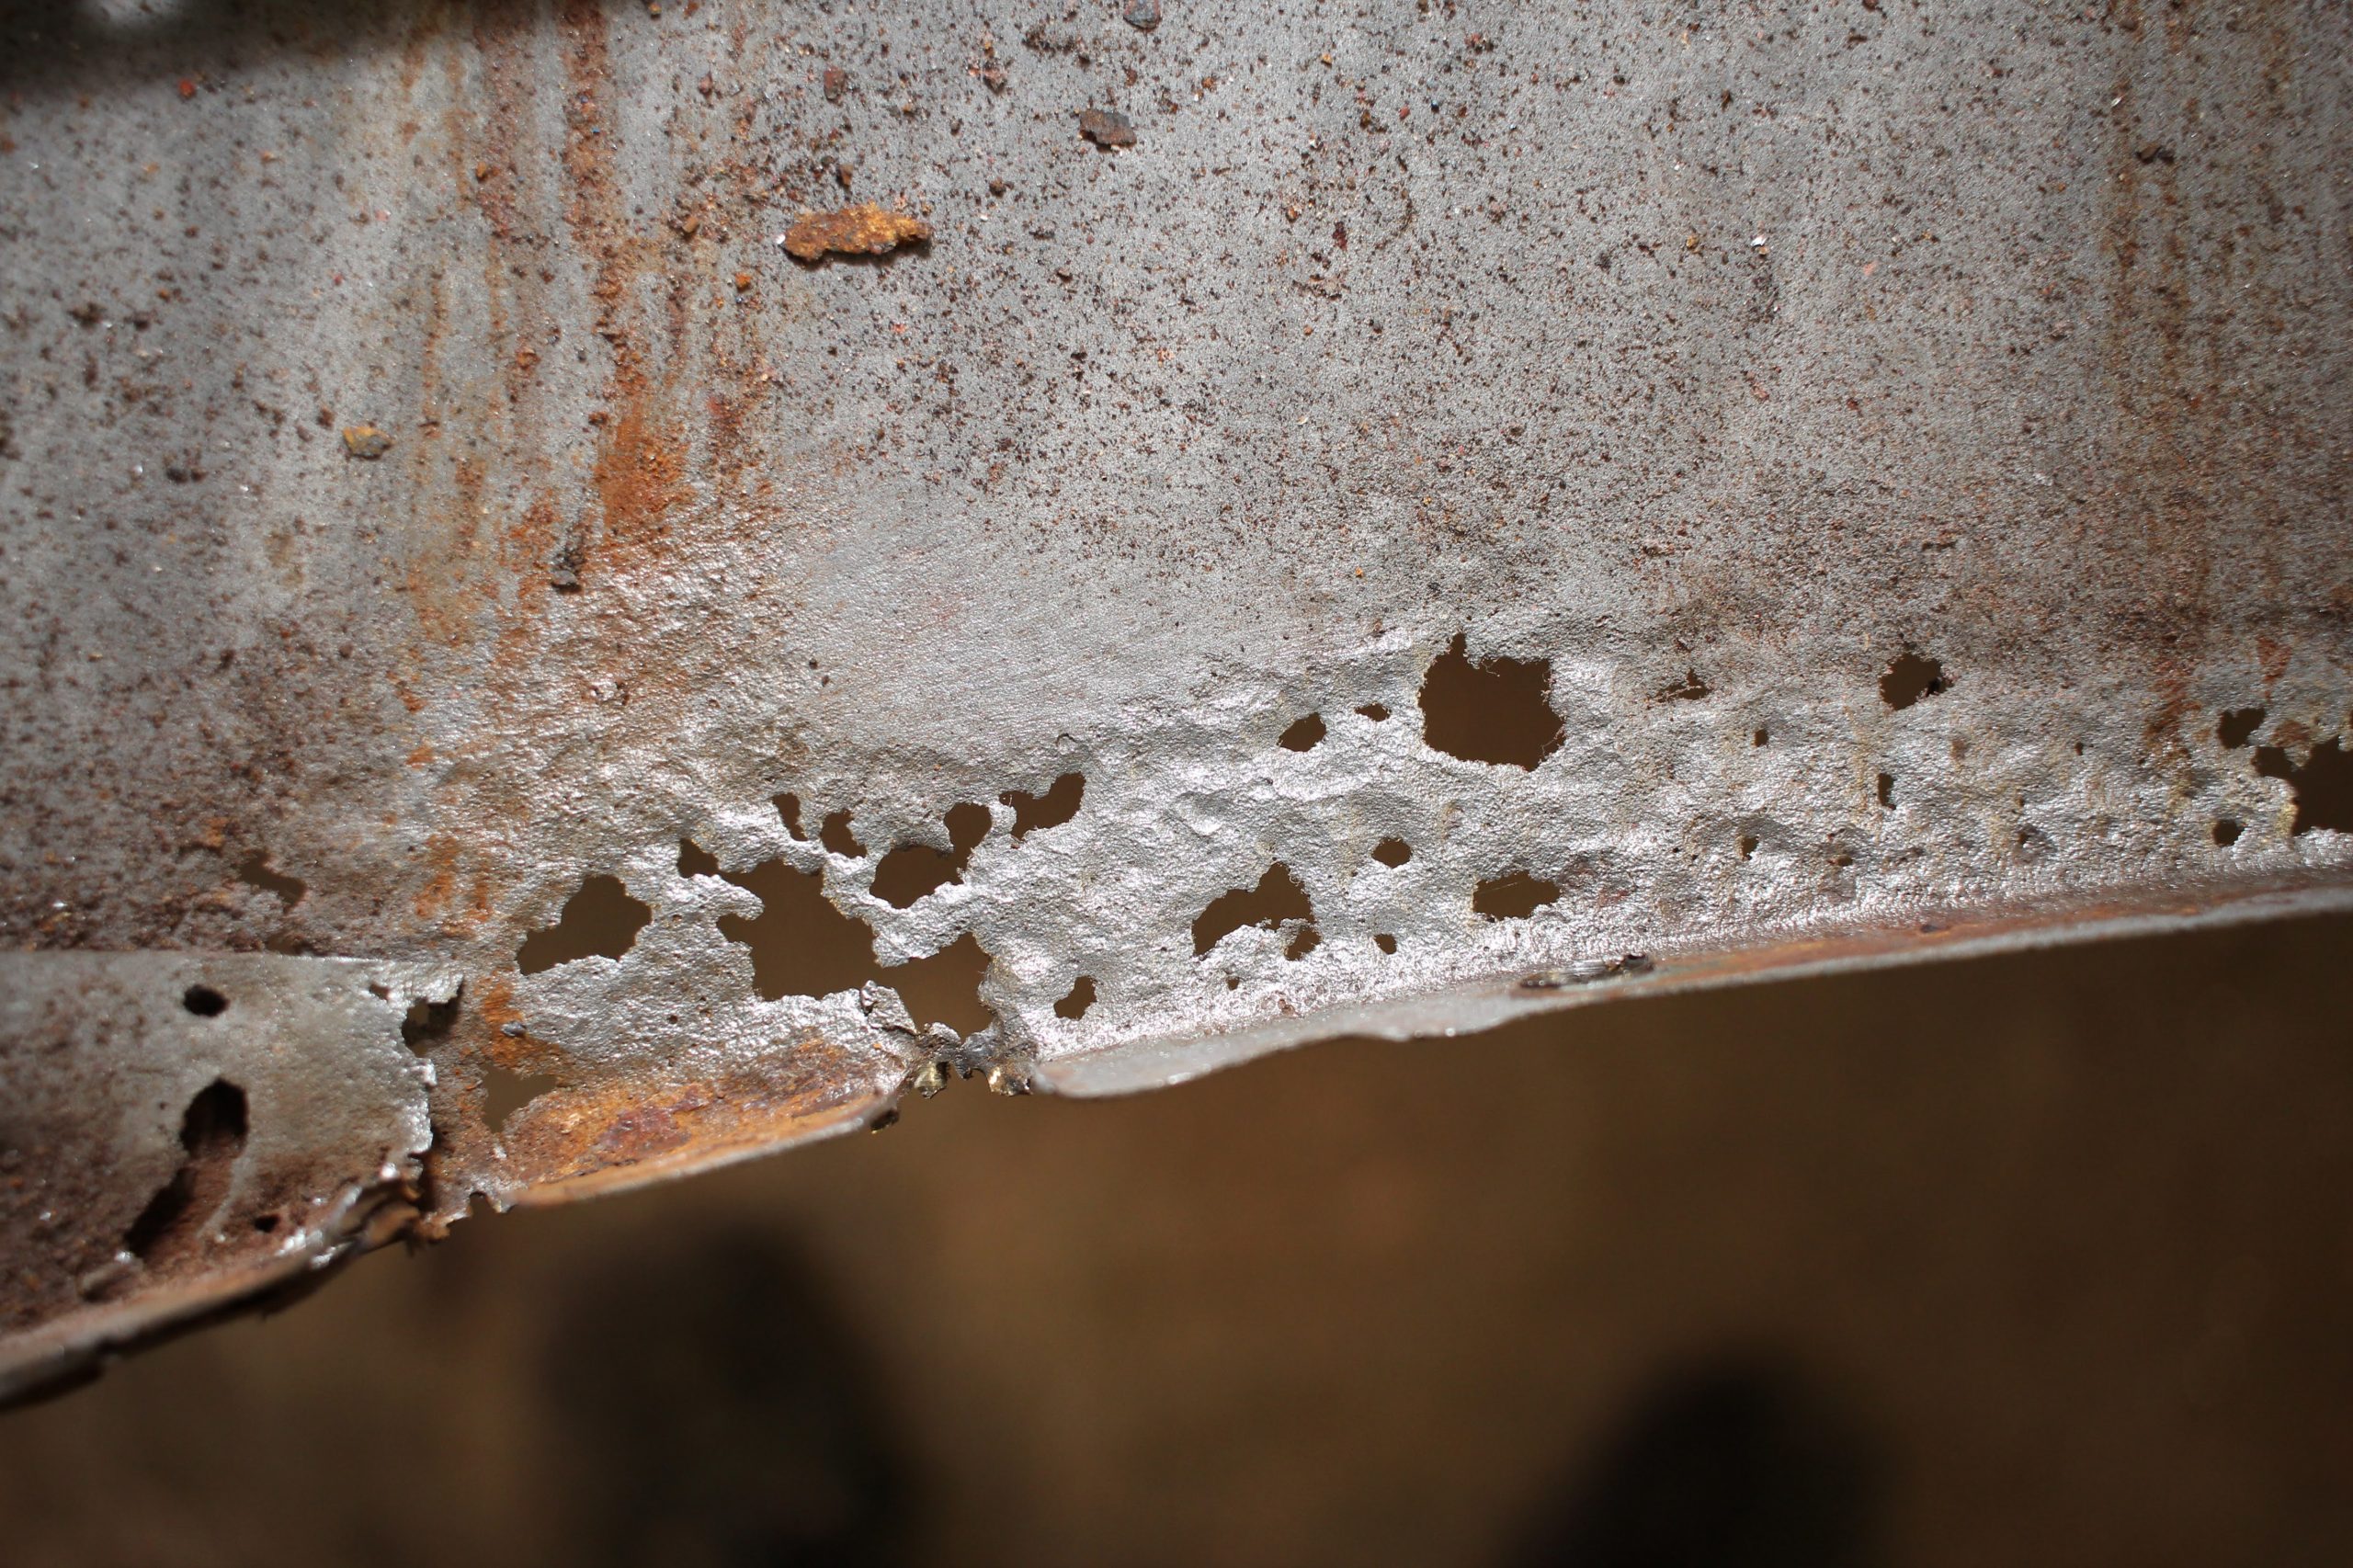
Being careful not to lose the subtle curved shape of the rear edge was going to be tricky here. I did what I could to patch the holes, repair the strengthening strip and weld it back in. Not my finest work but at least it had some strength now. It would need lead loading and shaping to conceal the repair.
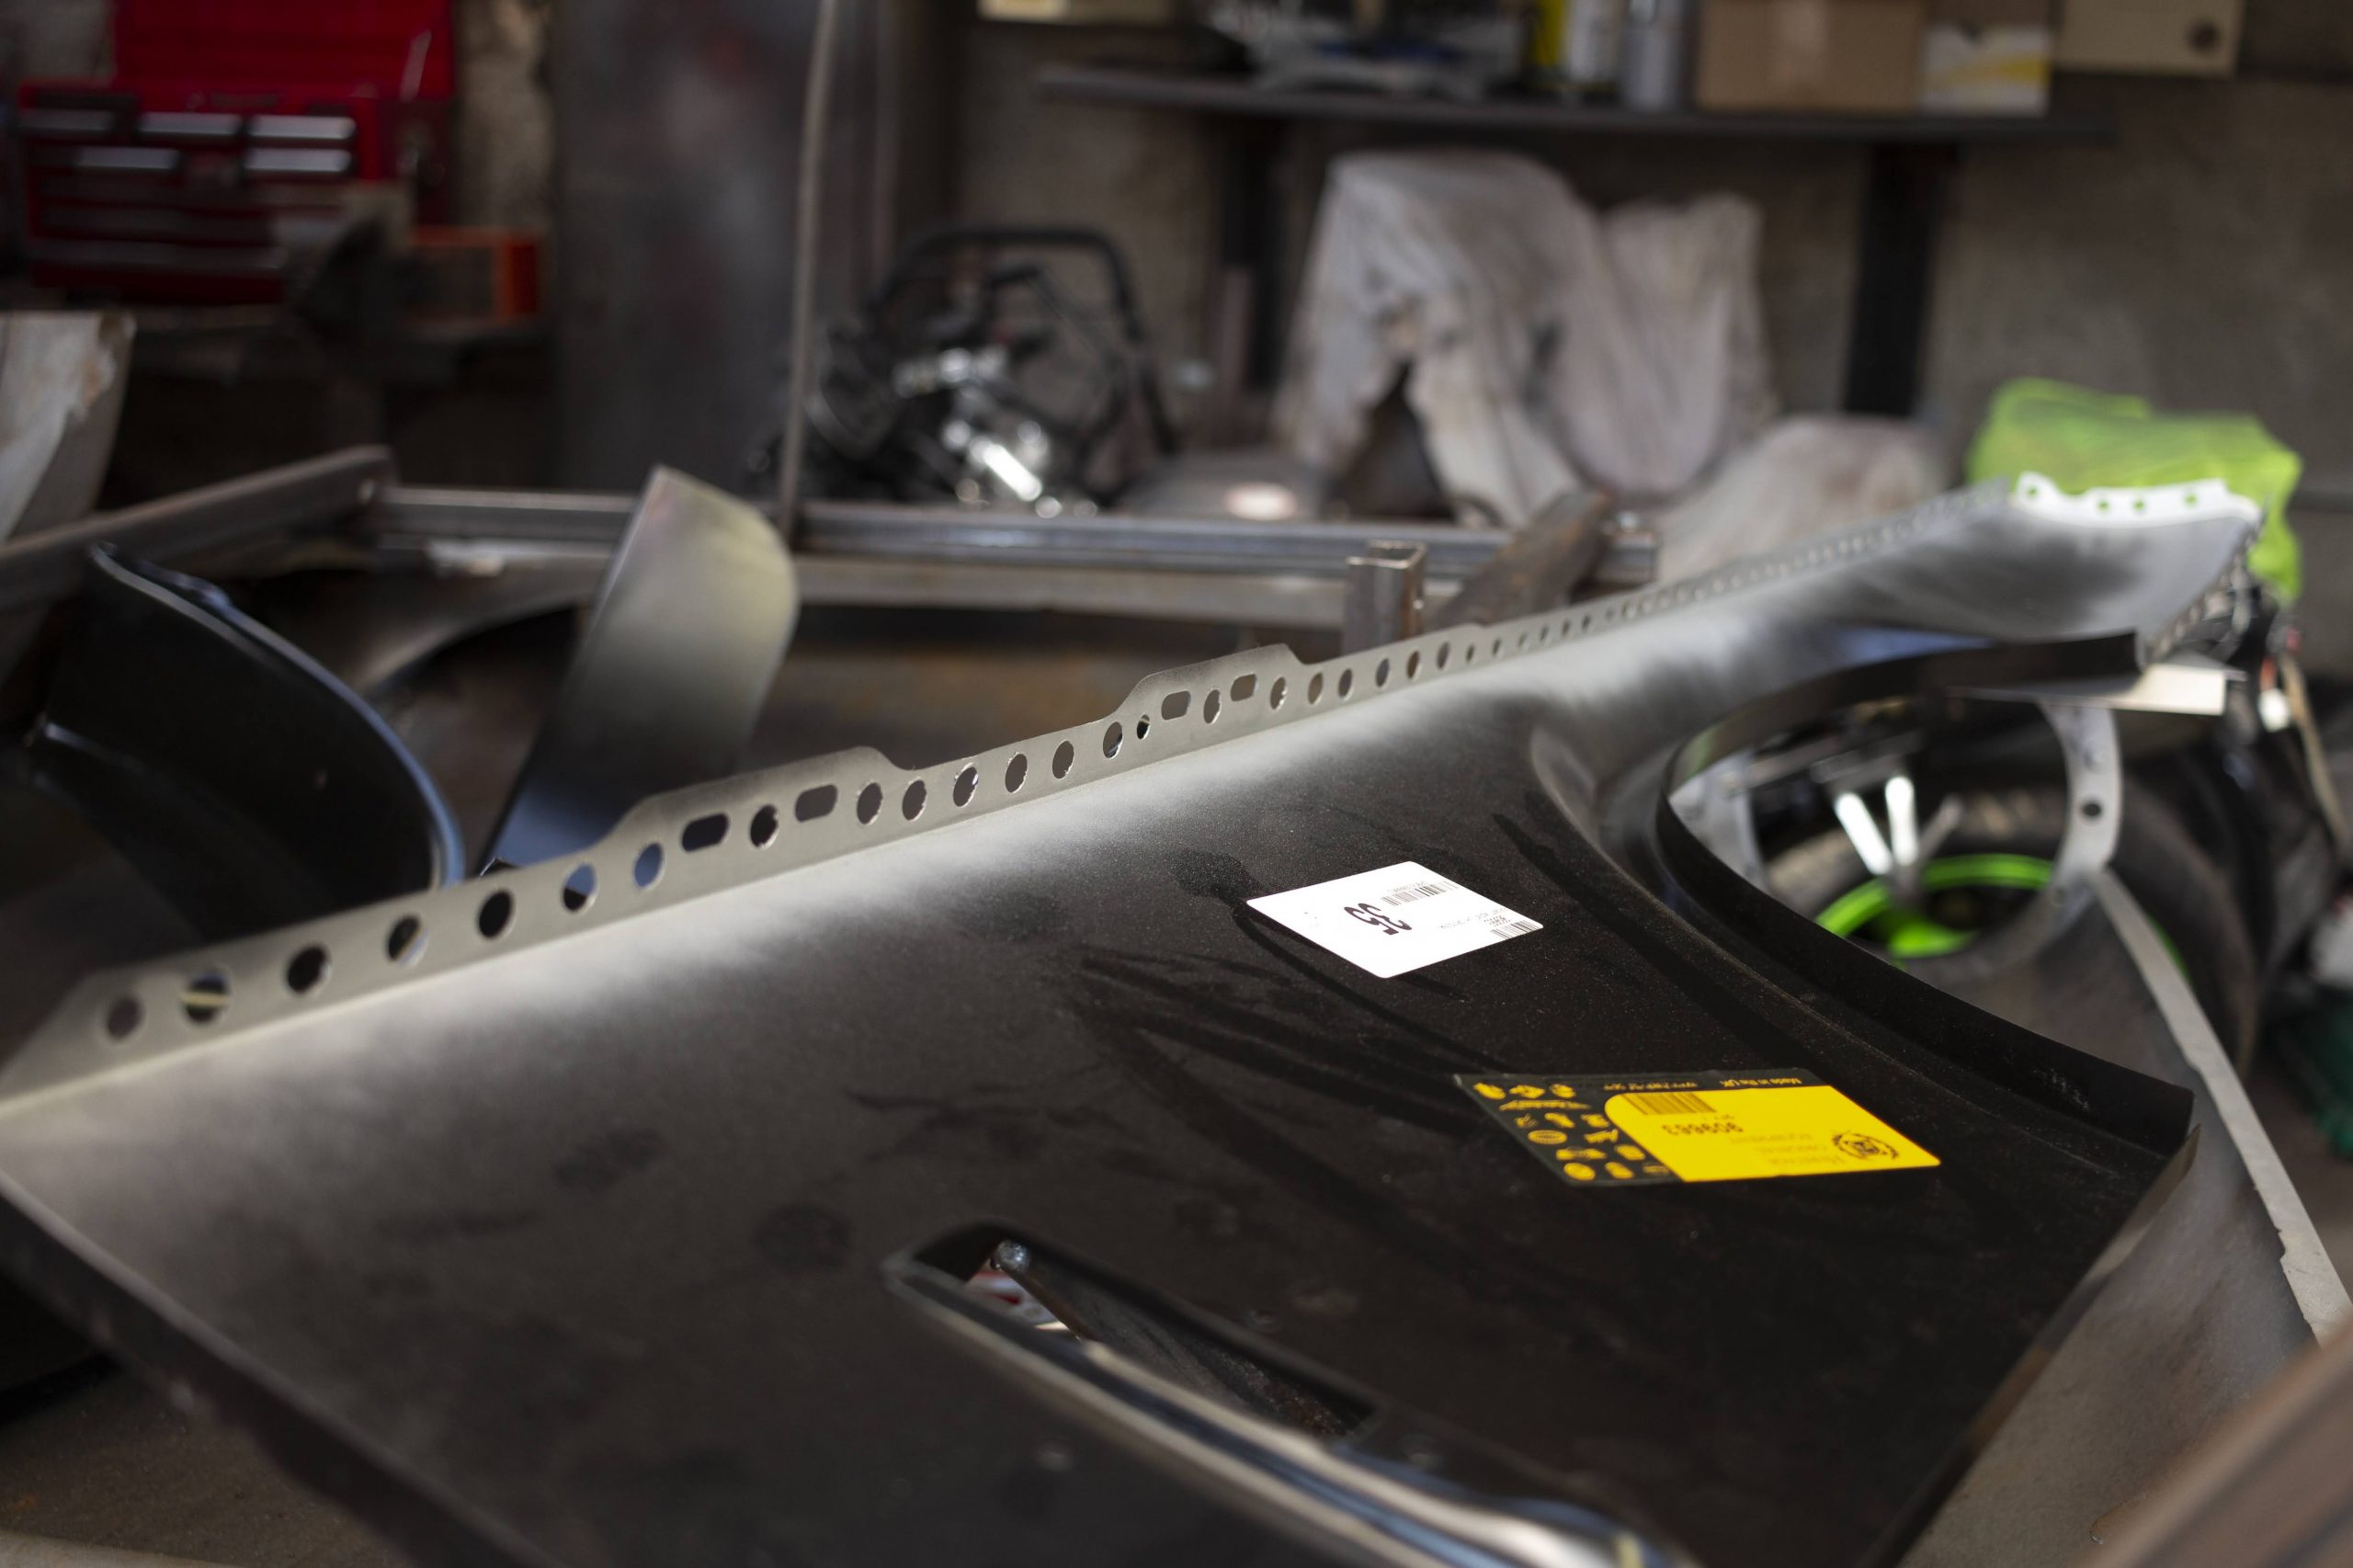
Next up was a wing and inner arch panels for one side. I cut the old wing and arches out just above the seam for the old wing then ground the remaining seam away with a flap disc. Cleaned up, repaired the corroded areas and prepared with some weld through primer.

The wing is the first panel to go in. I used Heritage panels again because I’ve found the fit and original shape is much better than the pattern for a small increase in price. I prepared the wing to be plug welded in along the seam.
Careful alignment with lots of clamps would come next. The seam along this panel is visible from the outside so both panels need to be as flush as possible.
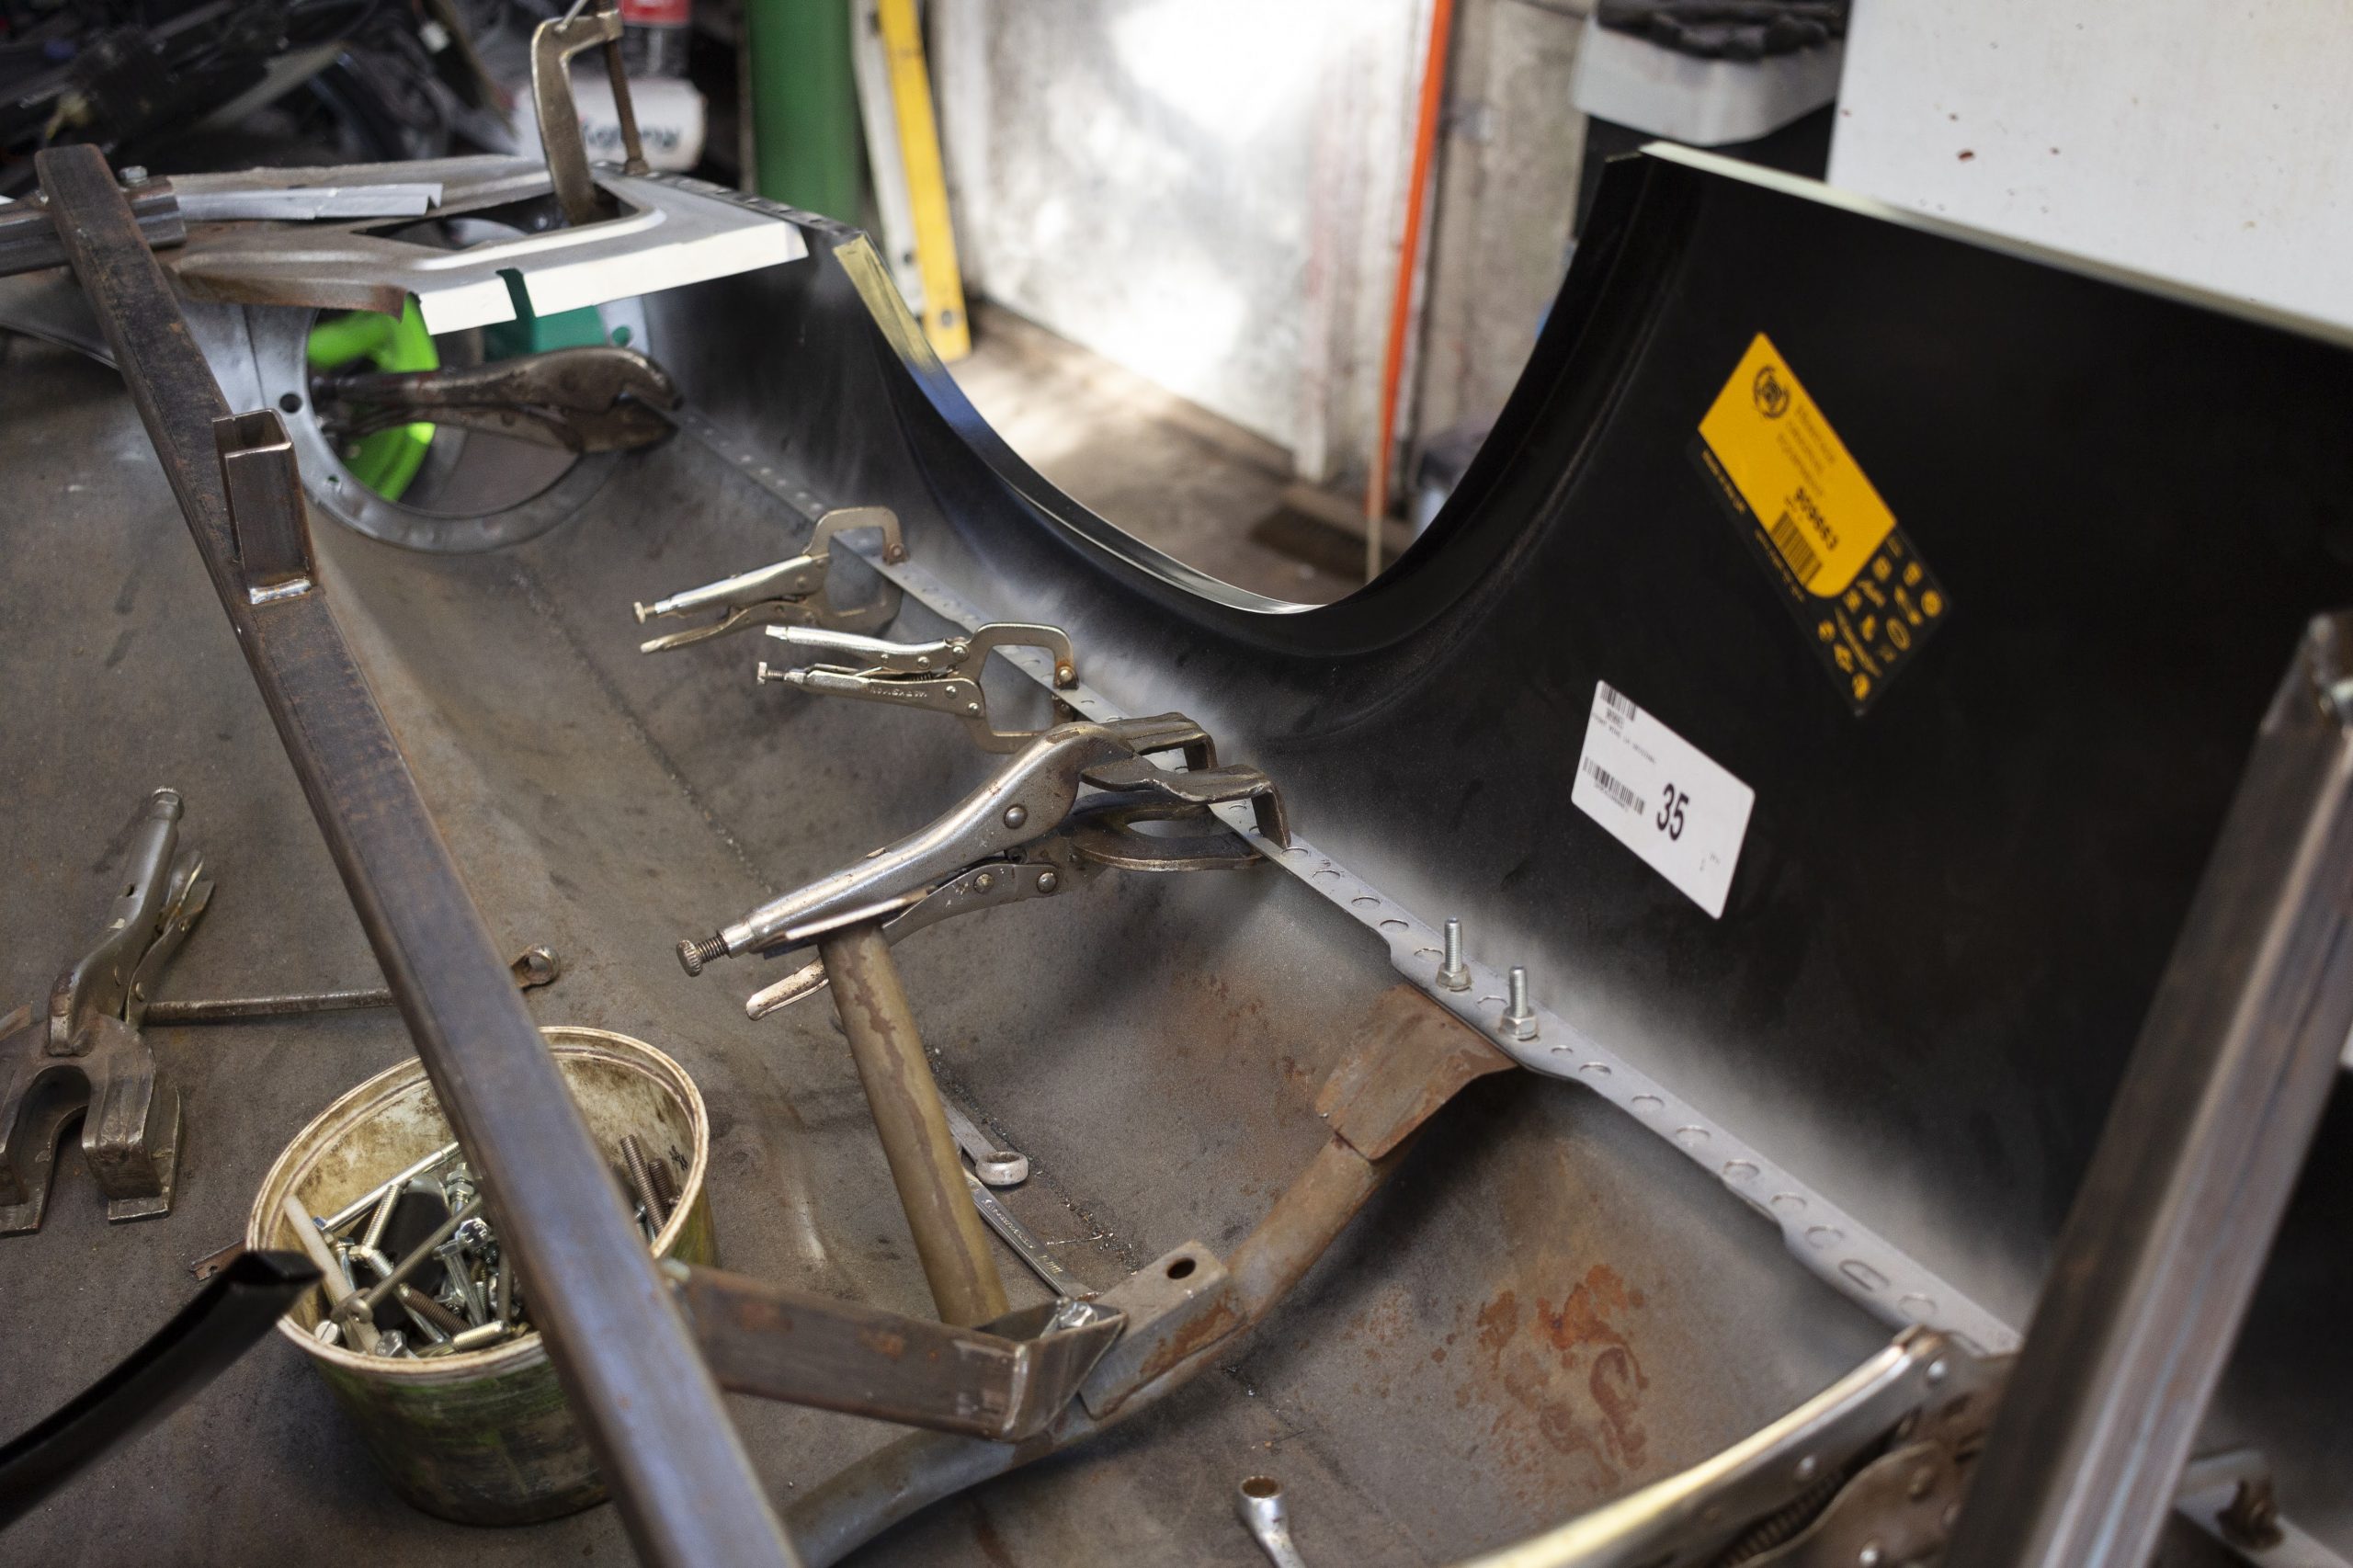
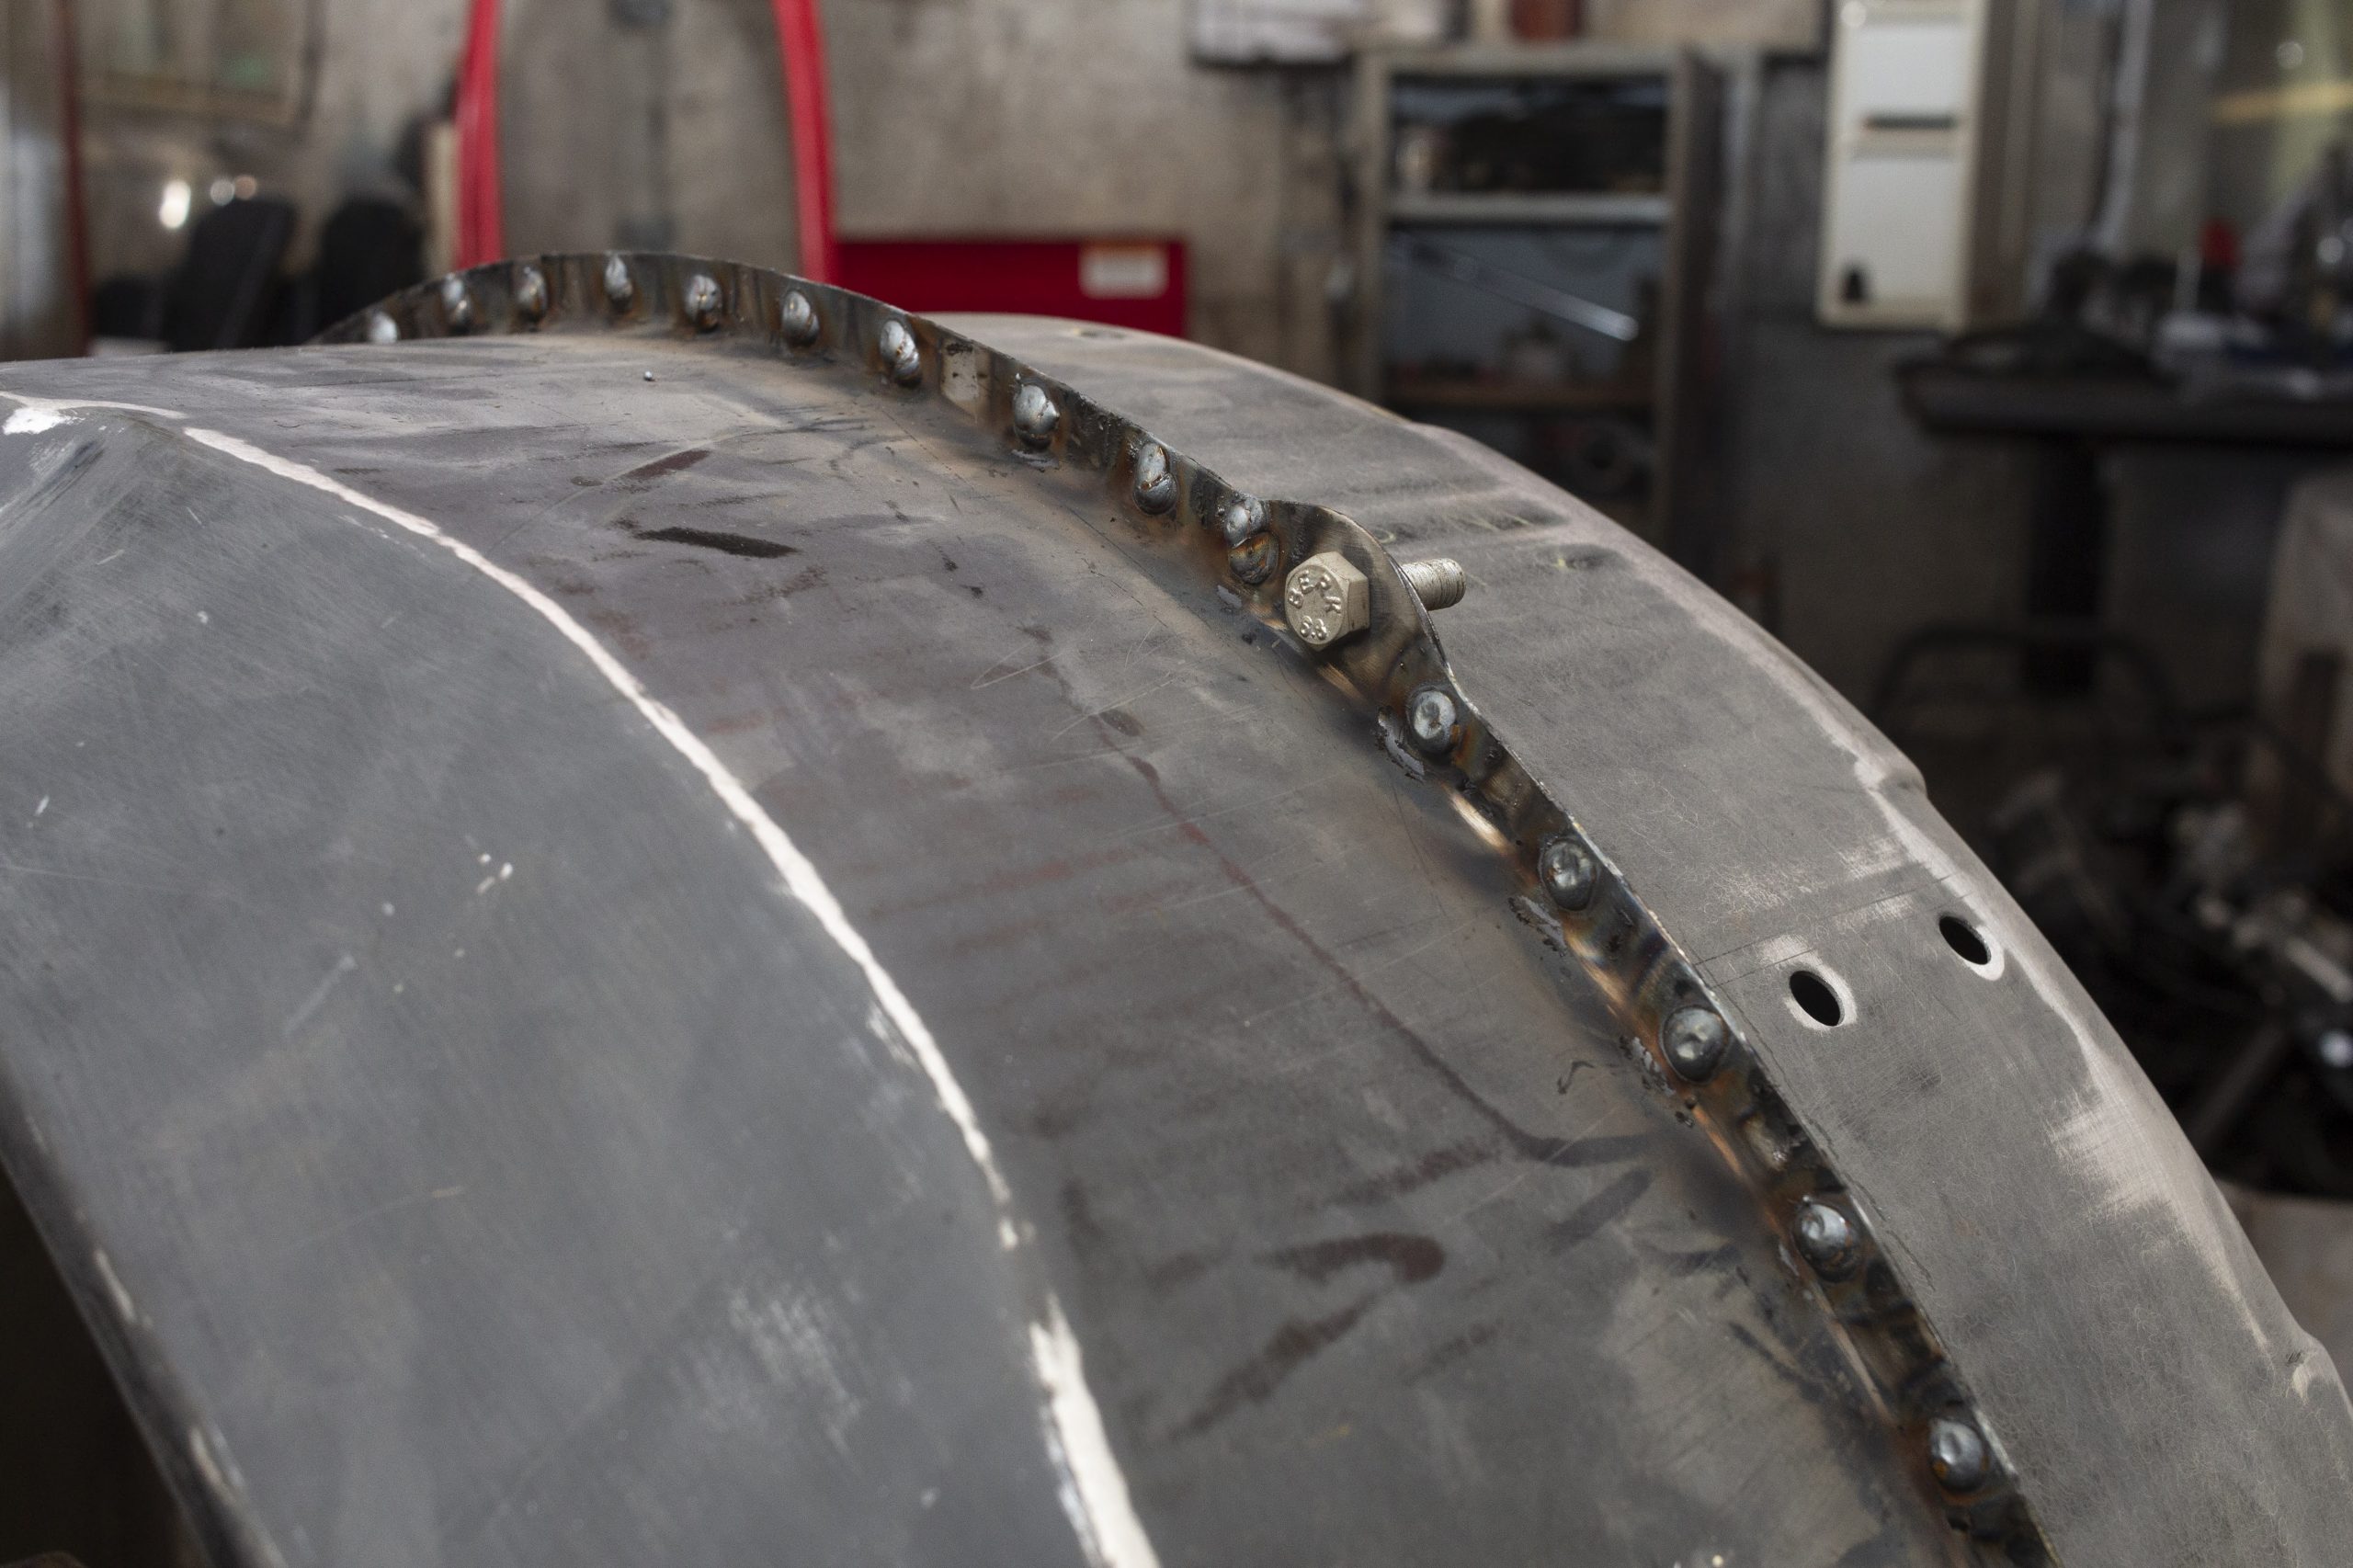
I proceeded to plug weld the wing in, working at random and cooling each weld with compressed air to minimise distortion. I also read a good tip about making the spacing between welds very close to keep the two flanges from separating when the bonnet flexes.
Many plug welds along the seam having been ground flush…
I also made a point of scuffing all the surfaces before putting the wing in so that the first coats of primer will adhere to the surface. At this point, I also repaired the strengthening strip along the rear edge of the wing and folded the return edge back over it as it would have been from the factory. This is somewhere that will benefit from plenty of epoxy primer and seam sealer.
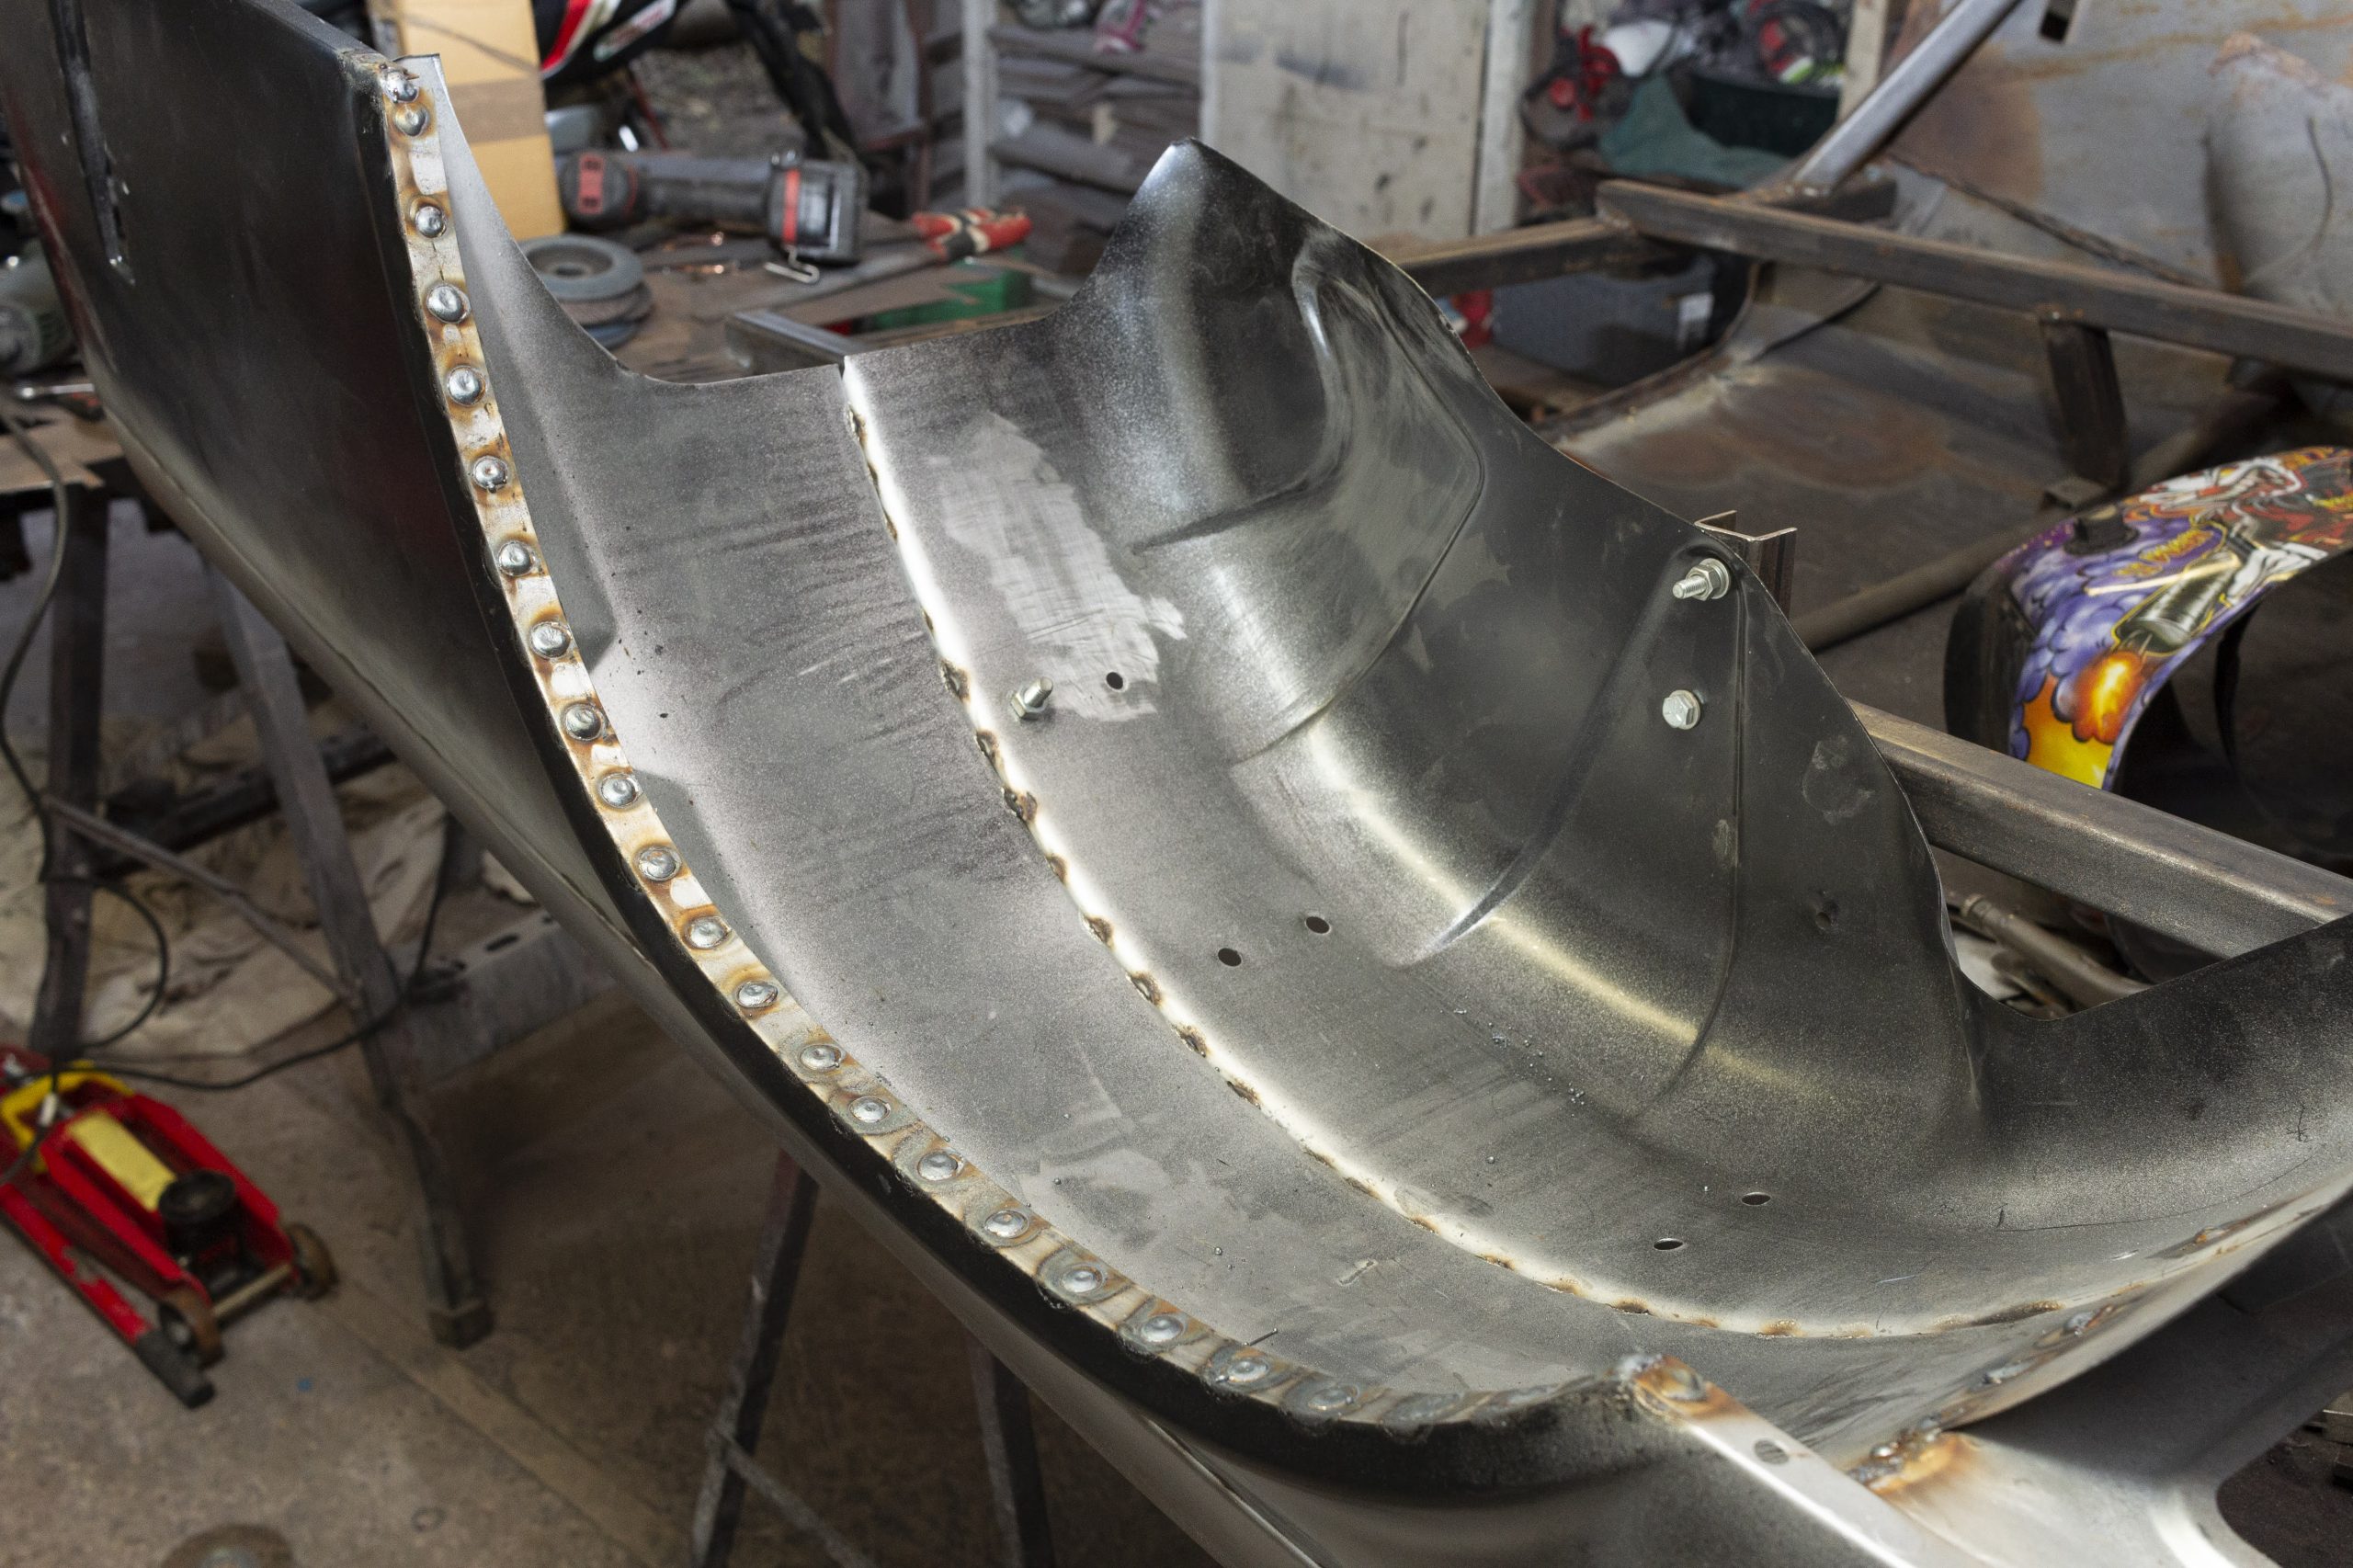
The wing installation was complete at this stage. I moved on to preparing the inner arch panels for fitting which is just a case of plug welding them together after getting them aligned.
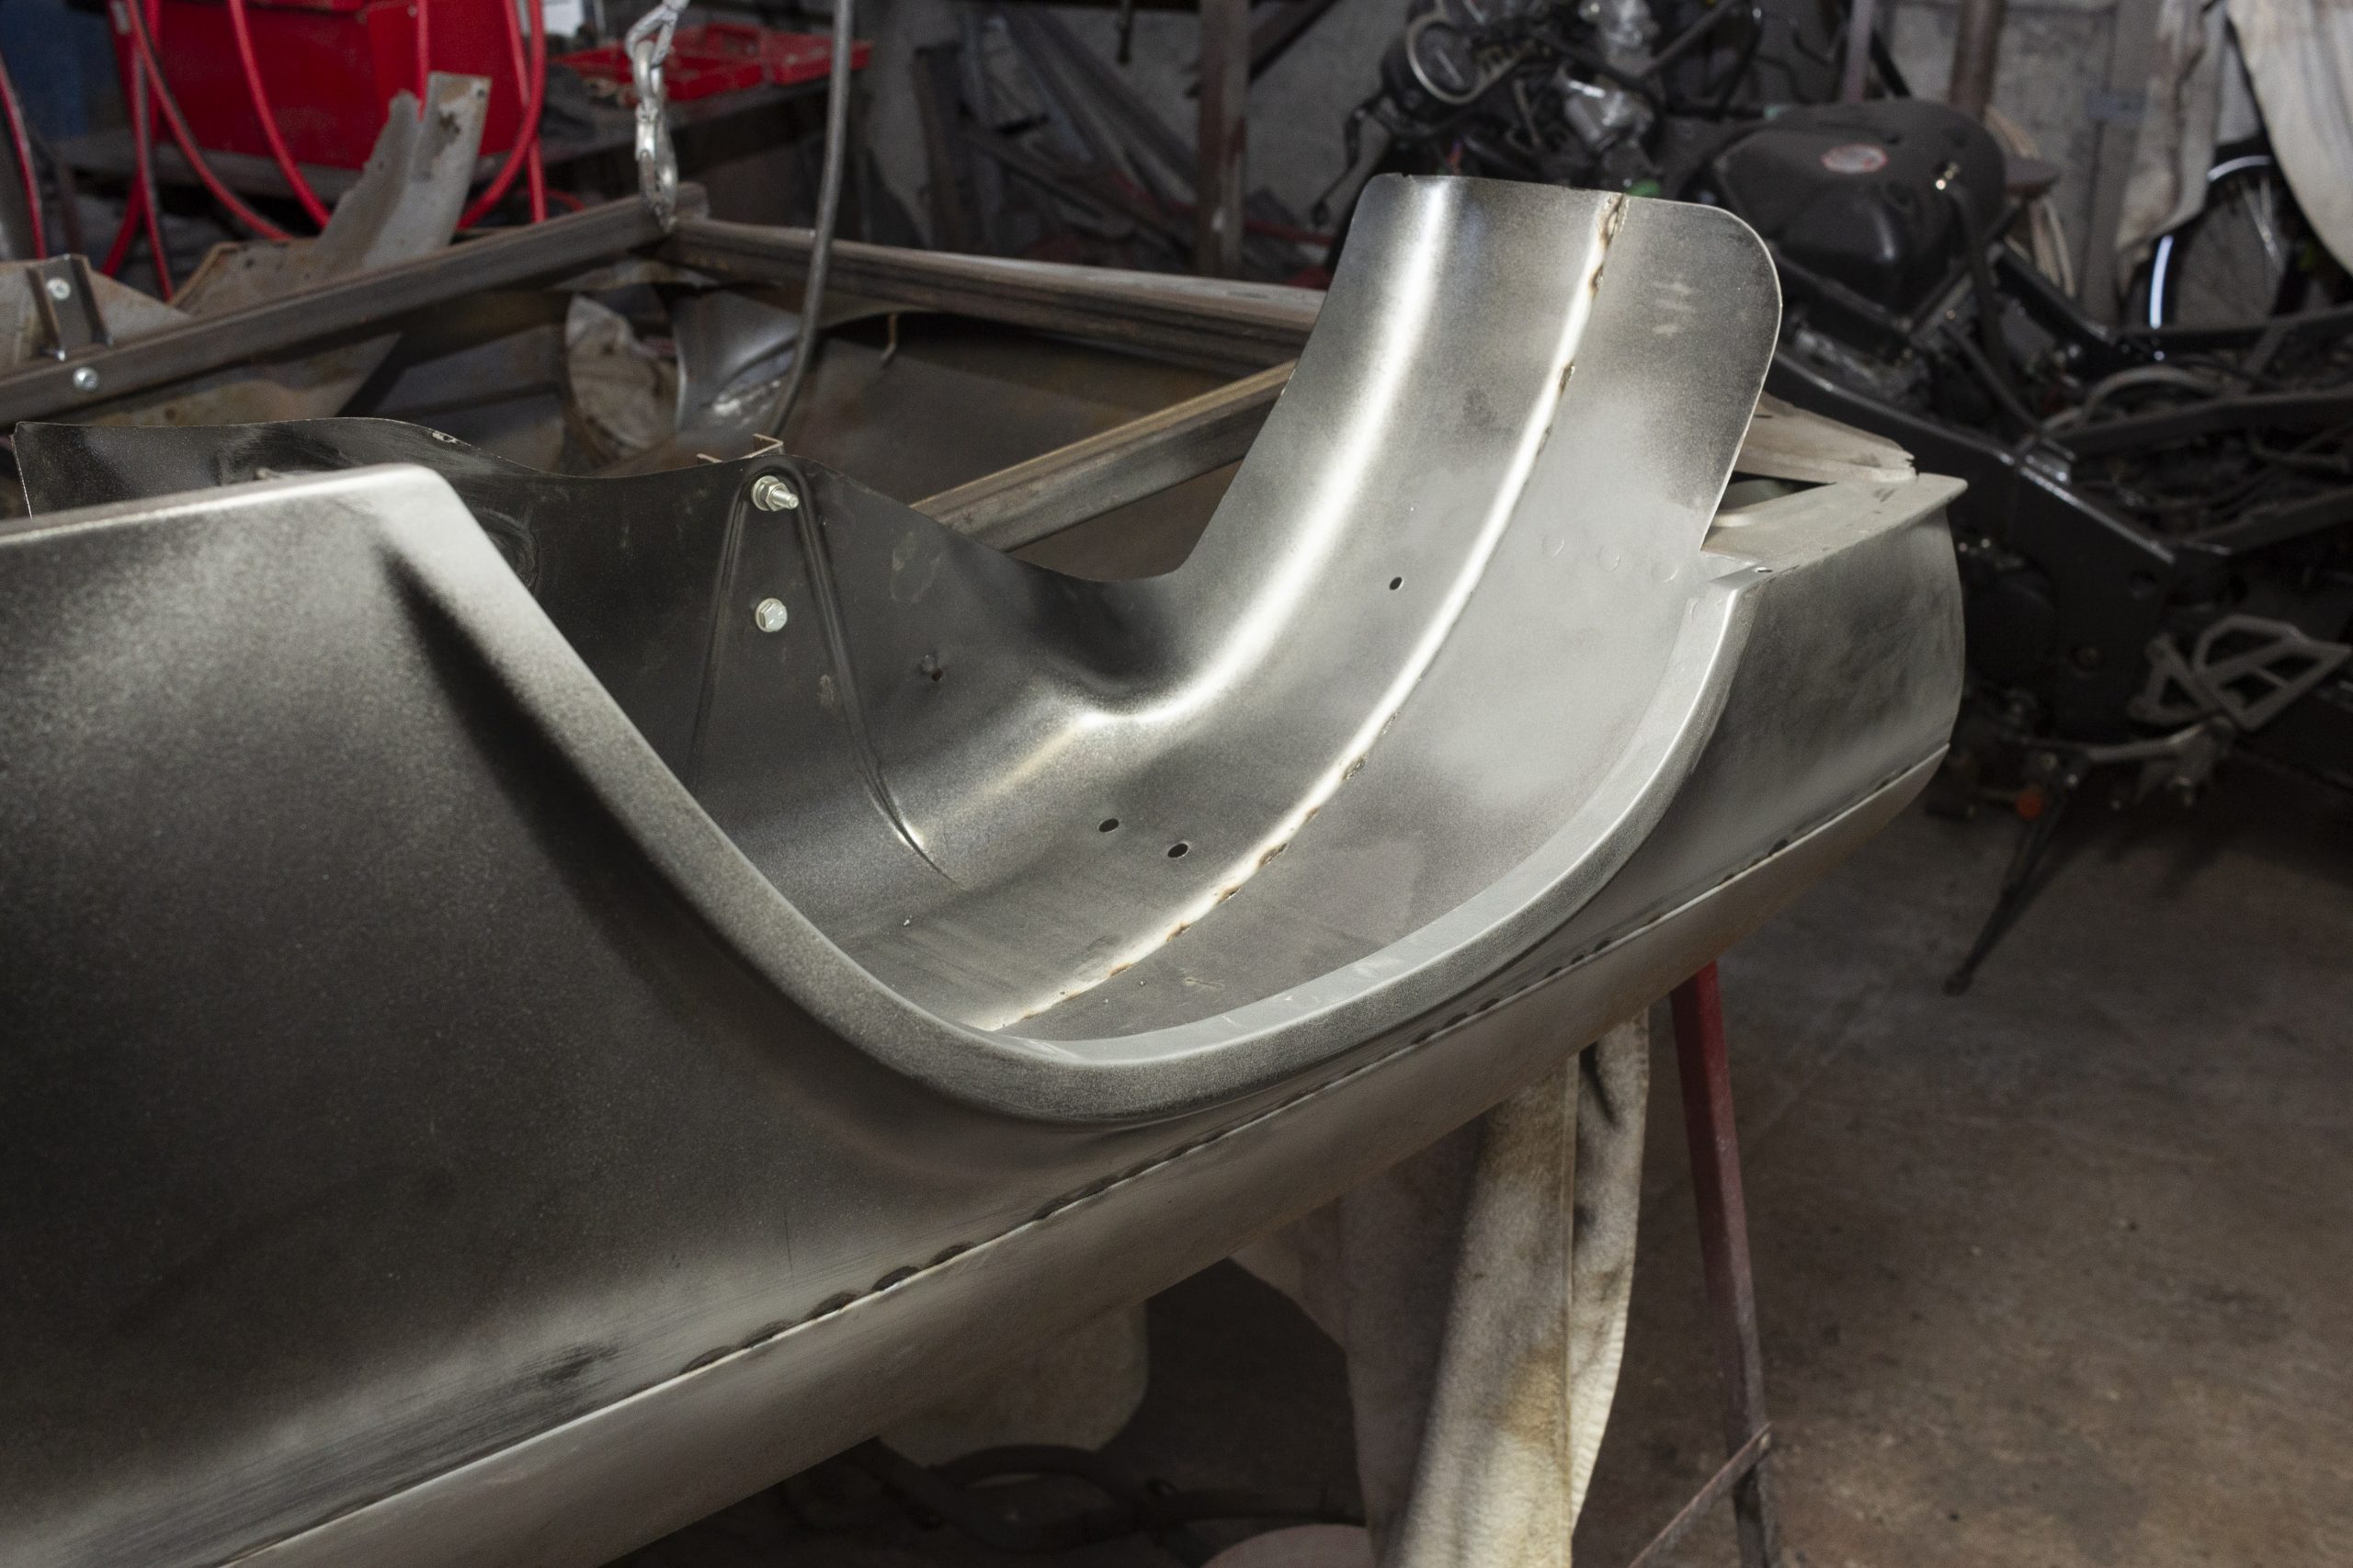
Now I had to temporarily remove the jig and fit the inner arch which bolts to it to help with alignment. Then the inner arch would be plug welded to the lip on the wing.

With the welds ground flush, that was one side complete and on to the other side for exactly the same process.

The Spitfire bonnet has a weak area in the corners near the headlights and nearly always cracks there. Mine had done this so I built up some weld on the backside of that area to try and strengthen it and distribute the flex to more forgiving areas. Long term, we’ll see if it stands up to the flexing.
I started with the lead loading now to dress the areas that had been repaired. As I worked around the bonnet, I discovered quite a few small dents in it. Some I already knew about. Years ago I stayed at a friend’s house in the local town, only to discover that someone (presumably drunk) had walked over the entire car, causing the dent in the bonnet, hardtop, and boot lid.
You can see the corner of the bonnet below where the crack usually appears. Lead loading is good for this kind of area because it remains flexible. You can see a couple of low spots which I missed though. In this case, I just skim over it with some short strand fiberglass filler to get those last couple of low spots.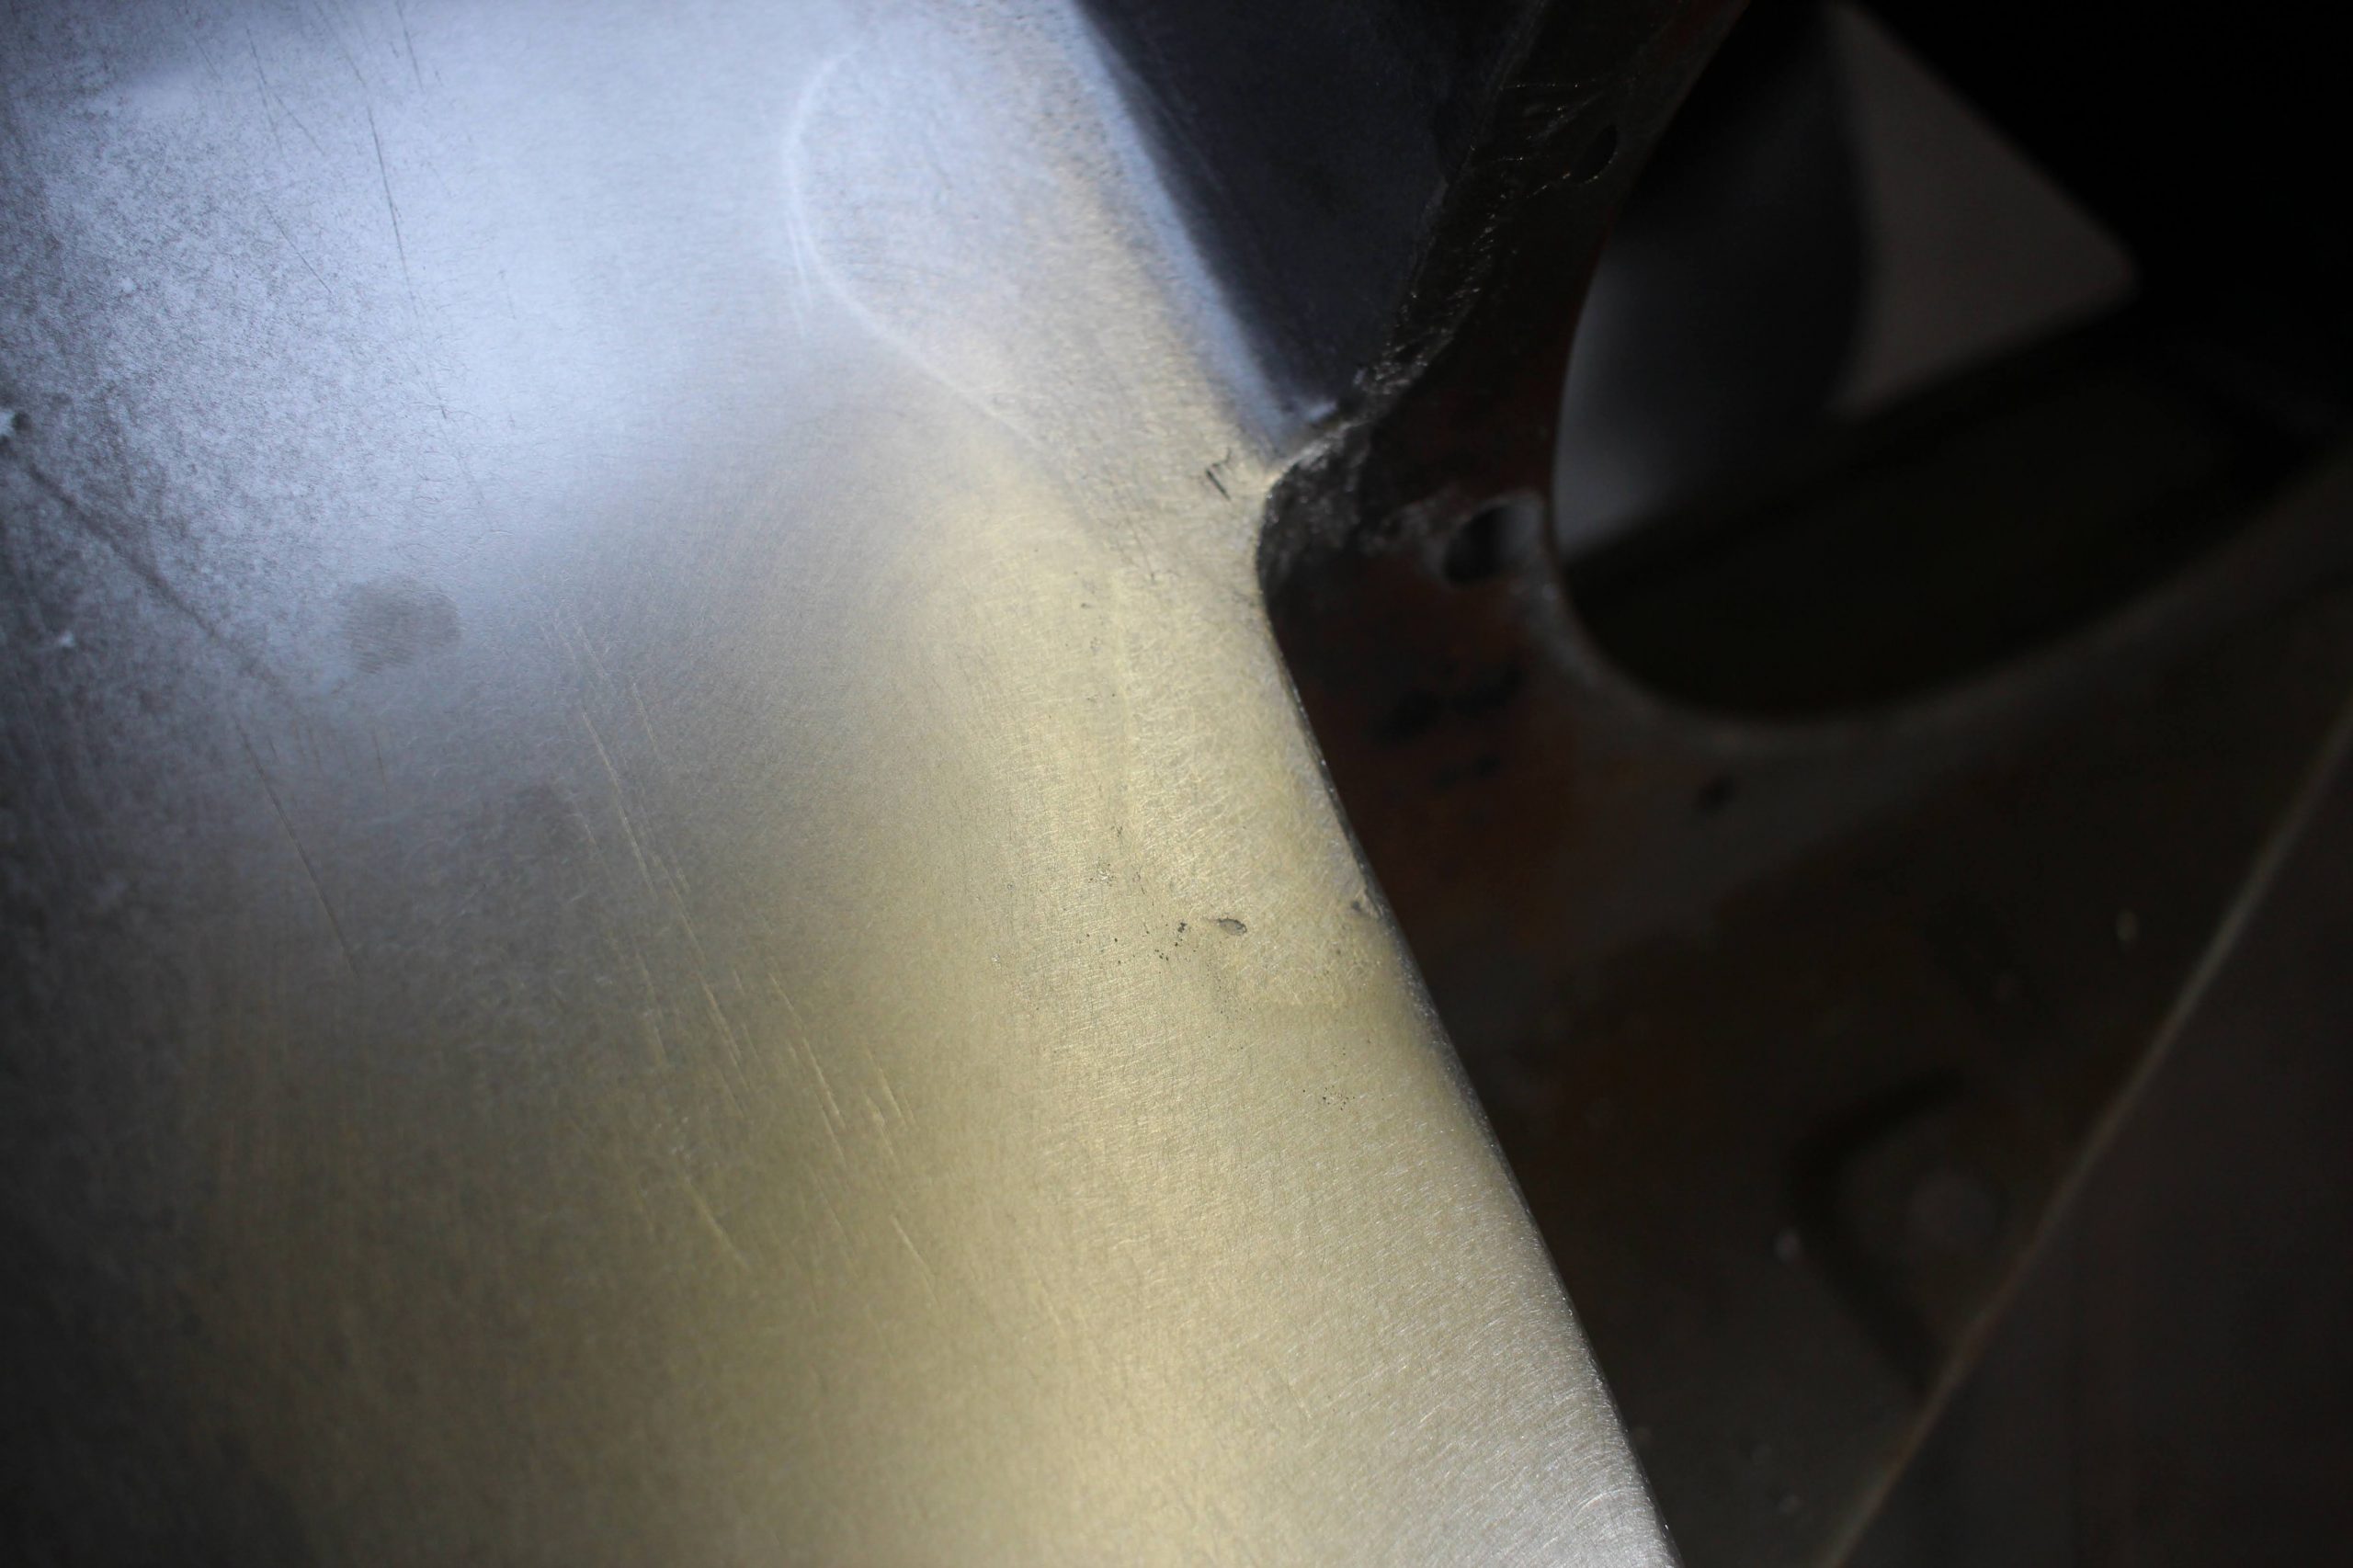
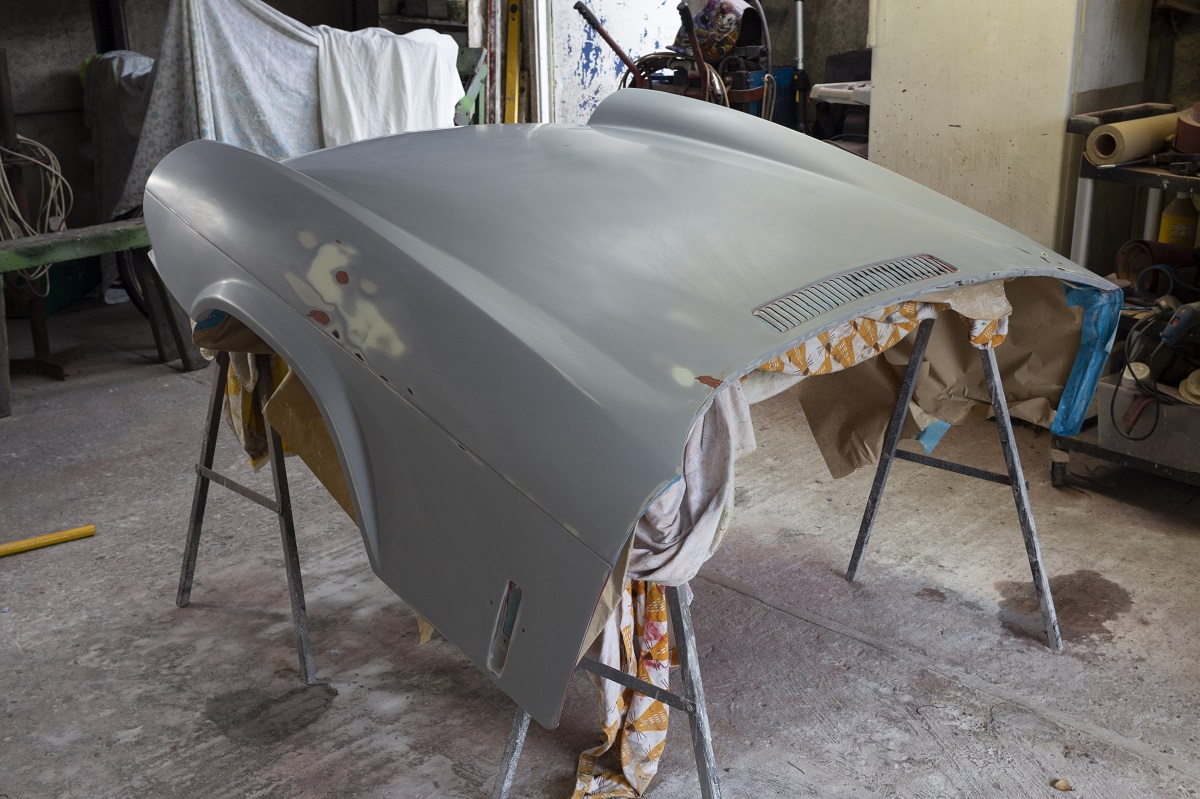
I worked around the bonnet, filling and flatting as best I could before applying the first coat of epoxy. The even finish of a primer helps highlight contours and identify low and high spots. Another round of filling and flatting was getting me close. I think the bonnet was more beaten up than I initially thought.
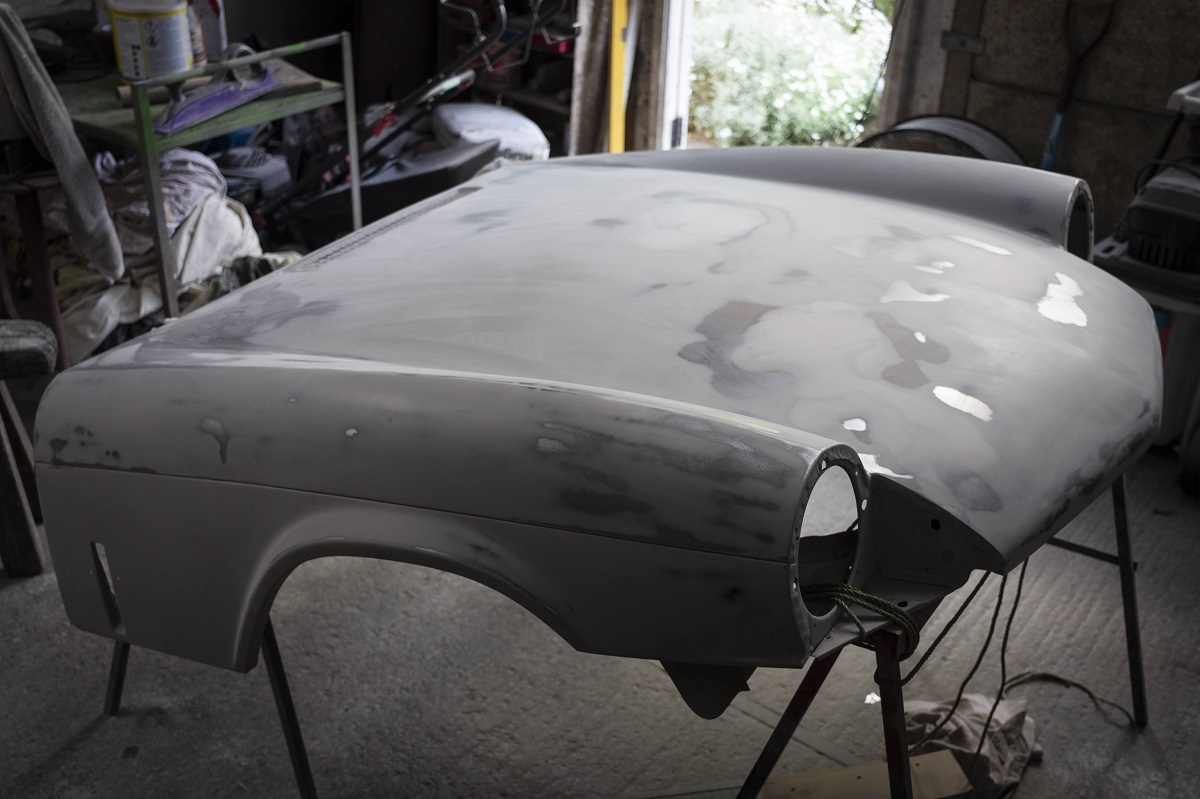
I got as close as I thought possible before switching to high build primer, primed the top side, and turned my attention to the underside.
I didn’t use any high build primer on the underside. This showed up after painting because the factory steel had striations in it which you could see through the paint. Bit of a shame but would look okay when it’s on the car. The underside of the bonnet was one of the hardest areas to paint with all the concealed areas around the wheel arches. Using the small 0.8mm detail gun on a narrow fan pattern, I managed to get reasonable coverage. I’ll have to treat some areas I couldn’t quite reach later on.
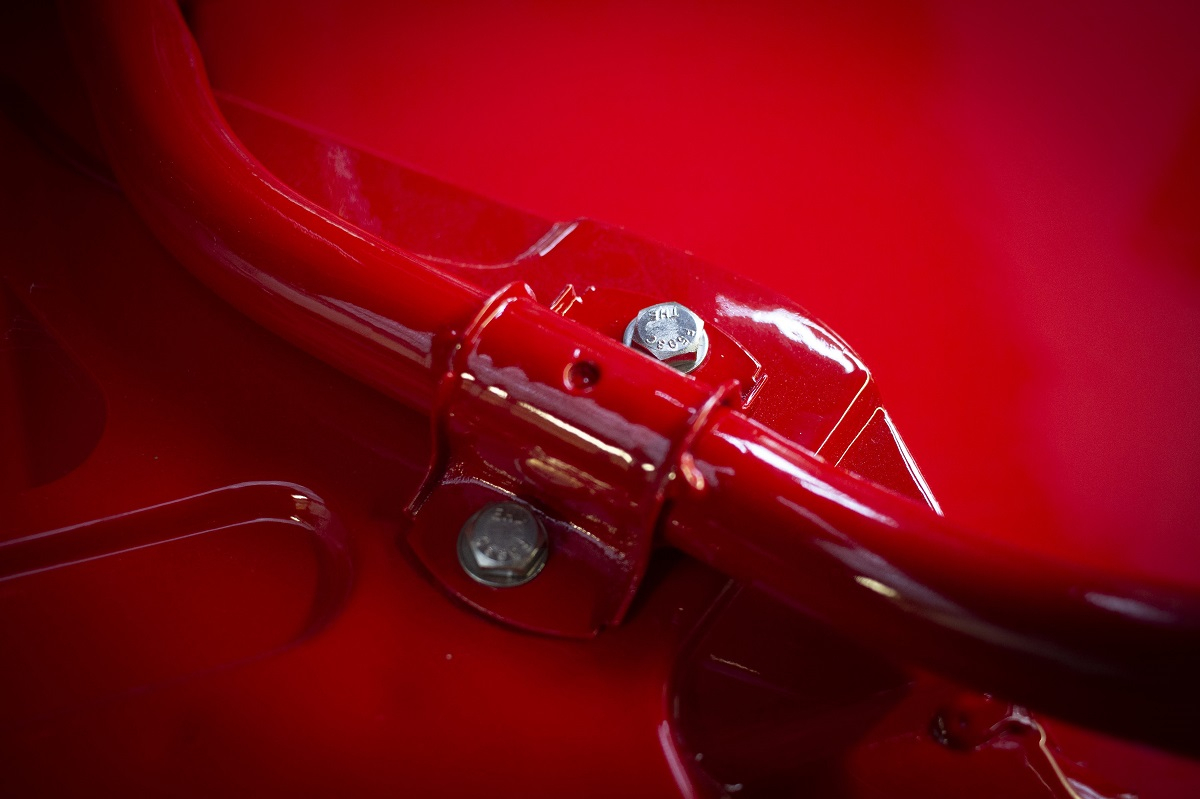
For the inner wheel arches, I used the tinted Upol Raptor again which is very hard wearing and should last a good while. I painted all the mounting hardware with epoxy primer, wet on wet with 2K top coat.

I turned my attention to the top of the bonnet now and started flatting it back again. I’d put another few coats of high build on and use some glazing putty to even a few bits out before it would be ready for the final colour coat.
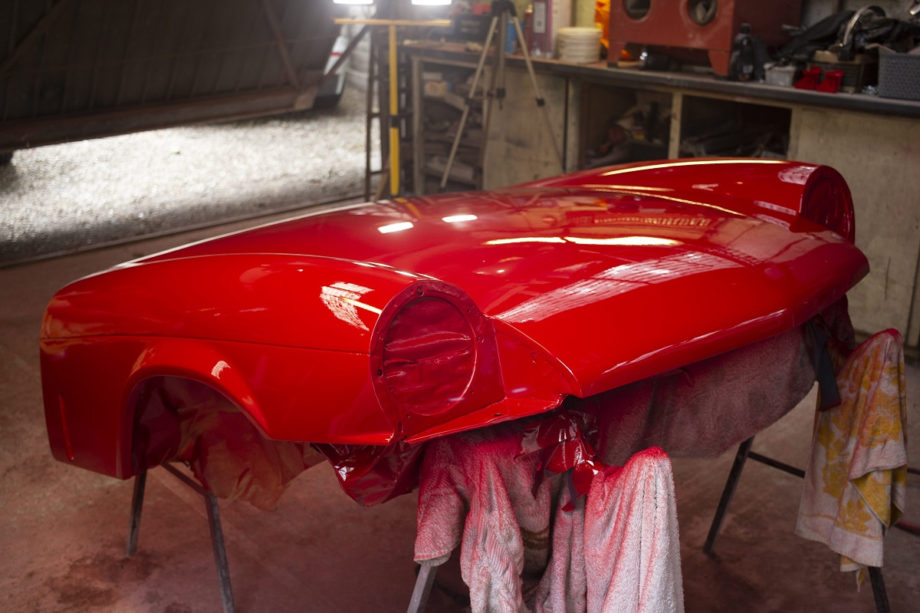
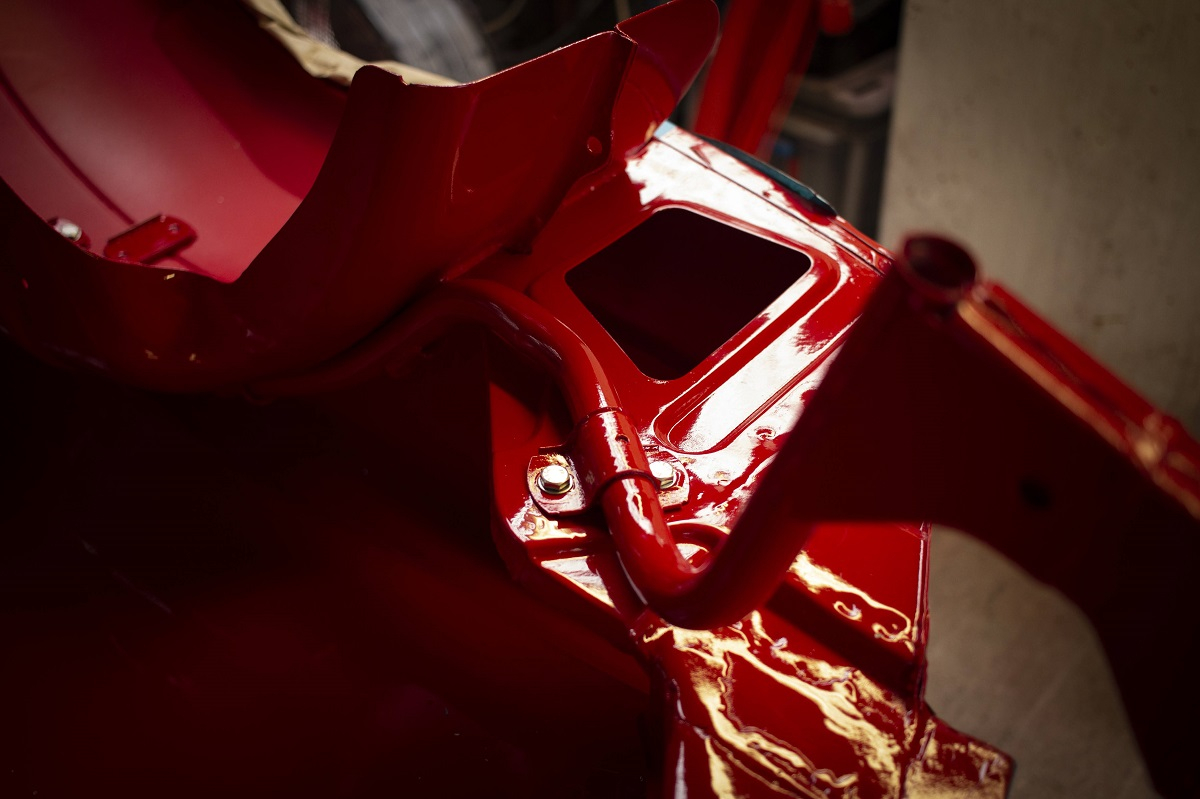
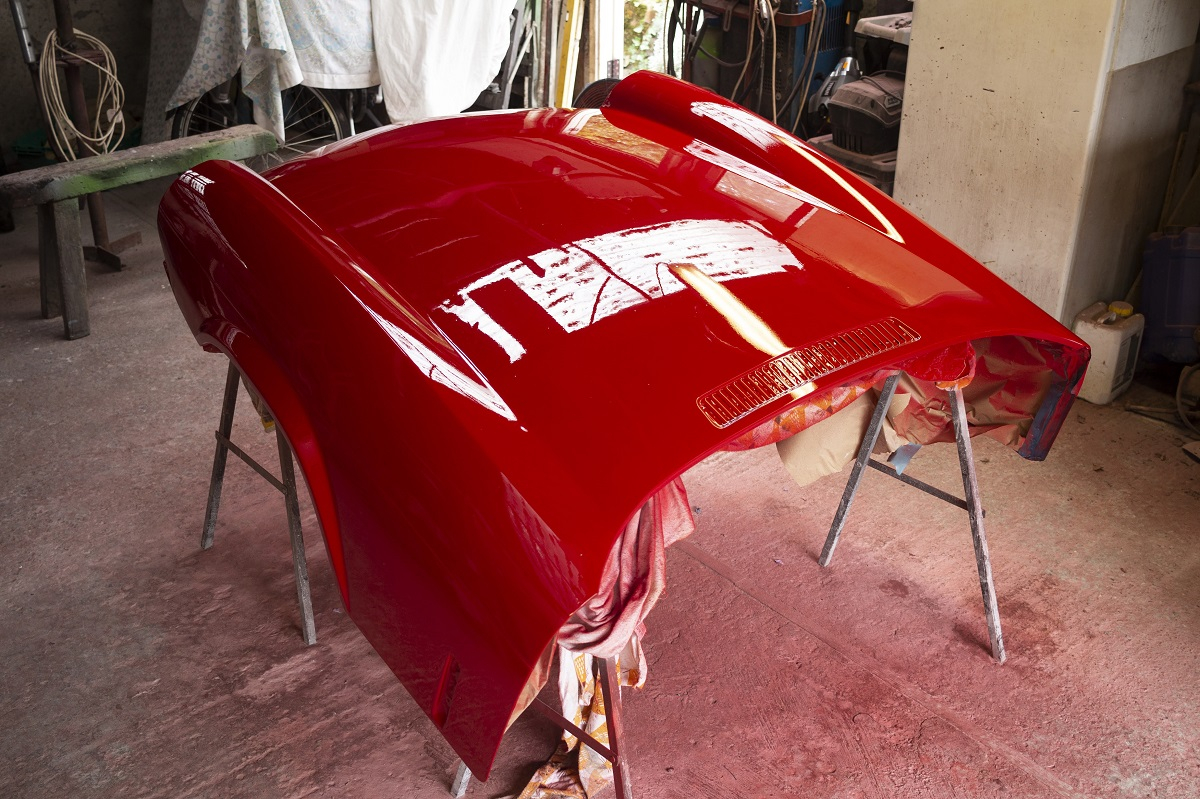
Now it was time to take the plunge once more and apply the top coat. I’m always nervous at this stage, especially since the bonnet makes up so much of the car. I applied 5 coats in the end, working front to back, then left to right and alternating to get good coverage. I had a few runs again which is hard to avoid. Getting the paint to flow nicely and create an even, wet layer of paint is very hard to balance with applying just a bit too much and getting runs. They are easy to sort out with a cut and polish, though.

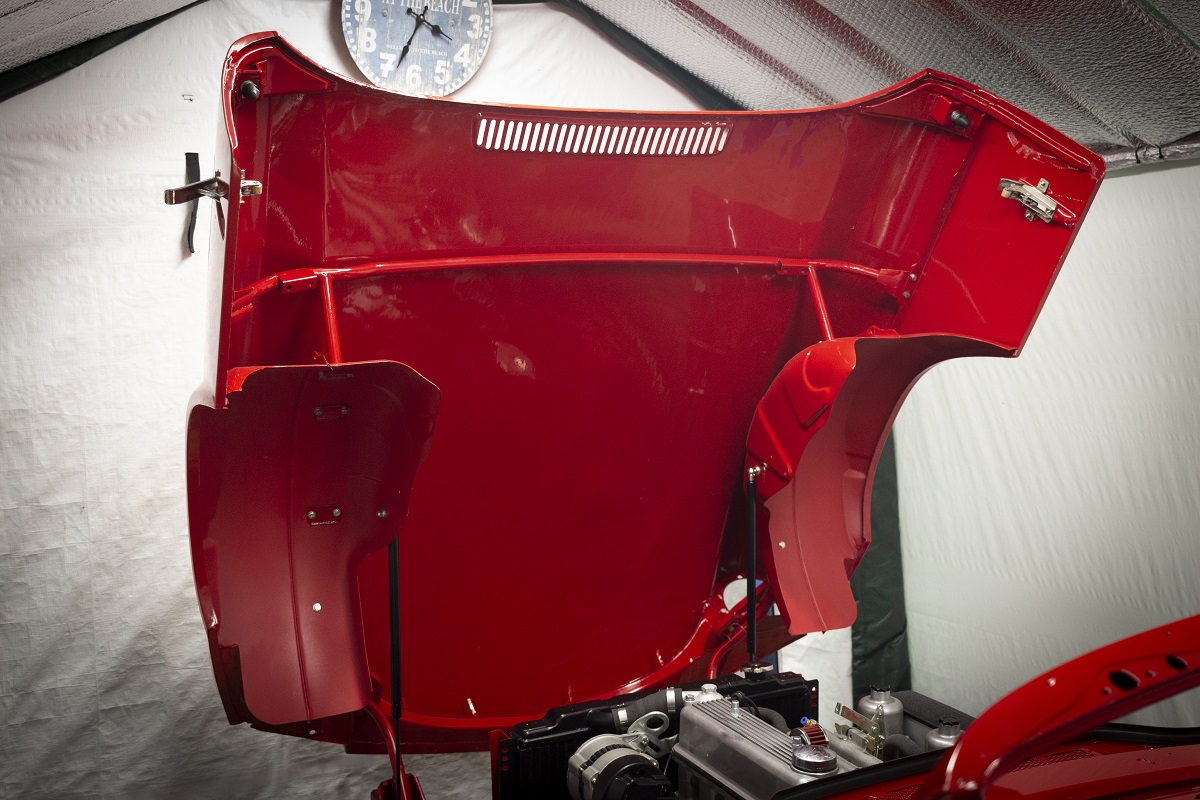
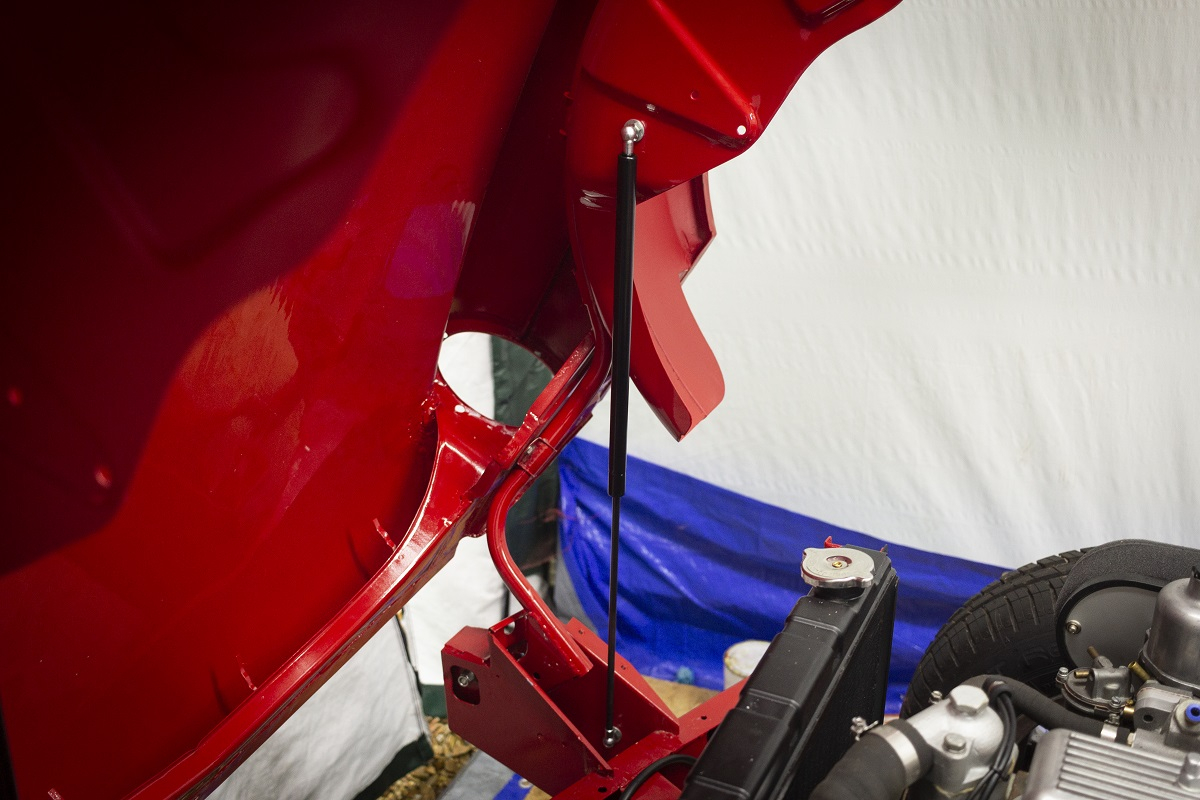
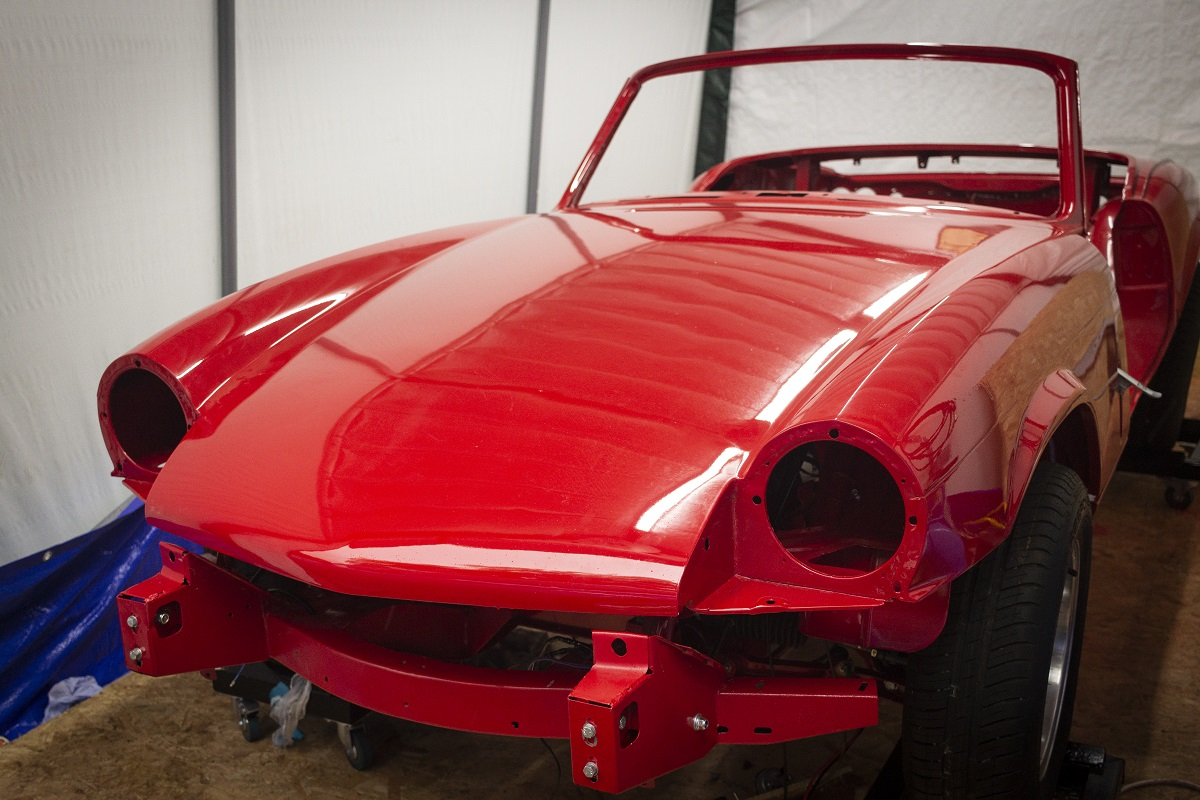
Finally, I got the bonnet back over to my house and fitted it with some help. I messed around with the brackets to get it aligned as best I could and installed a pair of new gas struts. The gap along the rear edge against the scuttle panel isn’t that good but that area suffered the most corrosion. Still, I’m pleased with it and I think it will look the part once it’s had a proper cut and polish.
Now it’s getting into autumn and painting conditions are going to be diminishing but the next bodywork I have to work is the doors and boot lid which shouldn’t need too much work.