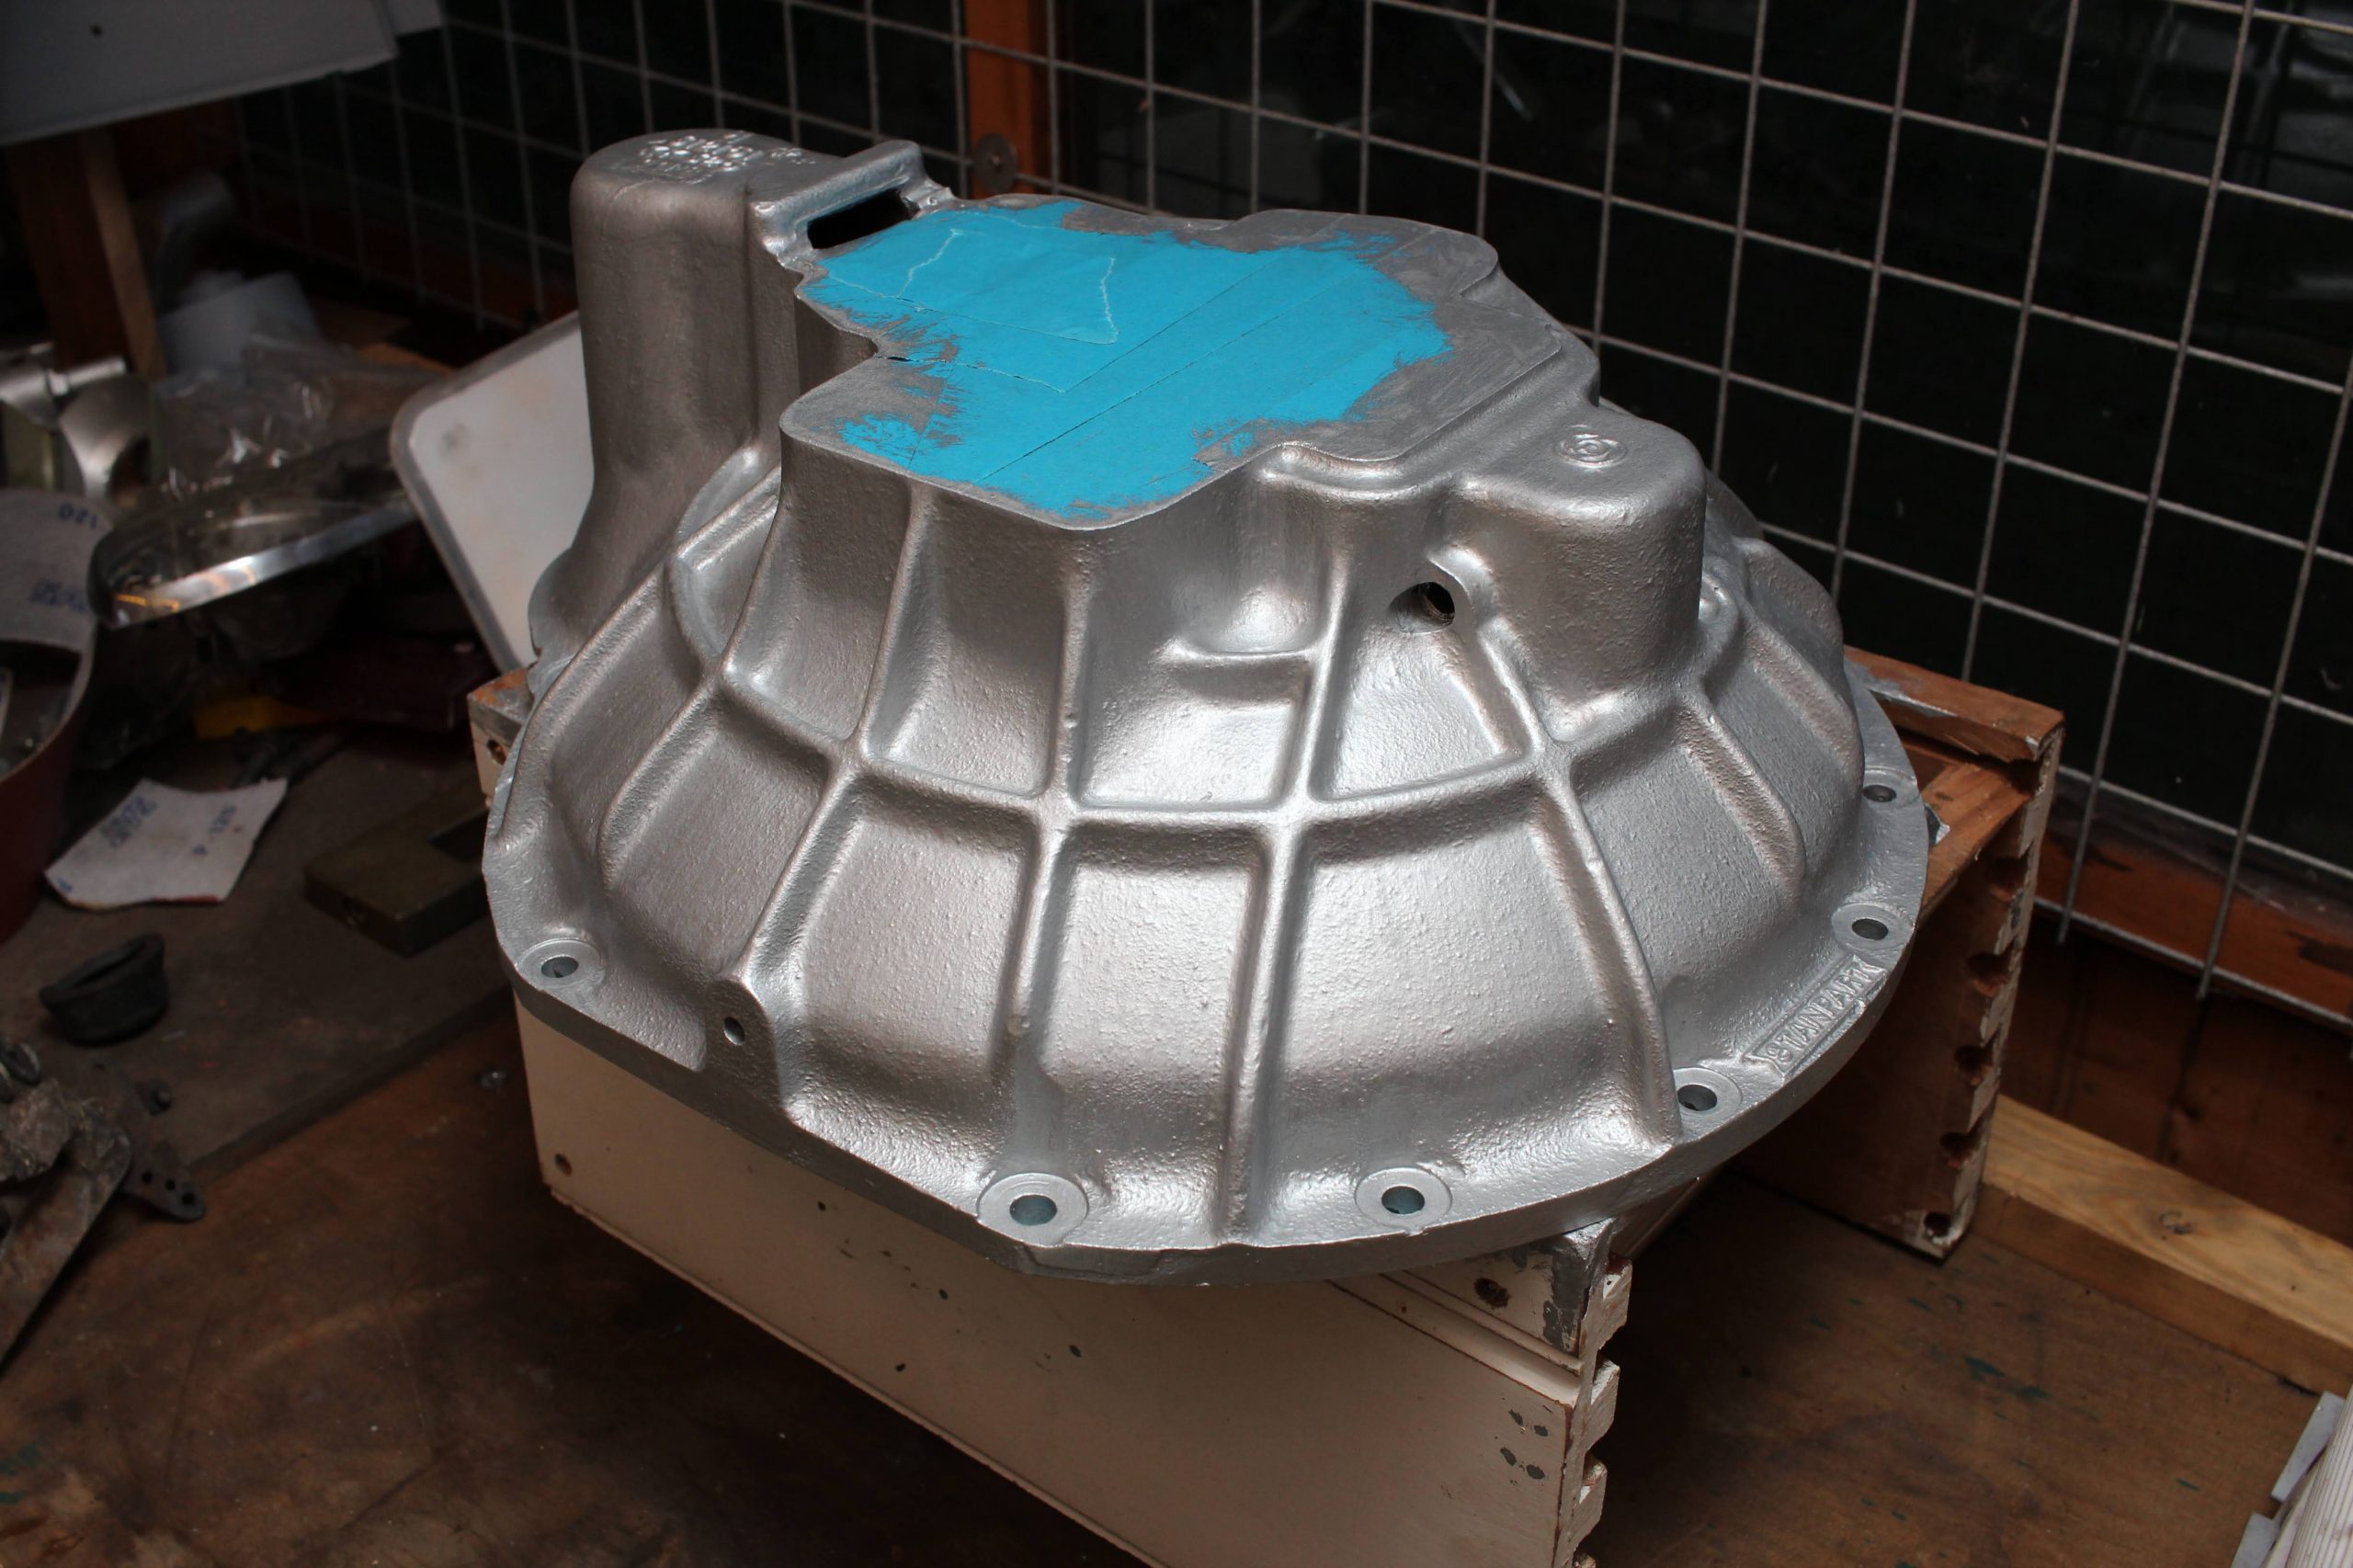
The body was painted and polished as far as I was happy with so next up was to install the engine and gearbox before lowering the body onto the chassis. I got the engine moved from my shed where it had stood since I rebuilt it, ready to turn over with assembly paste on all the bearing surfaces. The gearbox and overdrive were ready too. I just had to get the bell housing cleaned up, painted and the clutch release bearing installed.
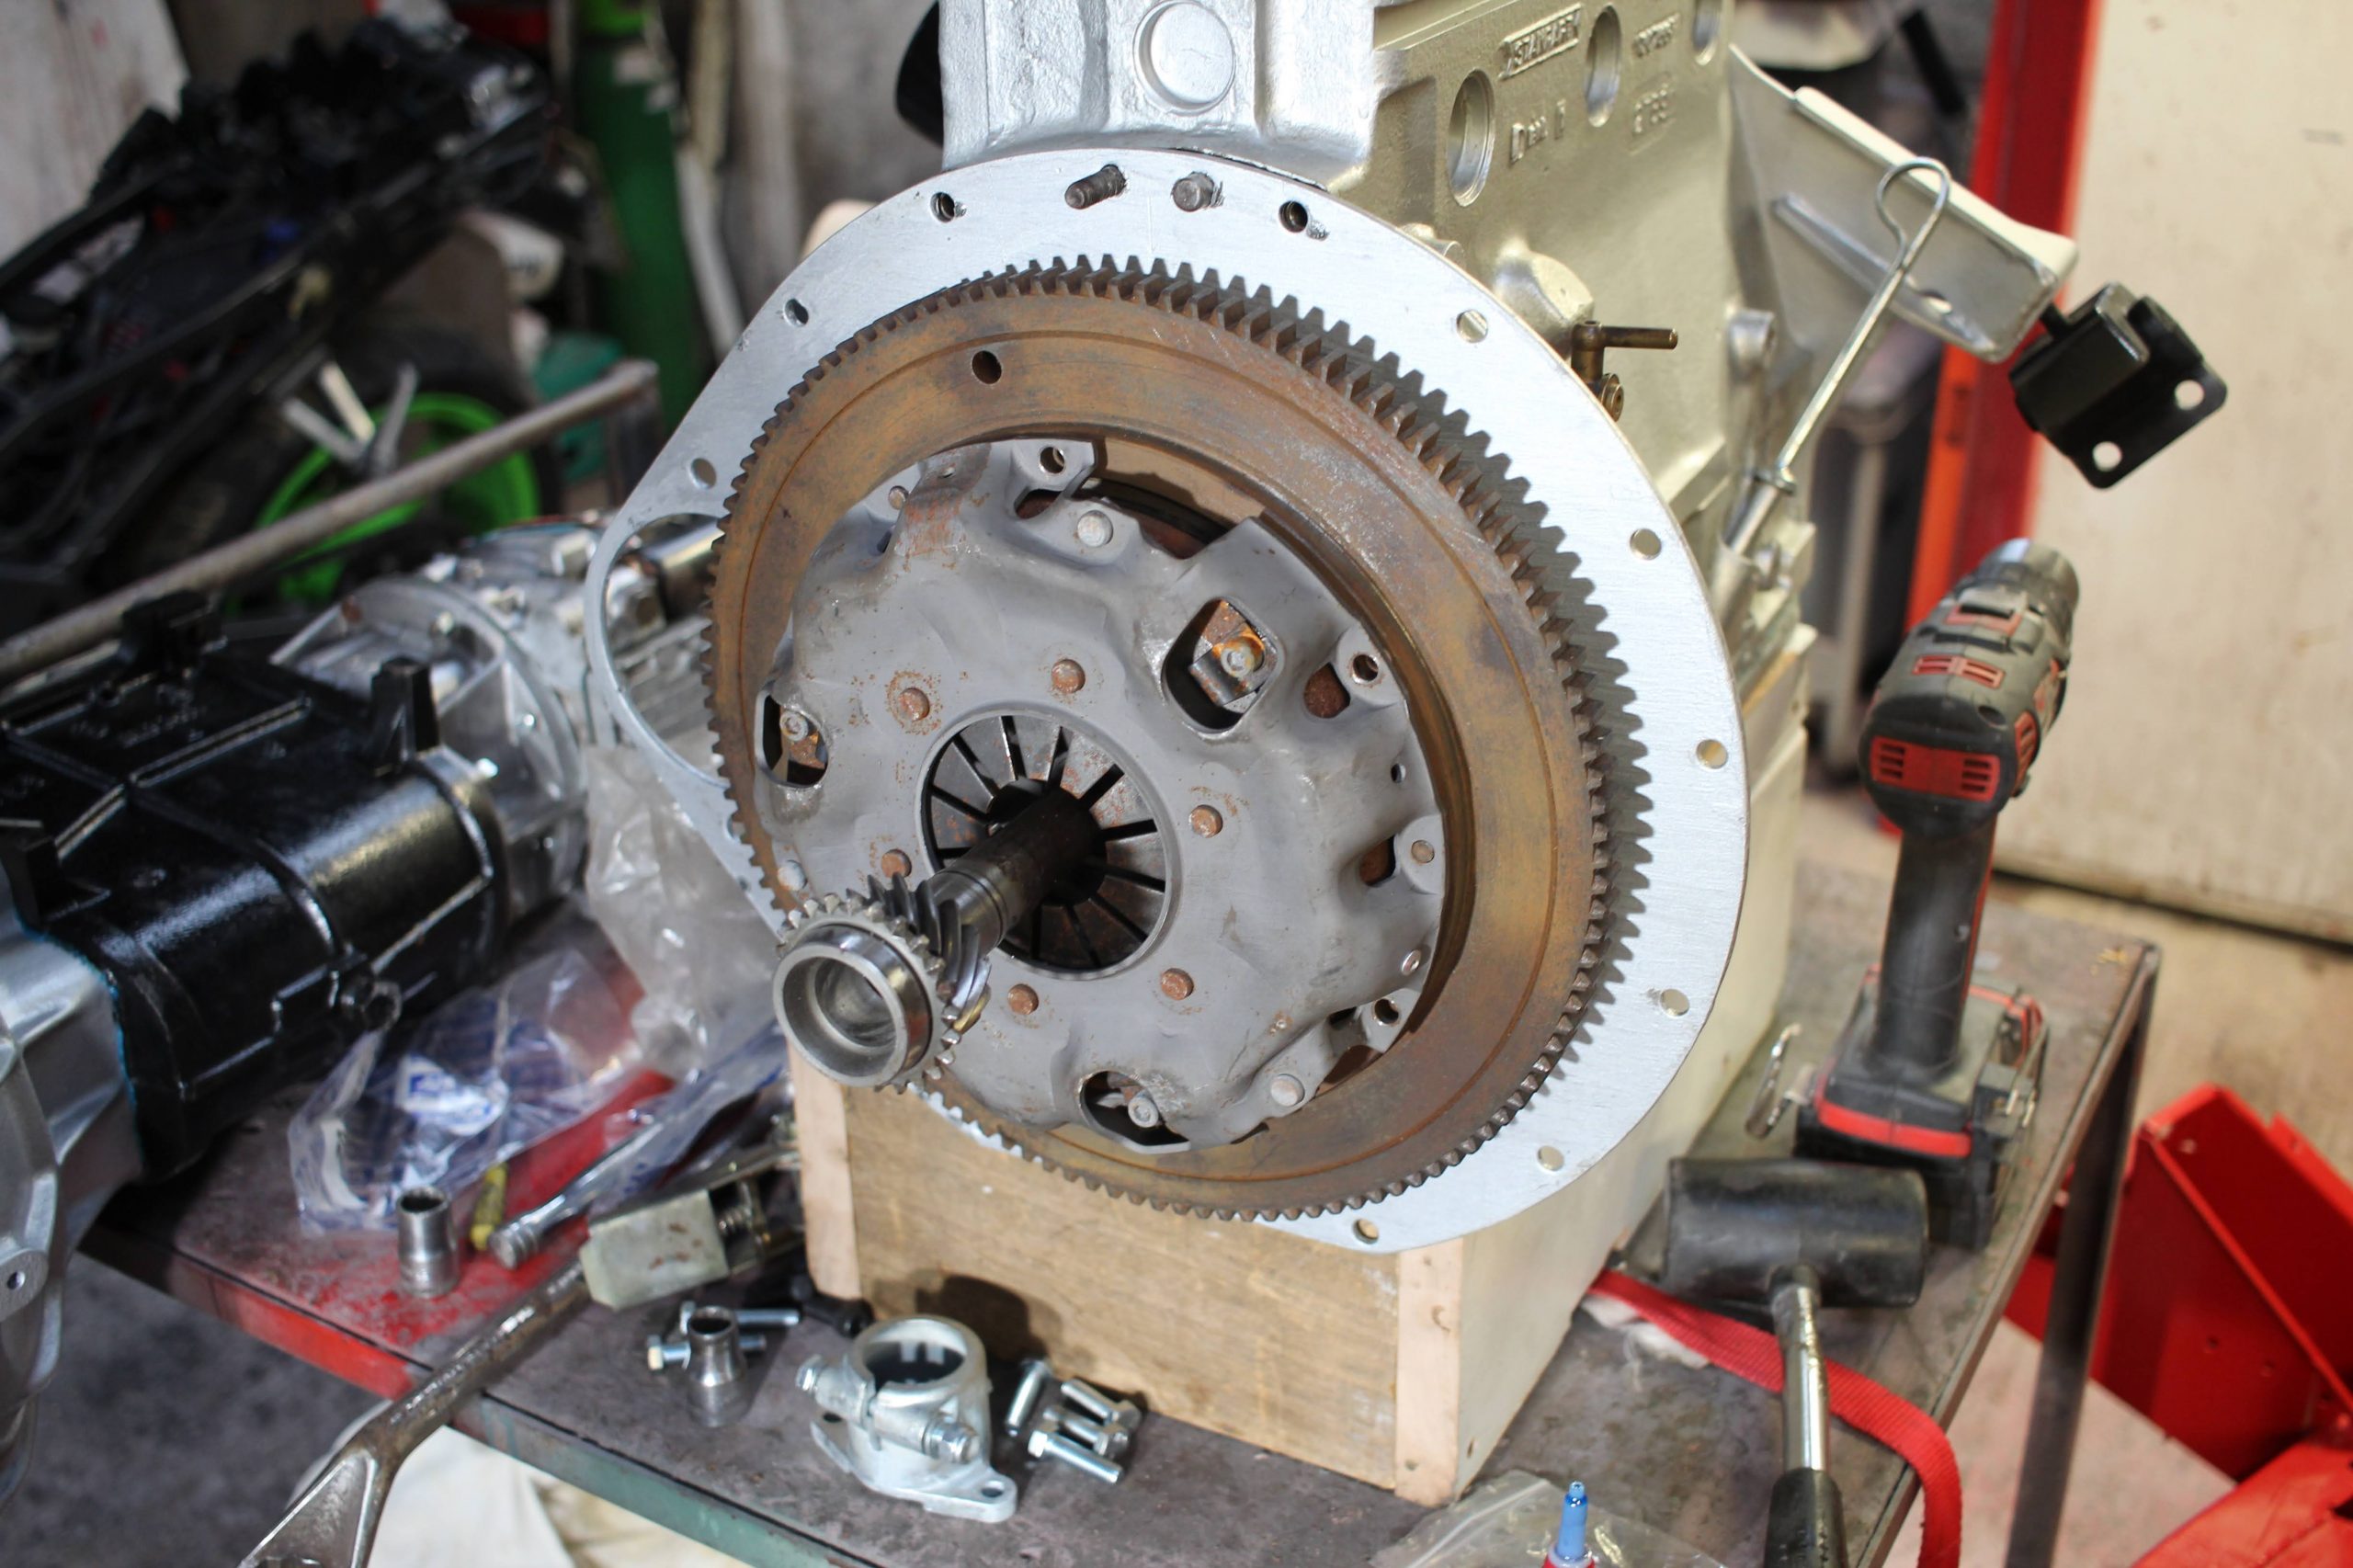
I’d made a small crate from wood for the engine to sit in which allowed it to sit on the bolt heads of the sump. From there I installed a new spigot bush and freshly painted engine end-plate. The flywheel had a new ring gear and was refaced when I had it all balanced at Jigsaw Racing which is sadly now closed but the owner does still sell some items on eBay. It was balanced with a brand new clutch at the same time. I installed a new gasket for the gearbox and bell housing with new springs and BBs for the pre-load on the layshaft thrust washer.

A spare input shaft makes the perfect clutch alignment tool…
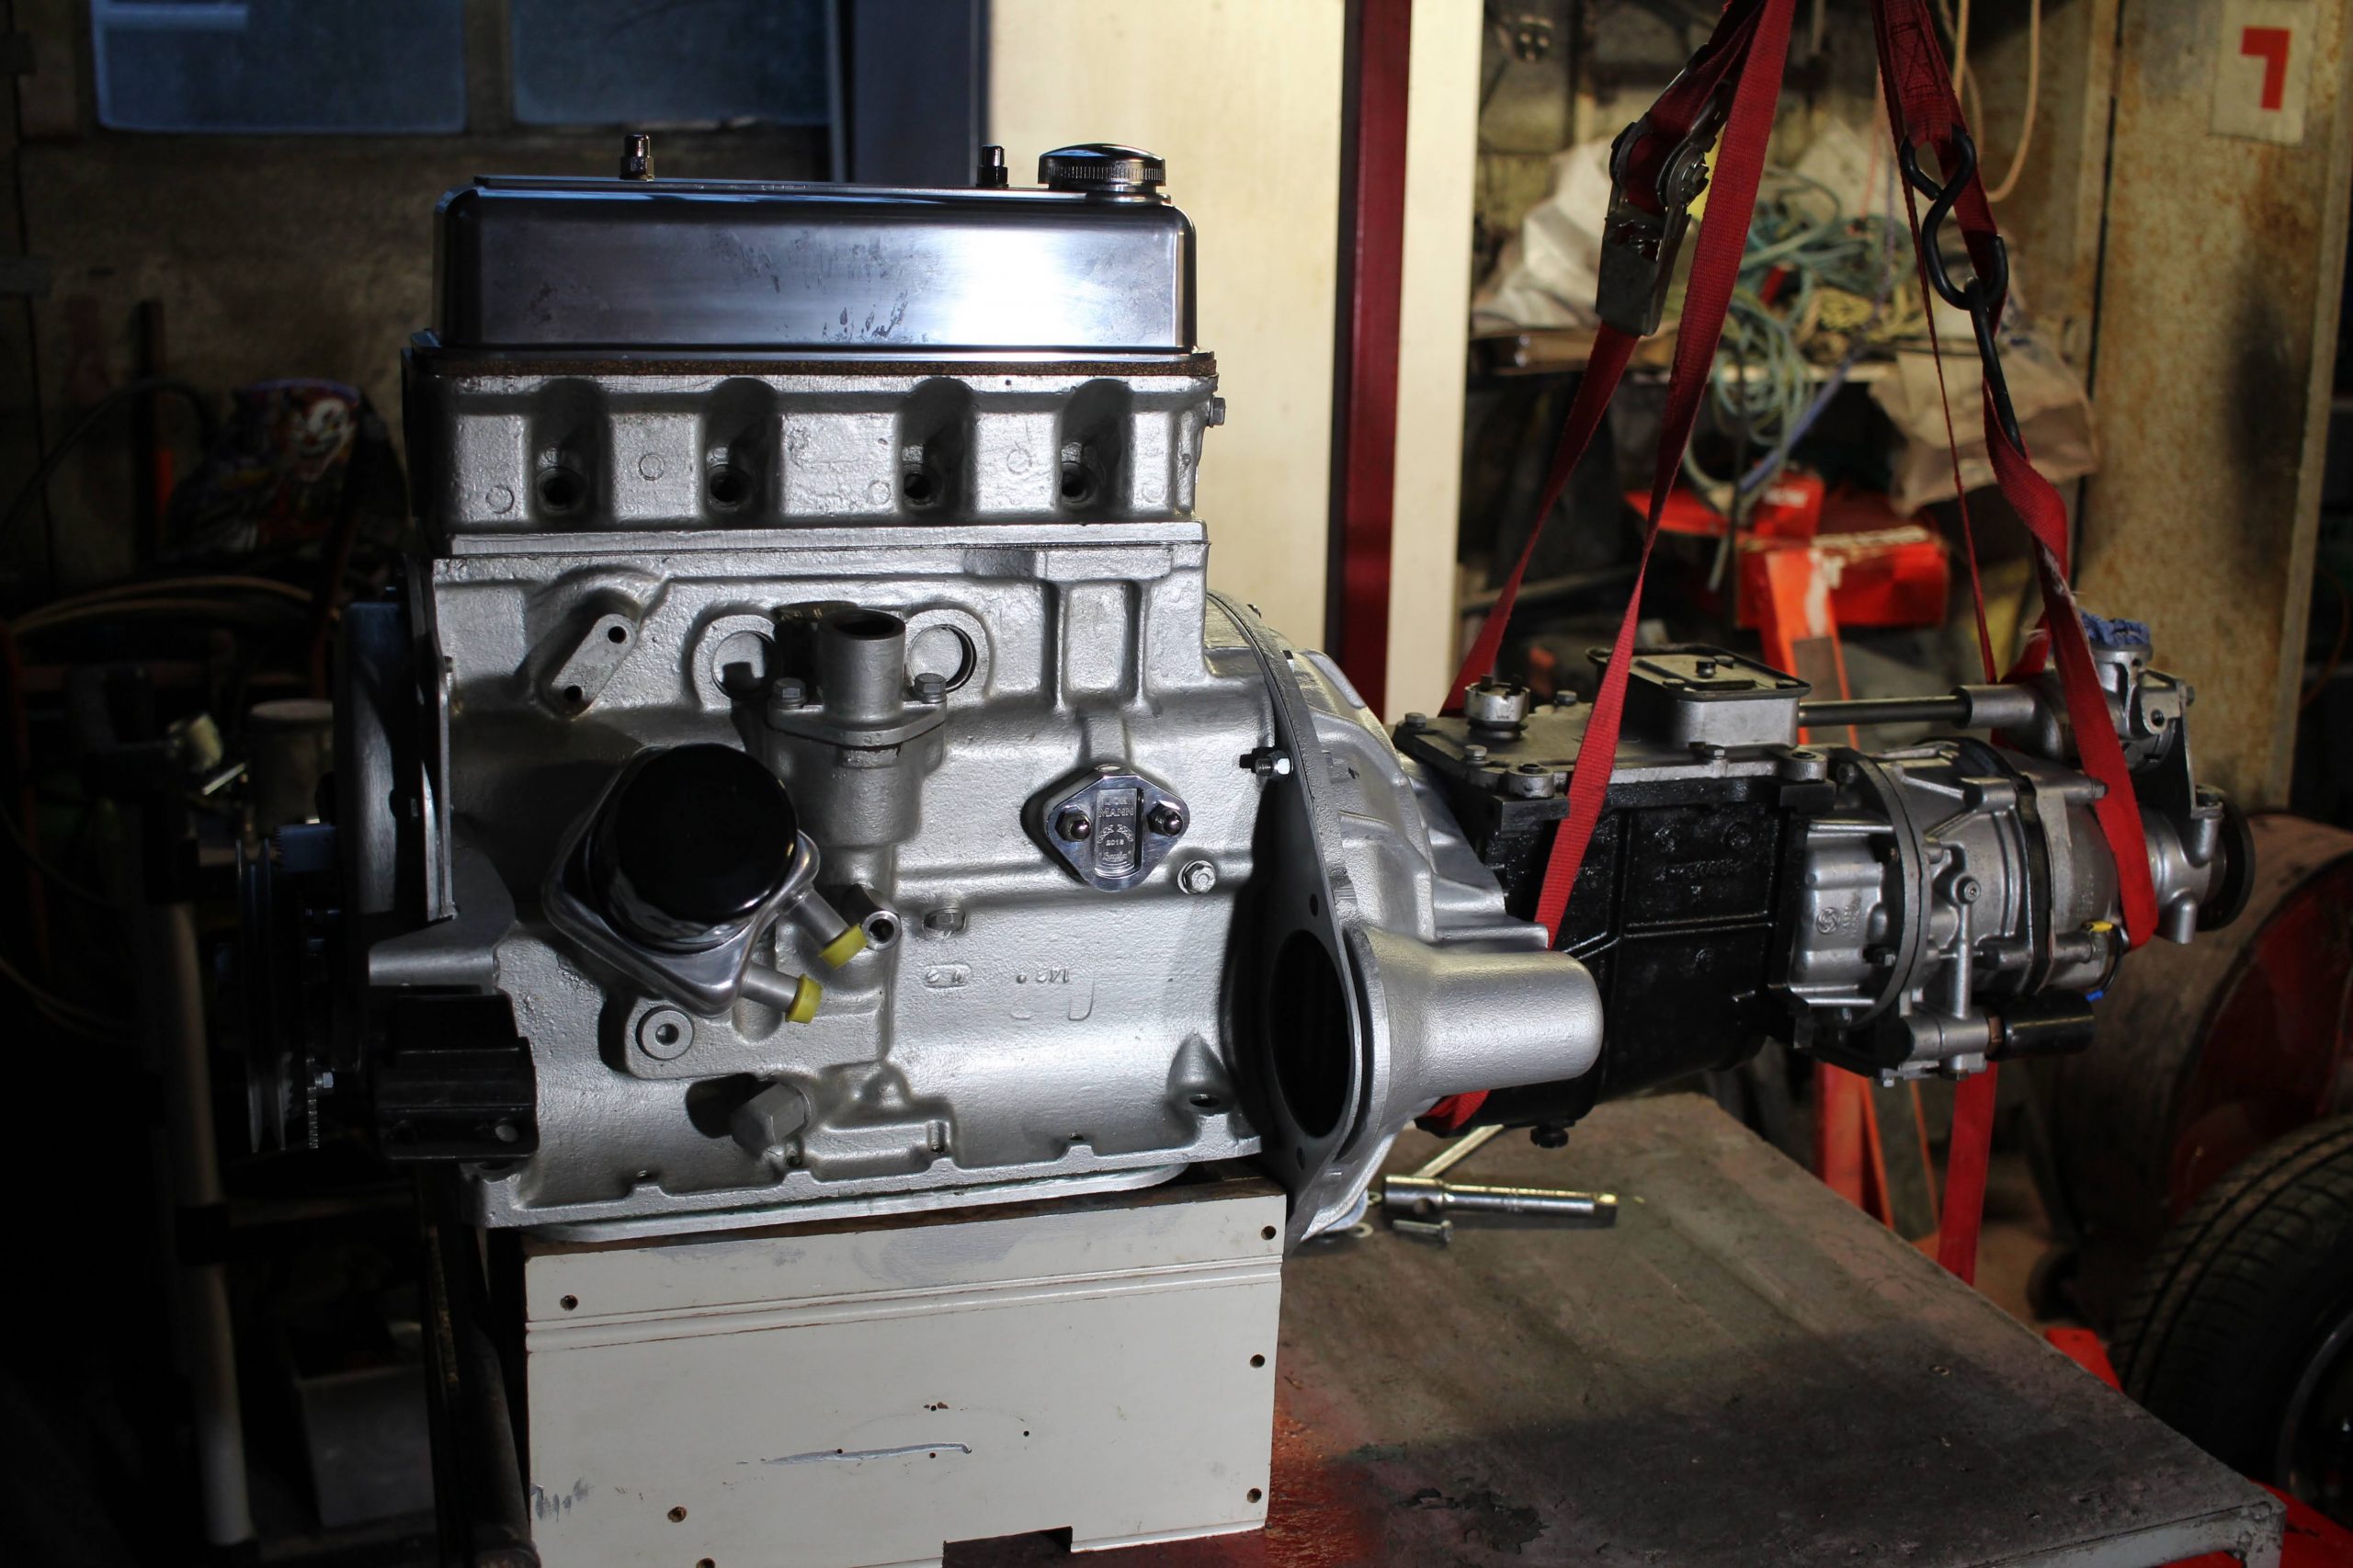
Finally, the engine and gearbox were back together after some years and it was looking pretty smart in its new paint and fittings.
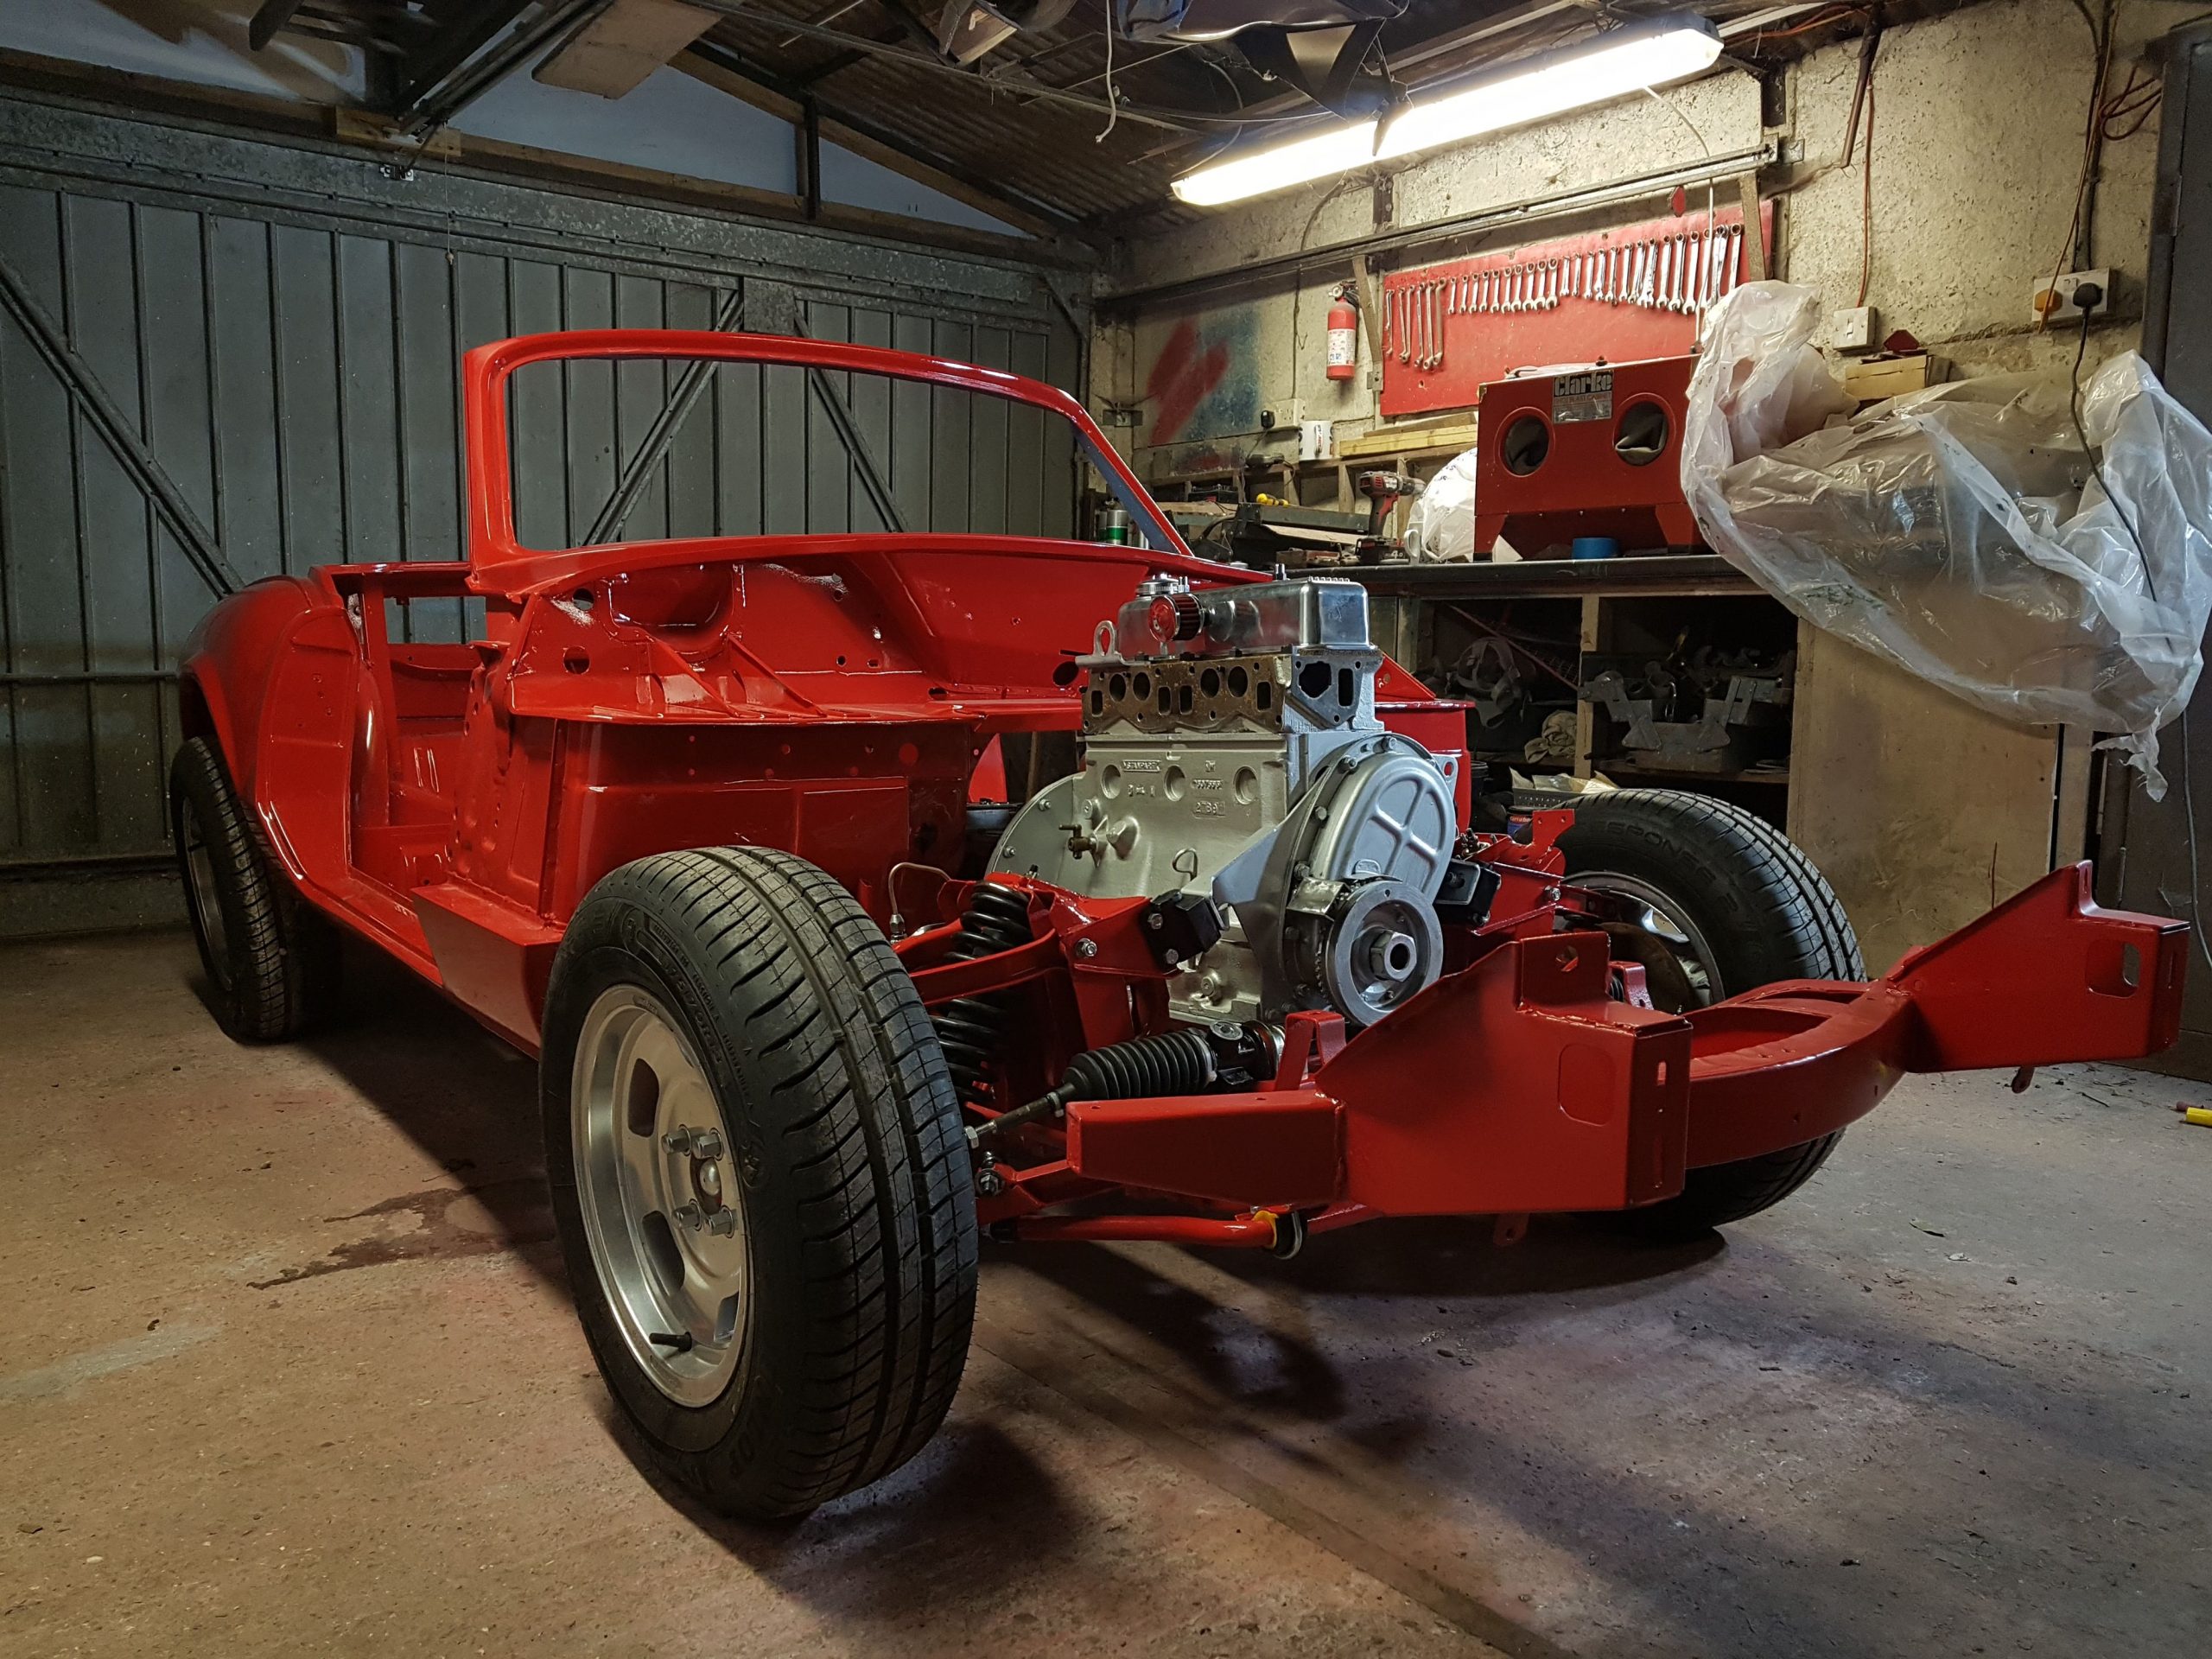
With the engine and gearbox mounts ready and bolts to hand, I positioned the engine and gearbox over the chassis and carefully lowered it in. It went in surprisingly easy and I didn’t scratch any paint.
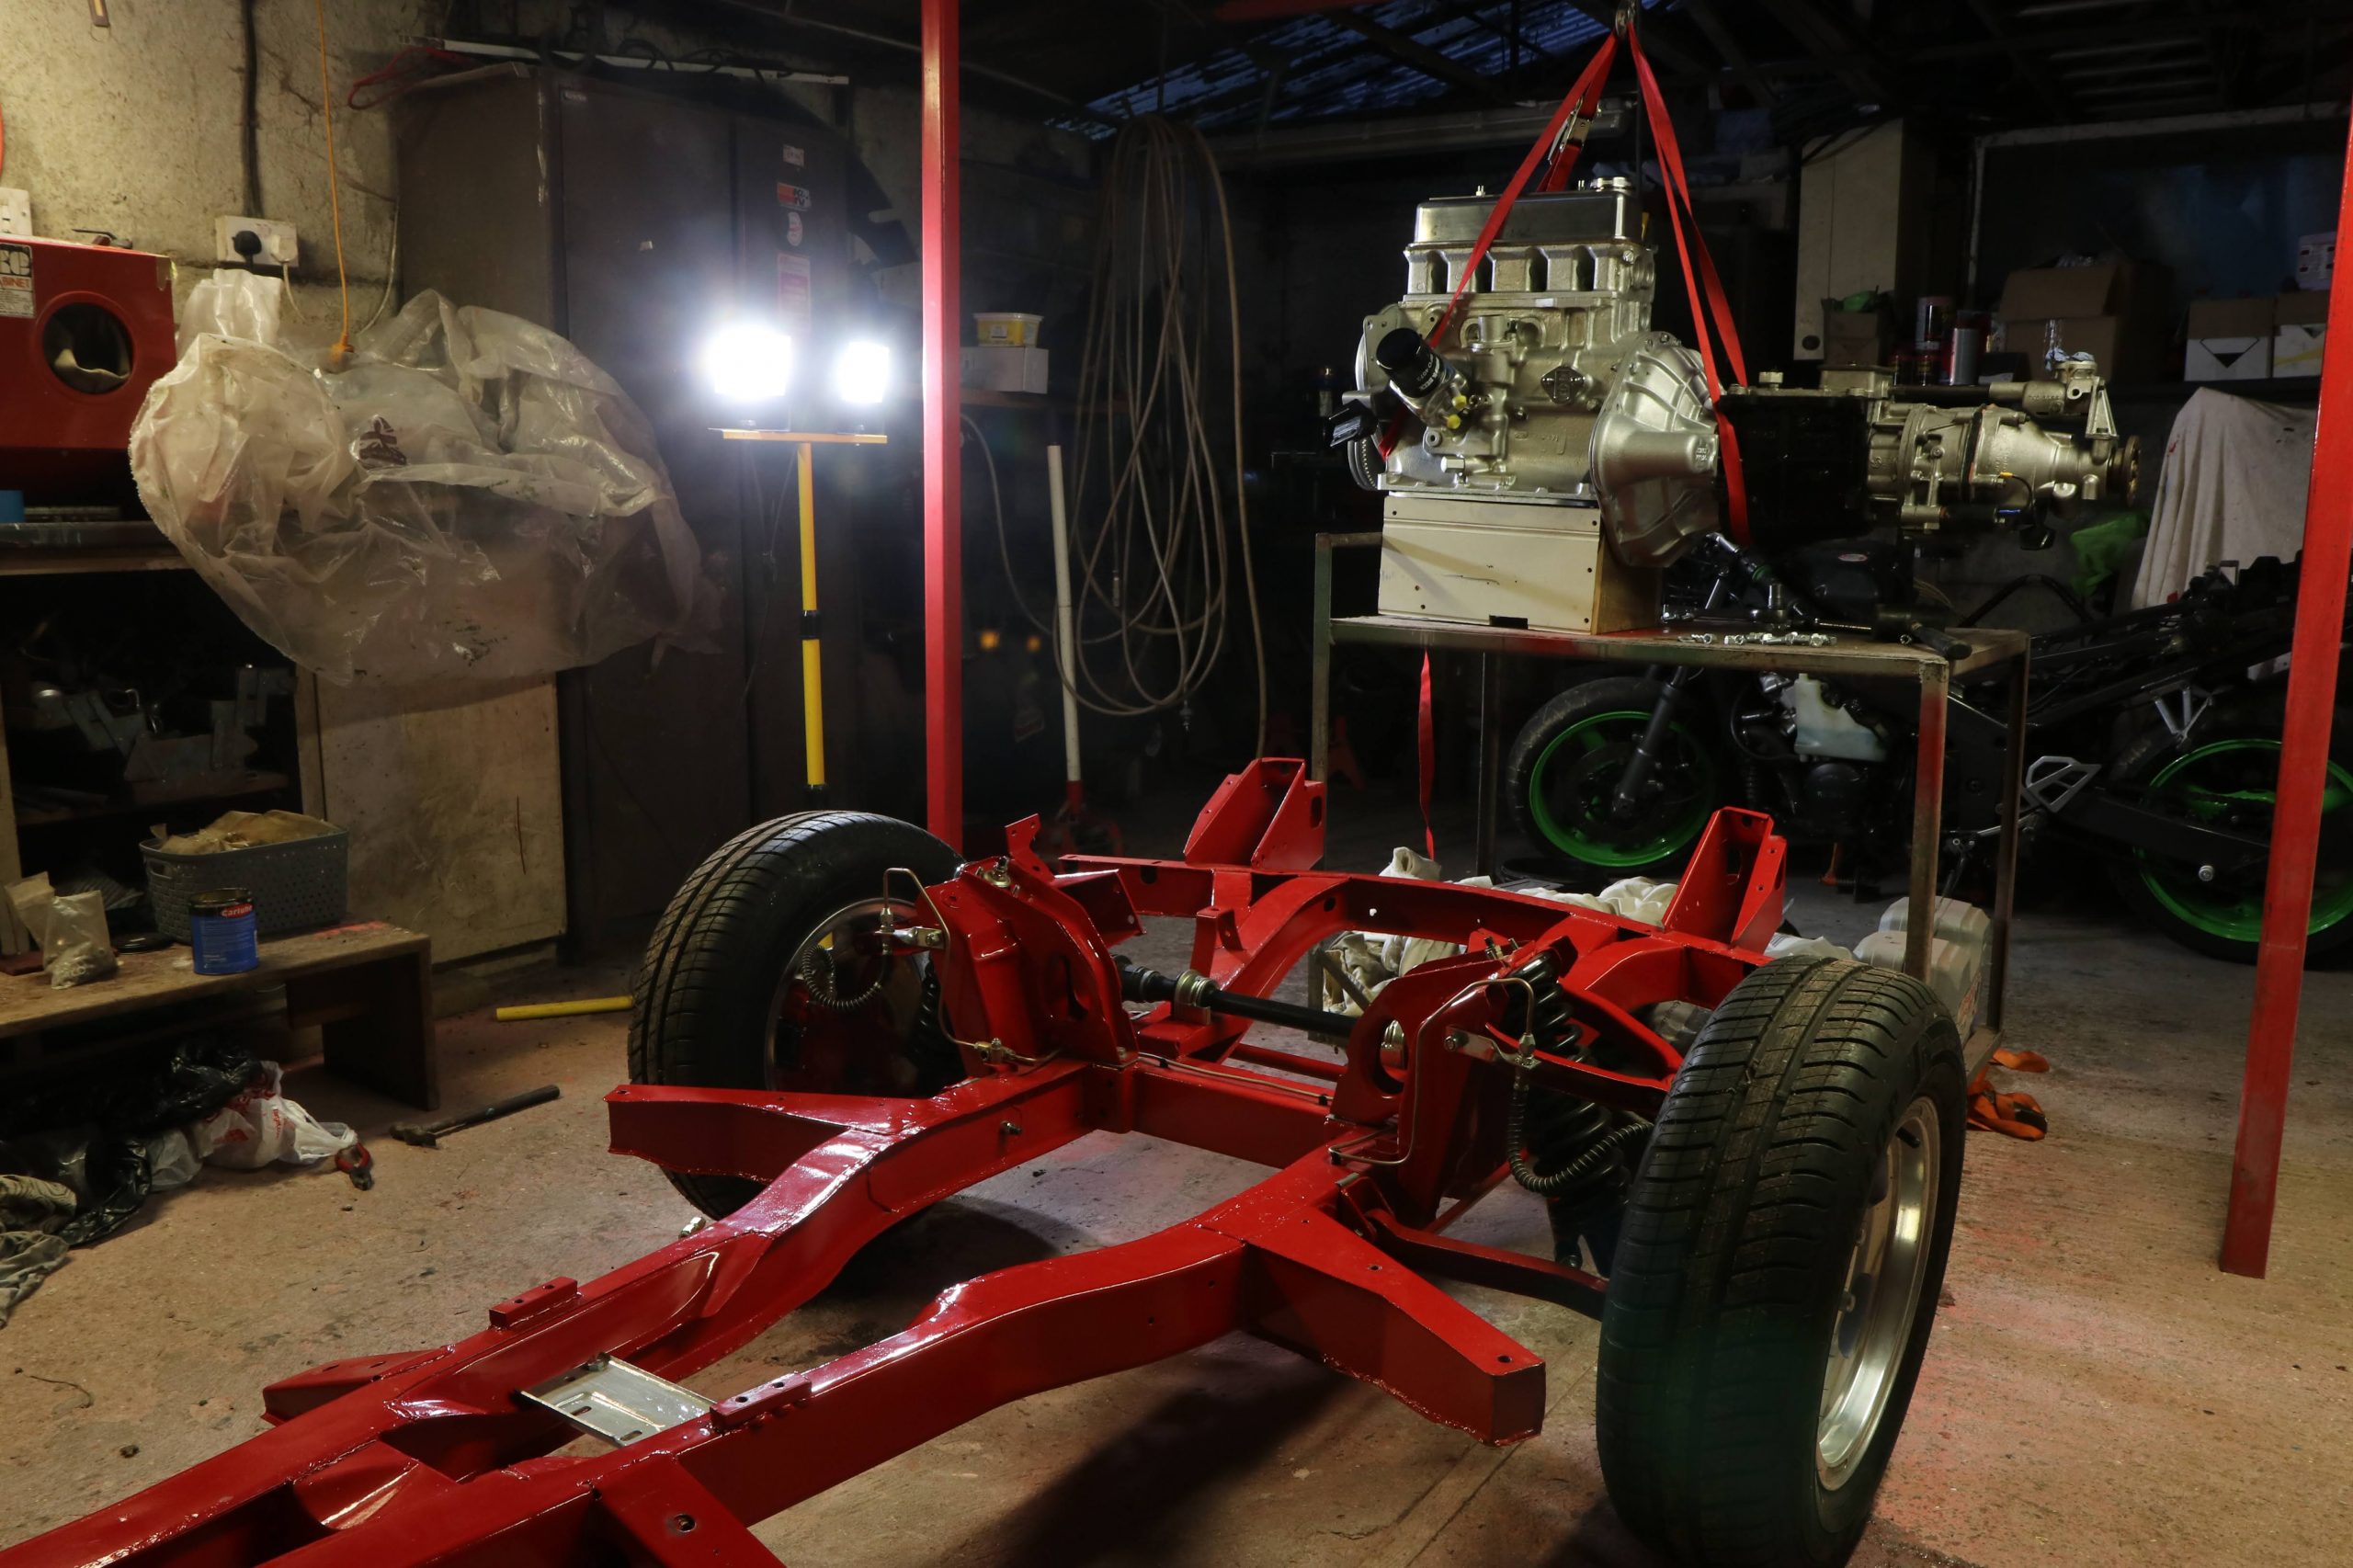

It was hugely satisfying to see it like this and was living up to what I’d had pictured in my mind for so long. The next stage was quite a milestone in the restoration, however. Lowering the body back on.
Having already done some test fitting while I was battling with the door gaps, I knew how this would go and exactly what spacers would be required between the chassis and the body. Half an hour or so of jostling things into place and it was there. It was really starting to look like a Spitfire again. A proud moment.
With the new rear leaf spring, new bushes and very little weight in the rear, the camber at the rear wasn’t looking great but hopefully, that will settle when it’s been on the road for a while. If not, I can install a lowering block that sits between the leaf spring and the diff and should introduce a degree or two of negative camber to straighten things out. Sometimes this is needed with the new rear springs.
Now it was time to move the car over to my house from my dad’s workshop. A good long-term friend now runs a car transport business, JC Auto Movements, so I called him up and enlisted his services to get the car moved.

In its new home, I lined the floor with a tarpaulin and build a wooden base. This would keep the damp down to a minimum and give me a reasonably level space to work. I started building up the cooling system, exhaust, inlet and electrics with a view to getting the engine running next.
I welded two O2 sensor bungs in the exhaust headers for cylinders 1 and 4 which will feedback into the ignition controller so I can log data for tuning the carbs or allow for closed-loop control if I decide to convert it to injection down the line. Then I wrapped the headers. I followed some advice on the wrapping by soaking the tape in water and using lock wire which turned out quite well after my first failed attempt using the supplied stainless cable ties.
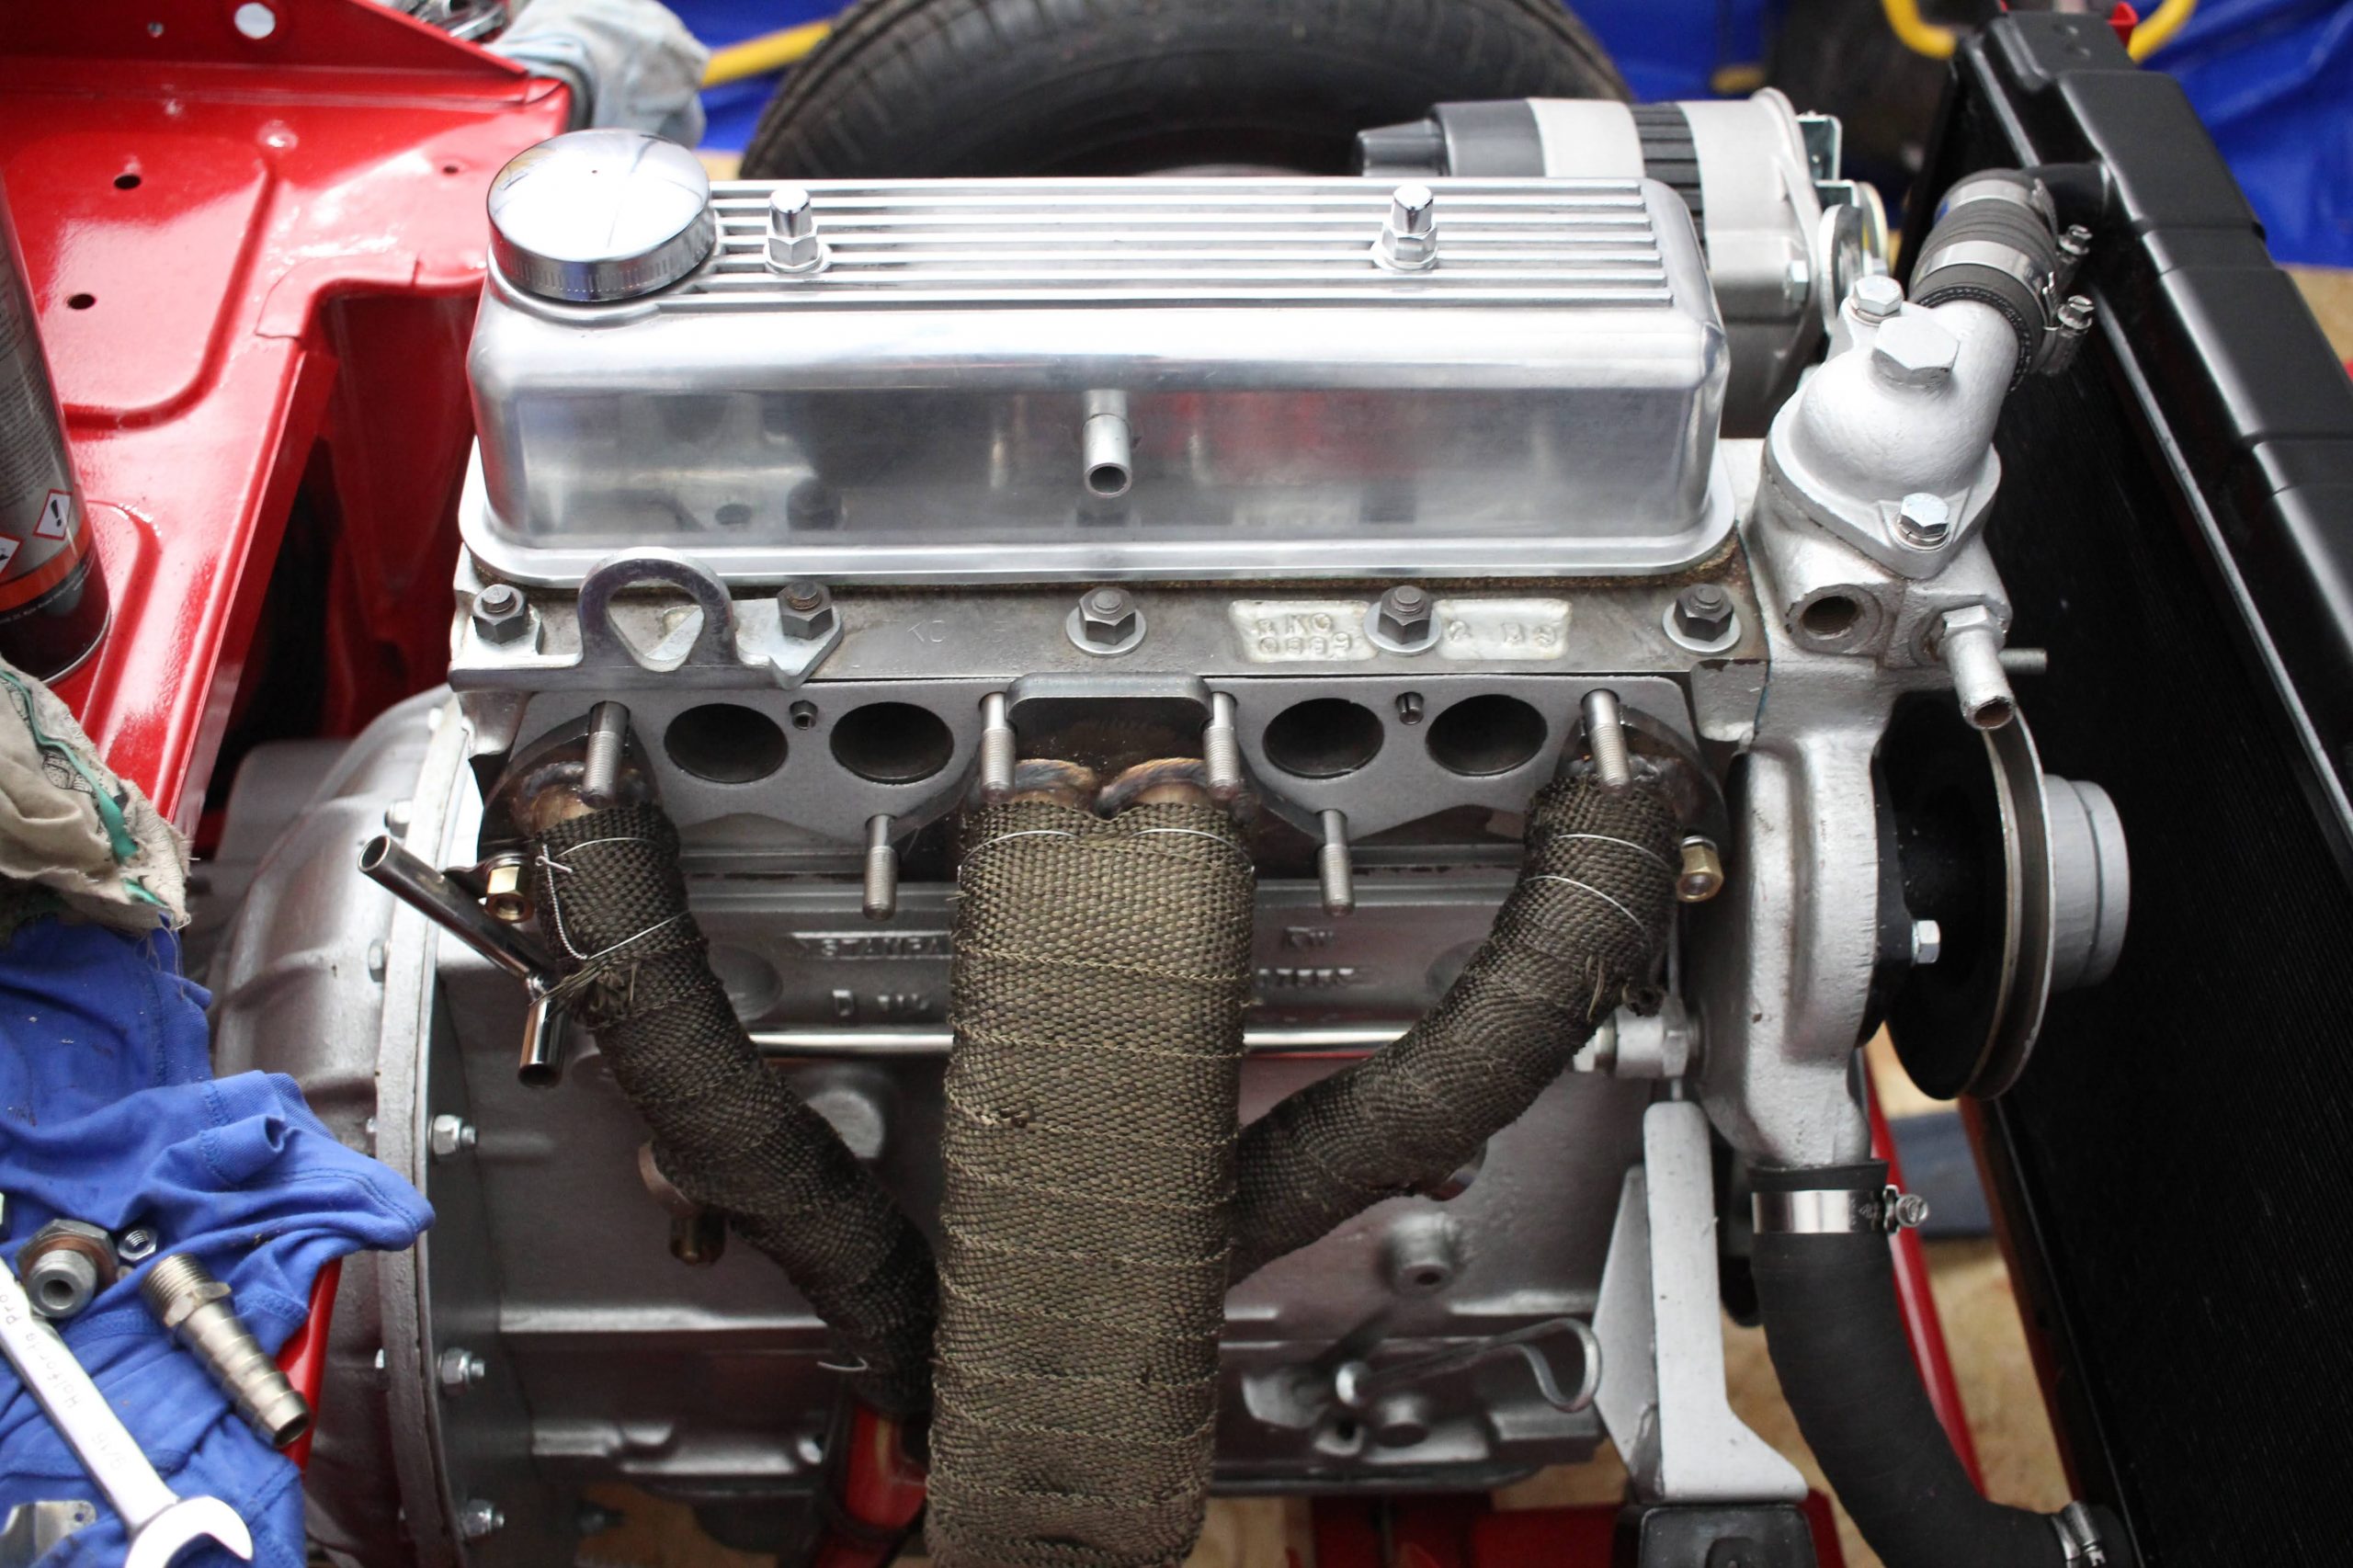
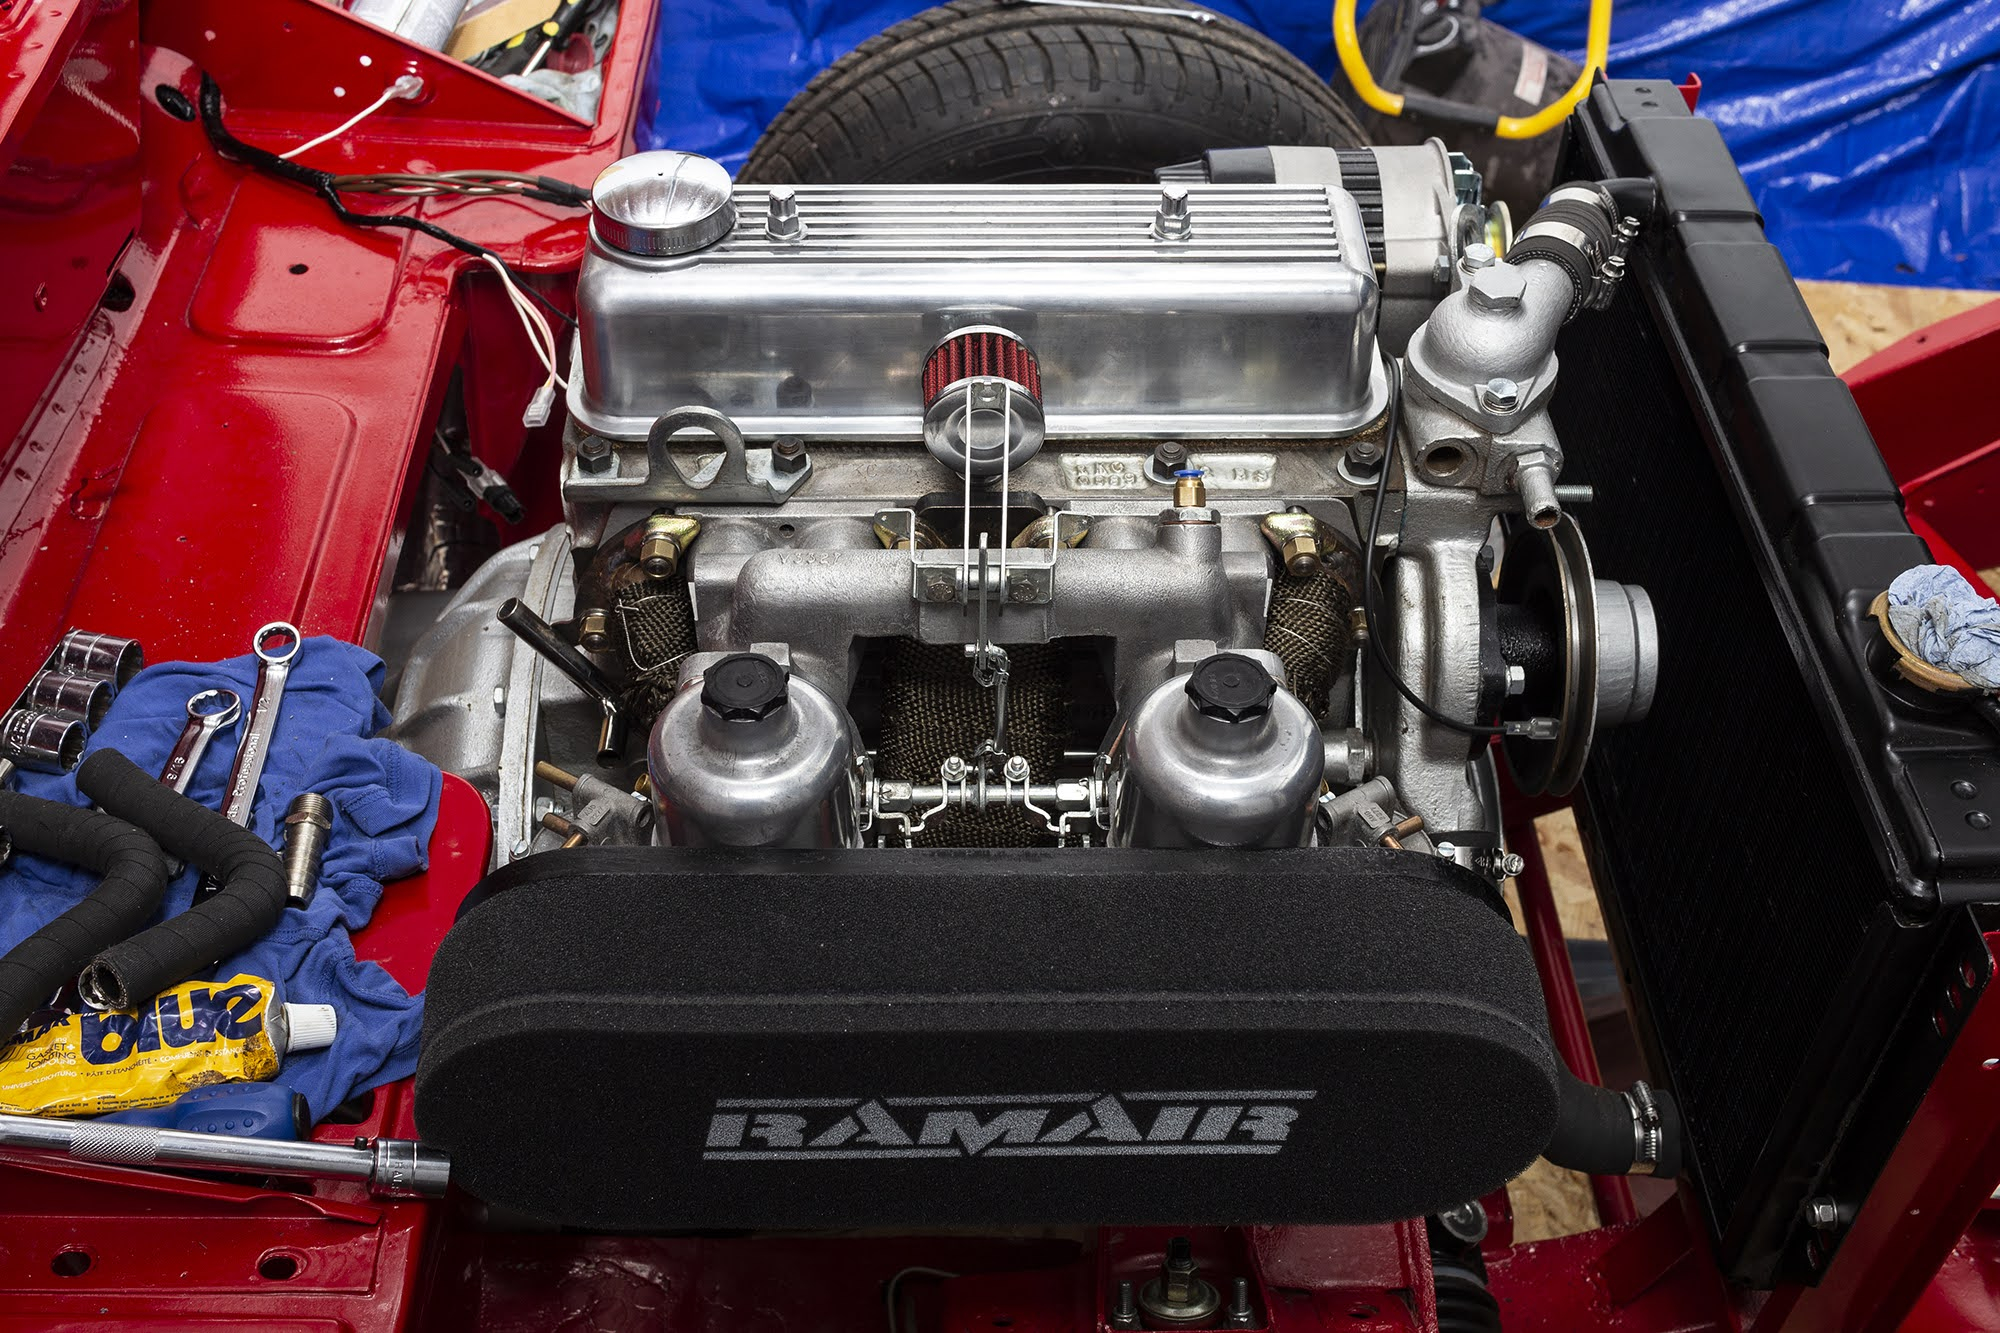
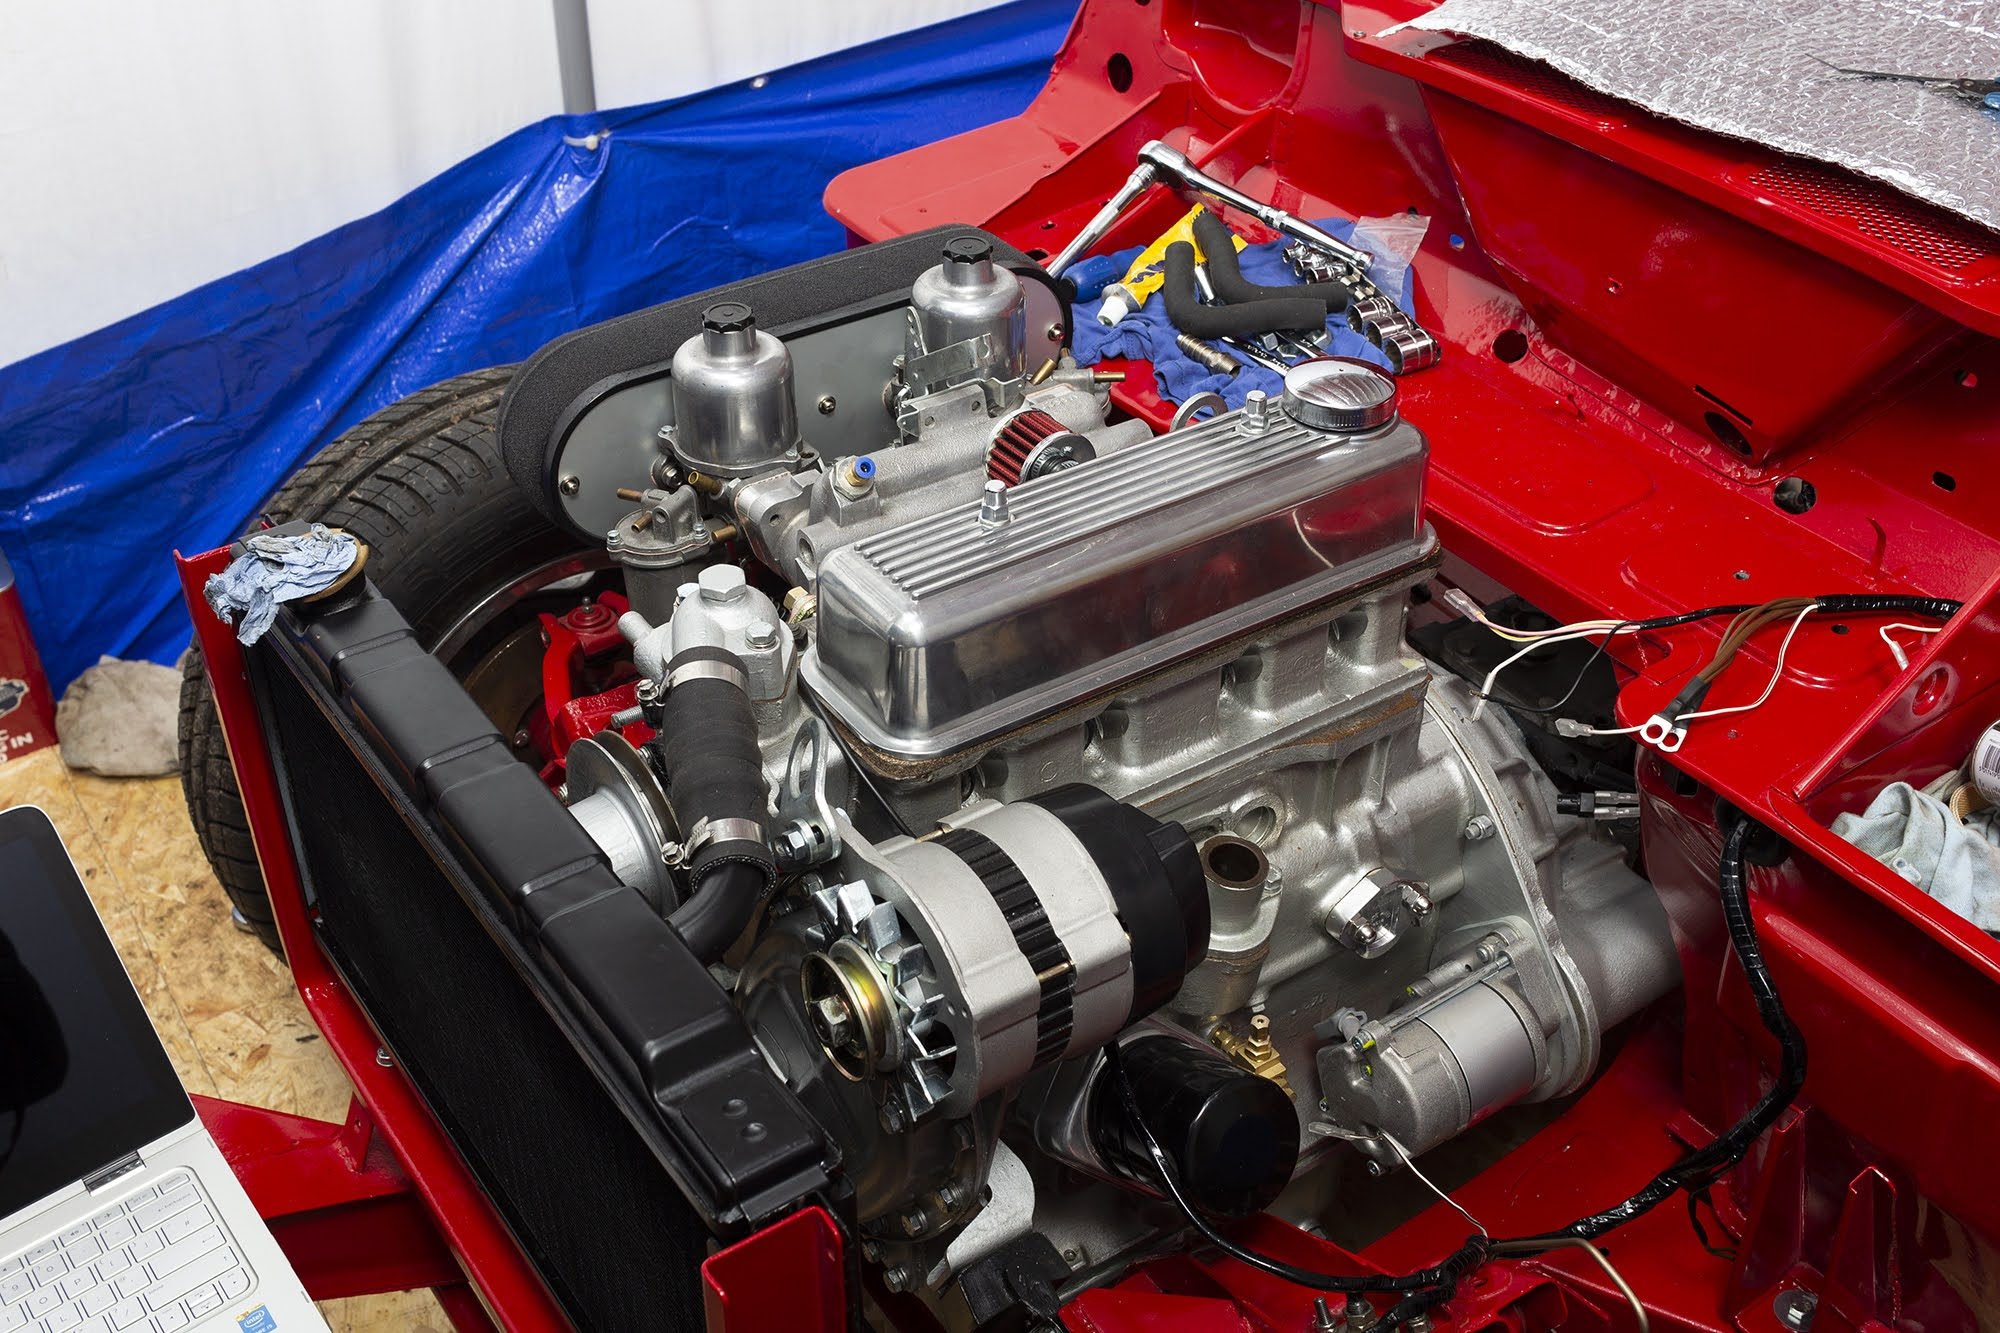
The inlet manifold had suffered from the usual problem of the coolant pipe rusting out. I had mine machined to fit some 3/8 BSP fittings. I’d already rebuilt the carbs a while ago and I had a new radiator, water pump and alternator sitting there ready to fit from various birthdays and Christmas presents. I bought a new set of cloth-wrapped silicone hoses and stainless clips from Roose Motorsport which should last for ages and look the part too. It was really good to get stuck in and bolt all that new stuff on. The engine bay was looking very smart now.
I also started routing the new wiring loom I had ready and installing the sound deadening for the interior instead of traditional carpet underlay. I installed a new WOSP high-torque starter motor too which is very nice. Compact with a built-in solenoid which is a much neater solution than the original as well as being much more powerful and a fraction of the weight.
Next, I would move on to repairing and painting the bonnet while I continued to line the inside of the car with sound deadening material instead of traditional underlay.
One thought on “Spitfire Engine & Body Installation”
Looking great!