
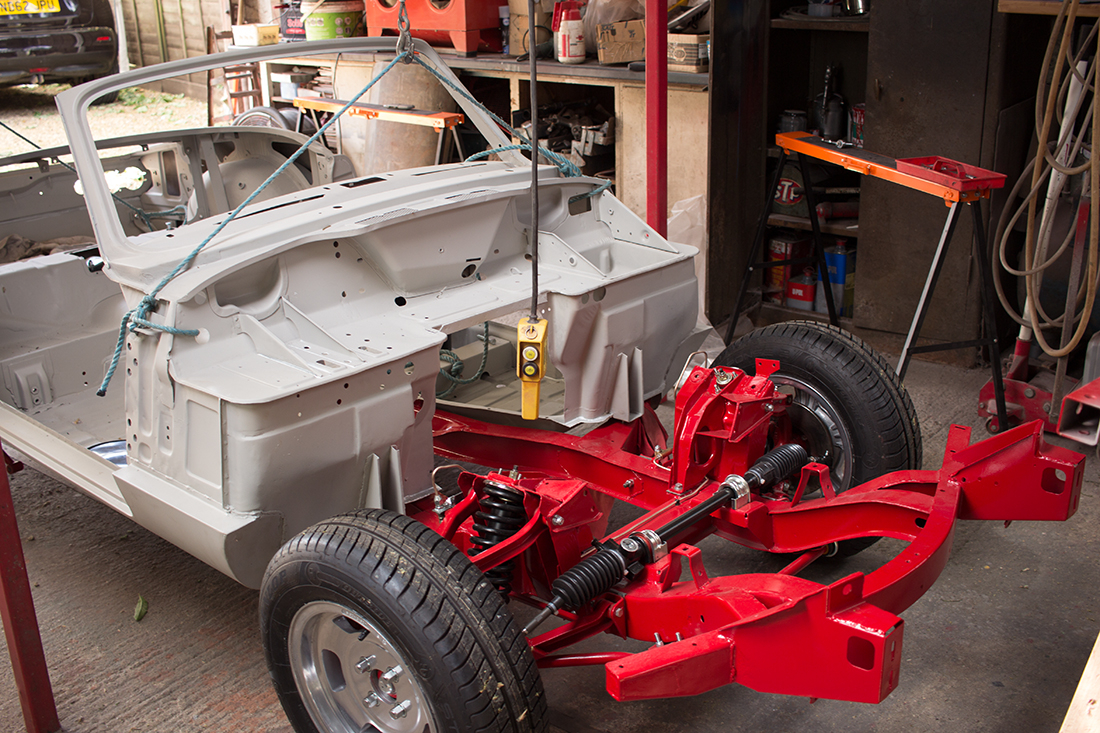
I finished repairing and priming the shell back in March of this year and spent the Spring building up the chassis and running gear. By the end of May, it was time to swap them back over and get to work on getting the shell finished. Having enlisted some help to get it back in the garage, I had a good look over it. No signs of rust coming through which is good. Back on to the rollover jig and I got stuck in with checking door gaps since this would be the last opportunity to correct anything before it gets the final coats of paint.
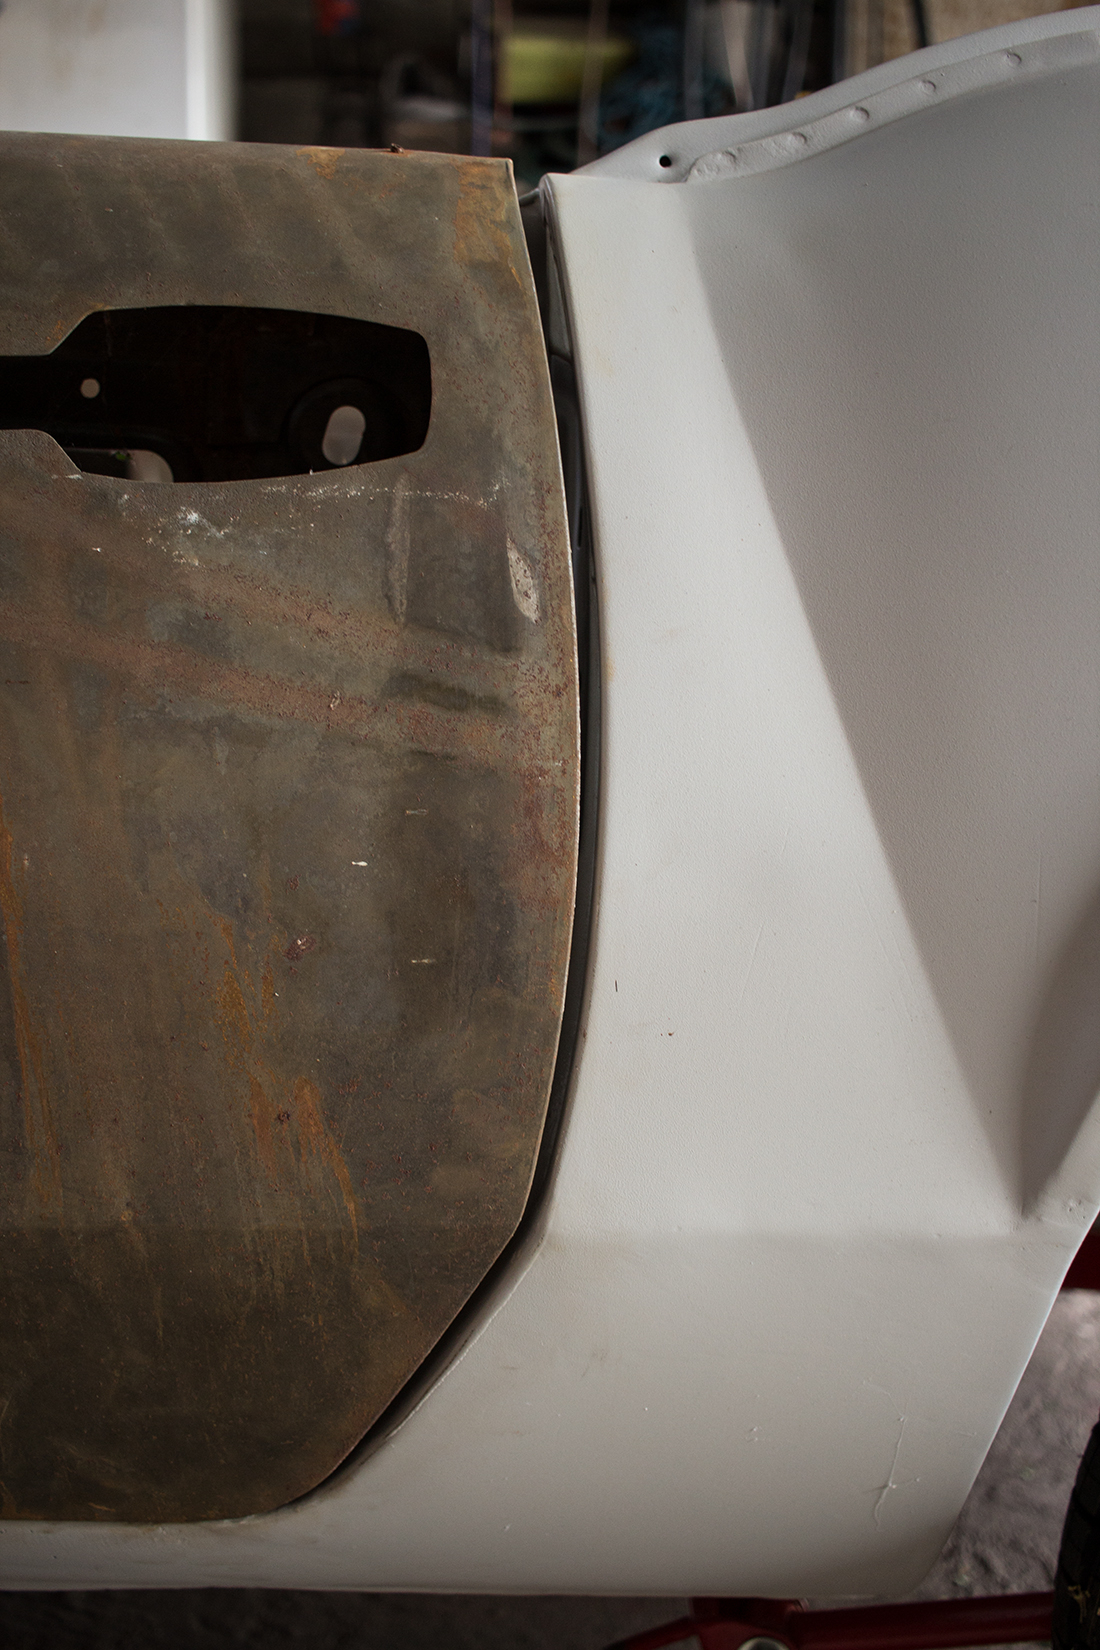
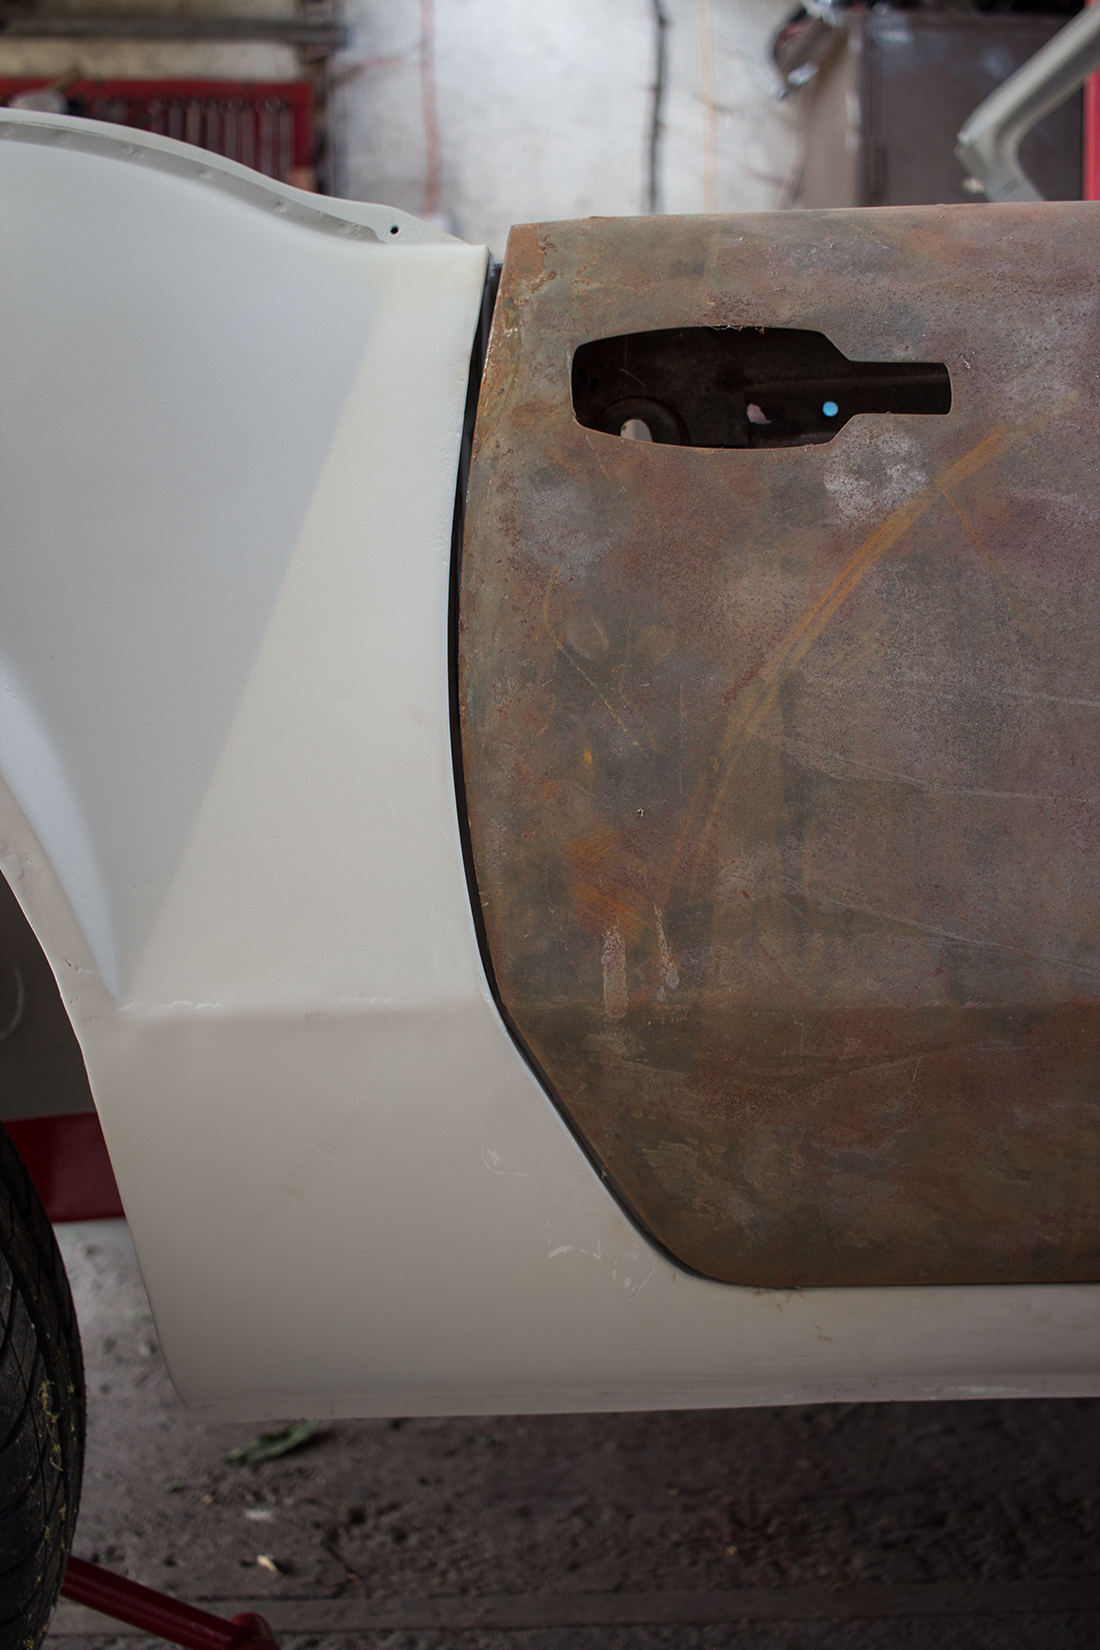
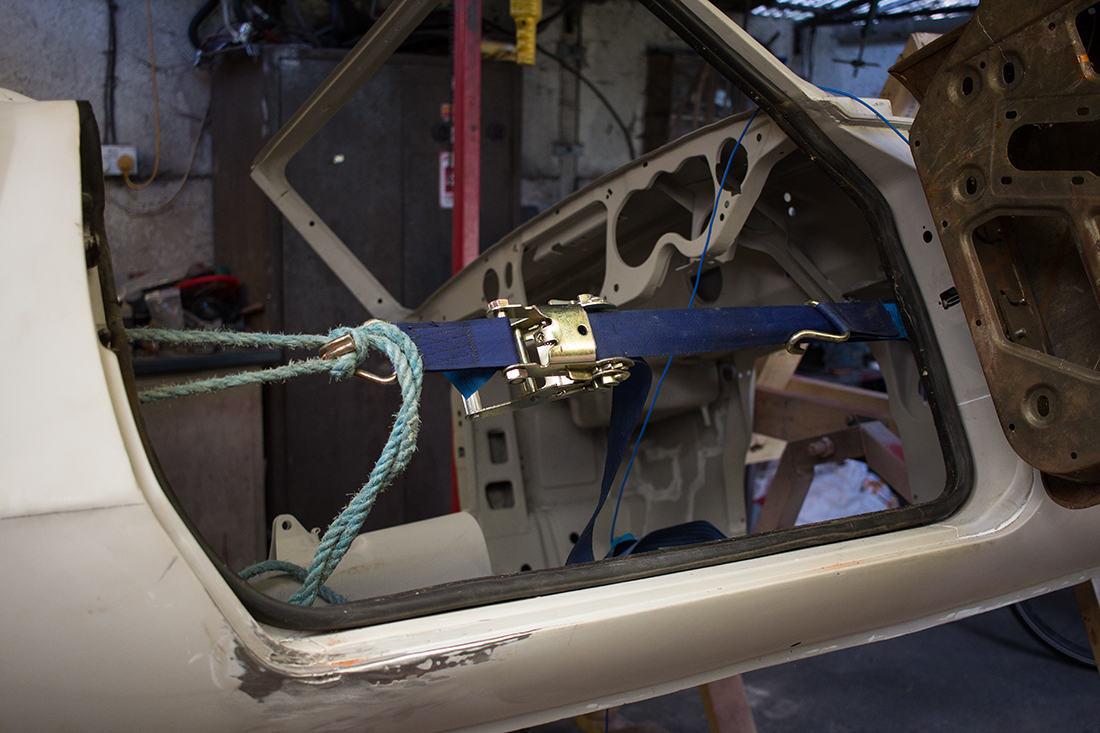
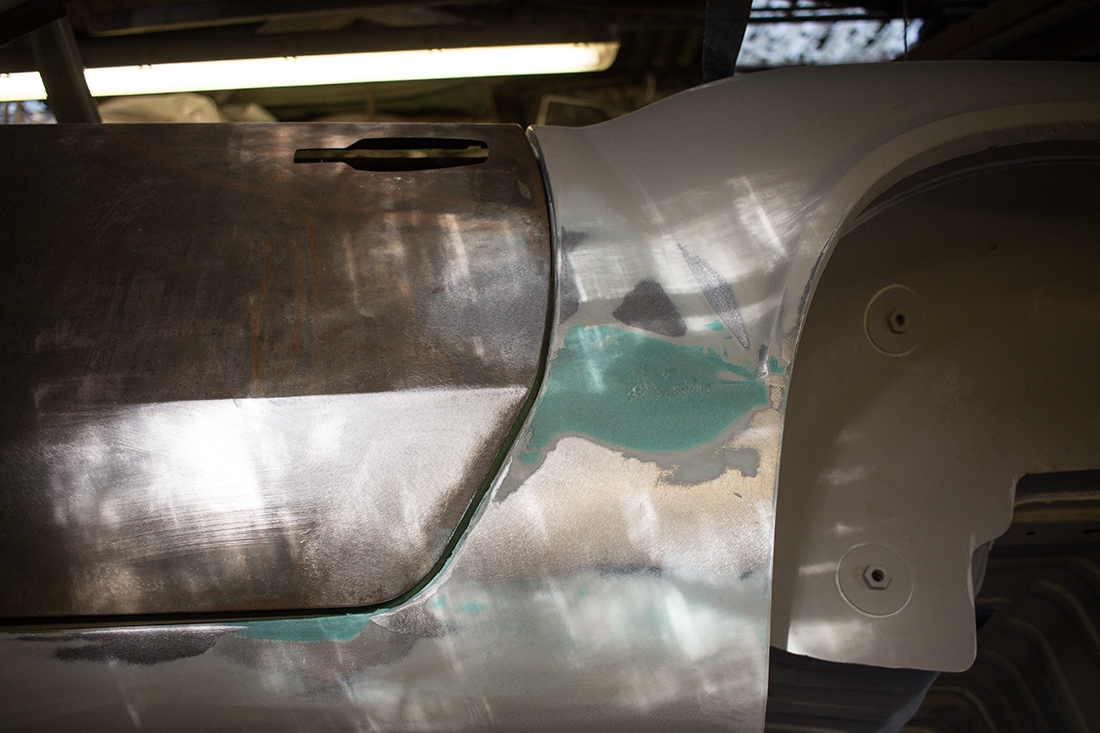
To my surprise, the door gaps were pretty hideous and initially, I couldn’t understand why. I had been checking them while doing the welding and repair work. After a bit of forum advice, I decided to bolt the body back on to the chassis using the original shims as well as fit the doors and bonnet. It soon became clear that shimming the body to the chassis would improve the gaps considerably. There is definitely a lesson here in sill replacement and that is to have the doors fitted with the hinges as well as having the body bolted down to the chassis so the gaps can be adjusted accurately. Mine isn’t so bad that they need doing again but I could have done a better job. I decided to adjust the door gaps with ratchet straps and work on the body back in the rollover jig. Using a steel rule and panel wipe to check the reflection on the panels, I worked around the car trying to get the panels as straight as possible. Particularly welded areas and the rear deck which I had heat shrunk to stop it “oil canning”.
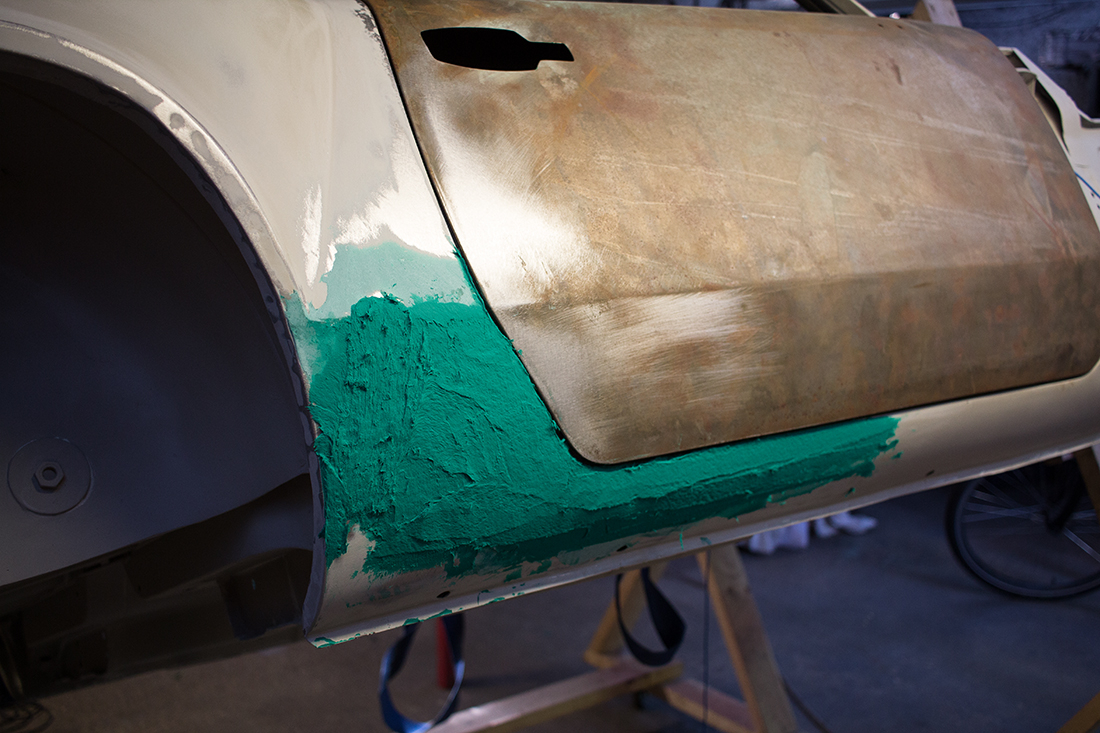

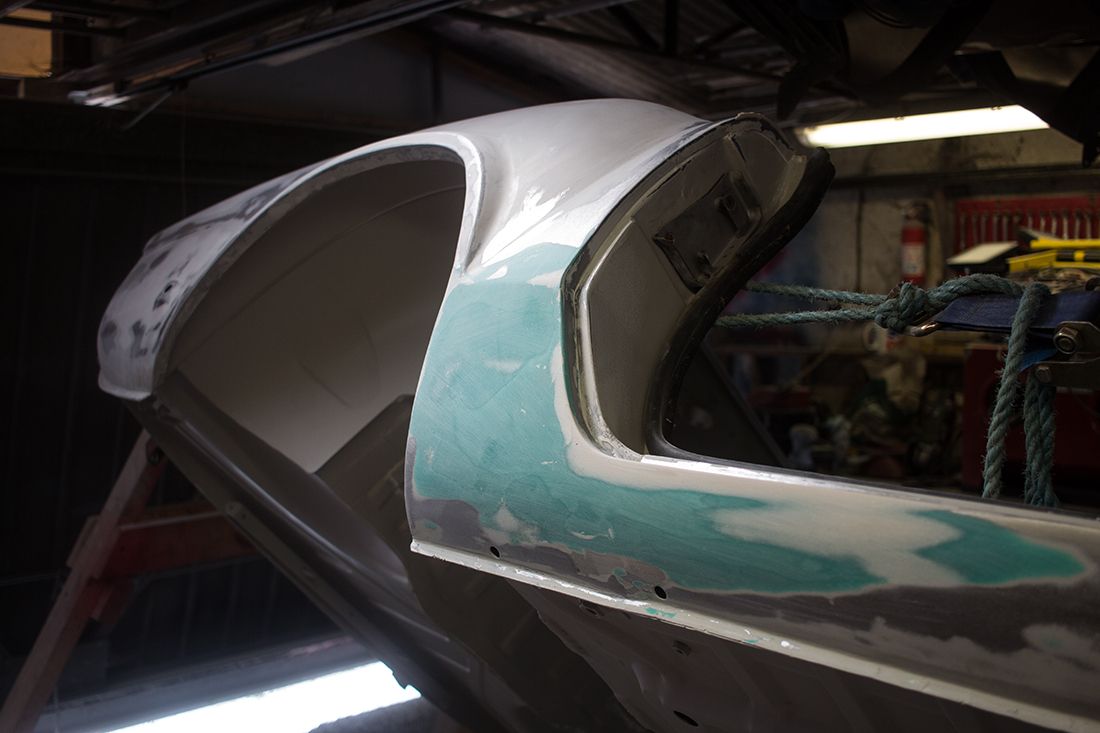
40 hours of filling and sanding later, it was starting to look pretty good and I decided to give it a coat of epoxy to seal it followed by high build 2K. I used HB Body 534, pretty standard stuff which mixes 4:1 with up to 10% thinners.
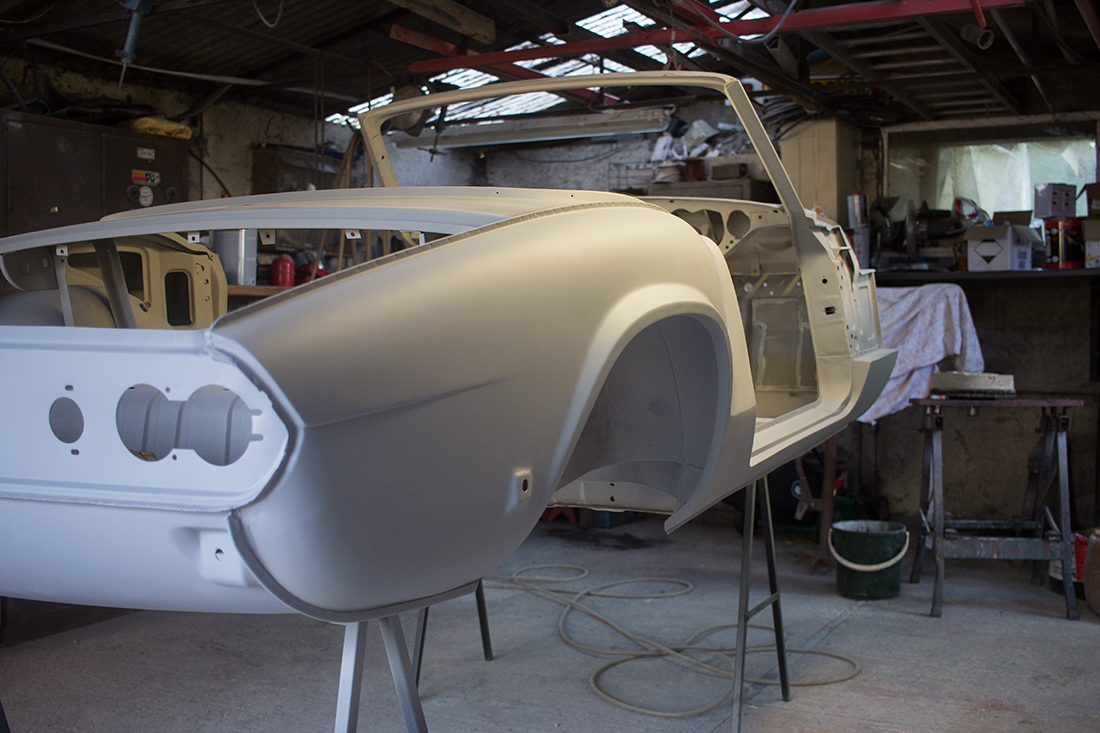
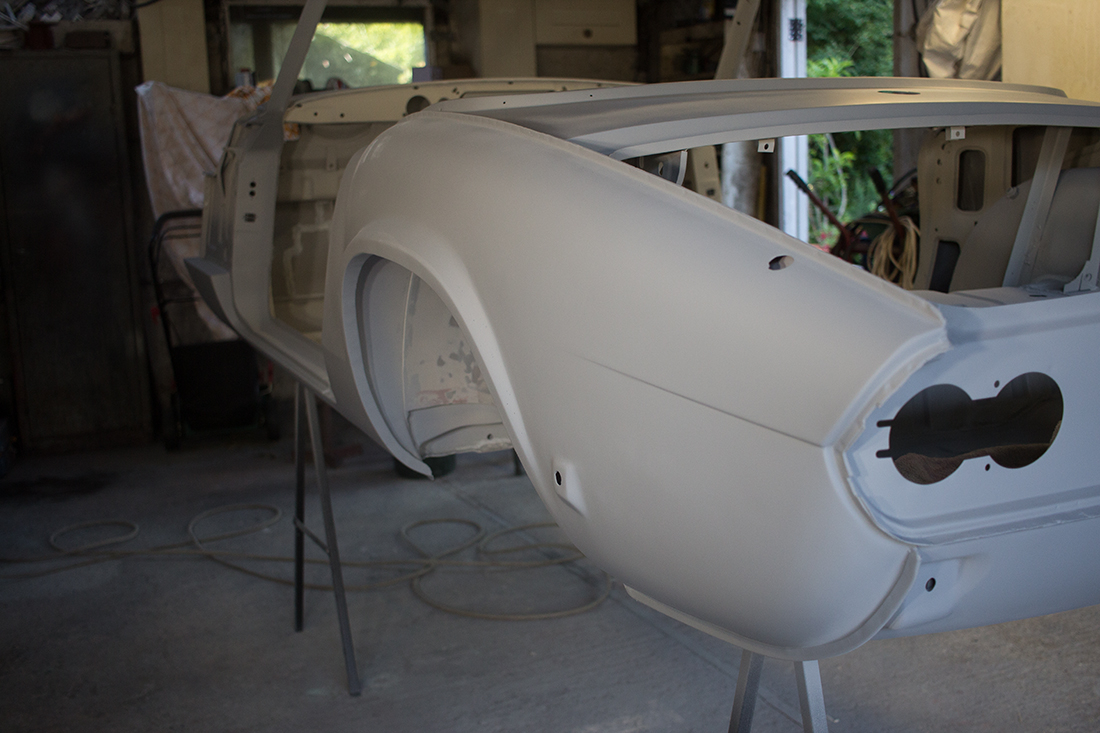
After it was primed I could get a better idea of how it was going to look. Better, but not there yet. I carried on with 120 grit for now because I knew I’d be applying another coat of epoxy to seal it and more high build. While the weather was sub-optimal for paint spraying I could get on with making sure it was prepared as best as I could, filling and sanding. Slowly, over the coming weeks, I would get another coat of epoxy and high build on. I started wet sanding with 600. I could see some rust marks coming from some of the seams after the wet sanding so I did another round of Tiger seal at this point.
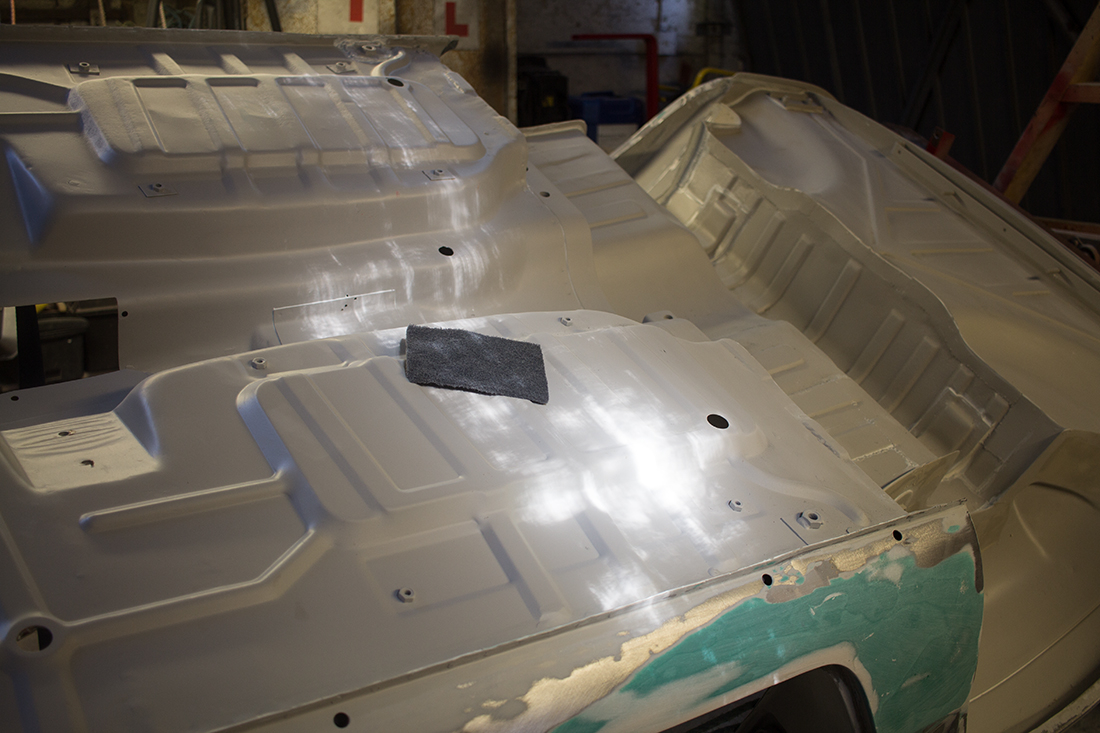
Wetting panels with panel wipe and checking the reflections, it was getting close to being ready for top coat. I decided to do the inside and underside first in the rollover jig, followed by the outside with the rest of it masked off.
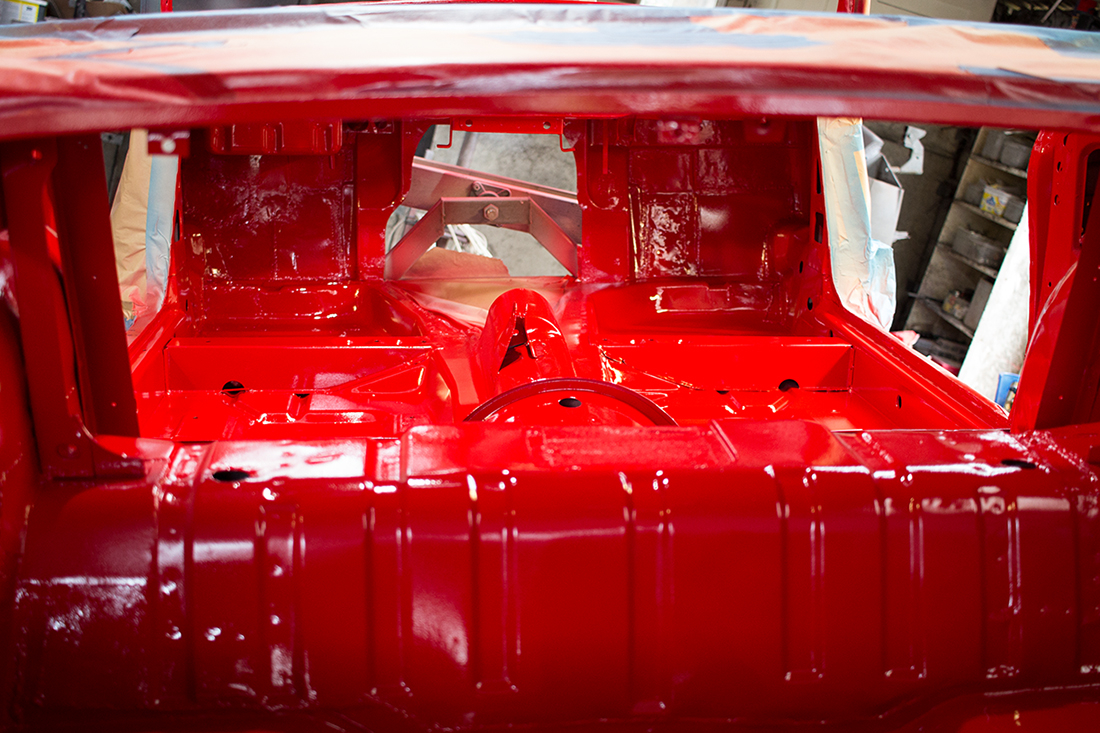
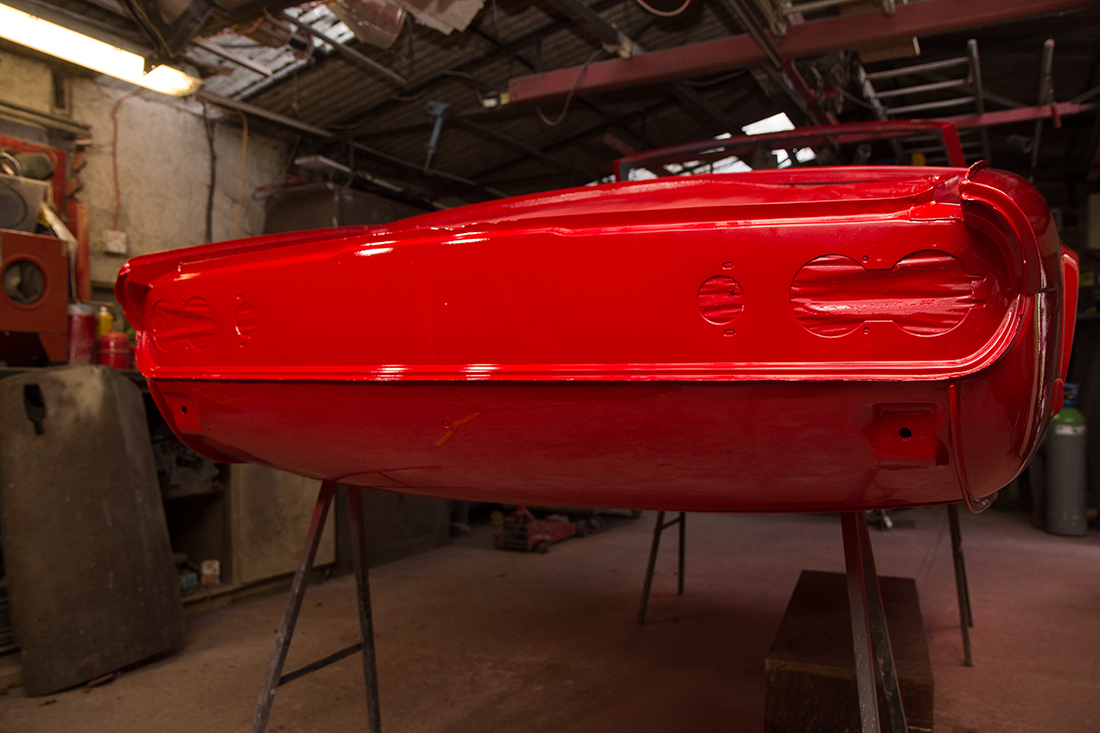
A final scrub down with some scotch pad and I painted the underside. First, a wet coat of epoxy to seal everything up, followed by 3 coats of Upol Raptor tinted with my Triumph Signal Red colour. I was really pleased with the result and that should keep the rust at bay for some time.
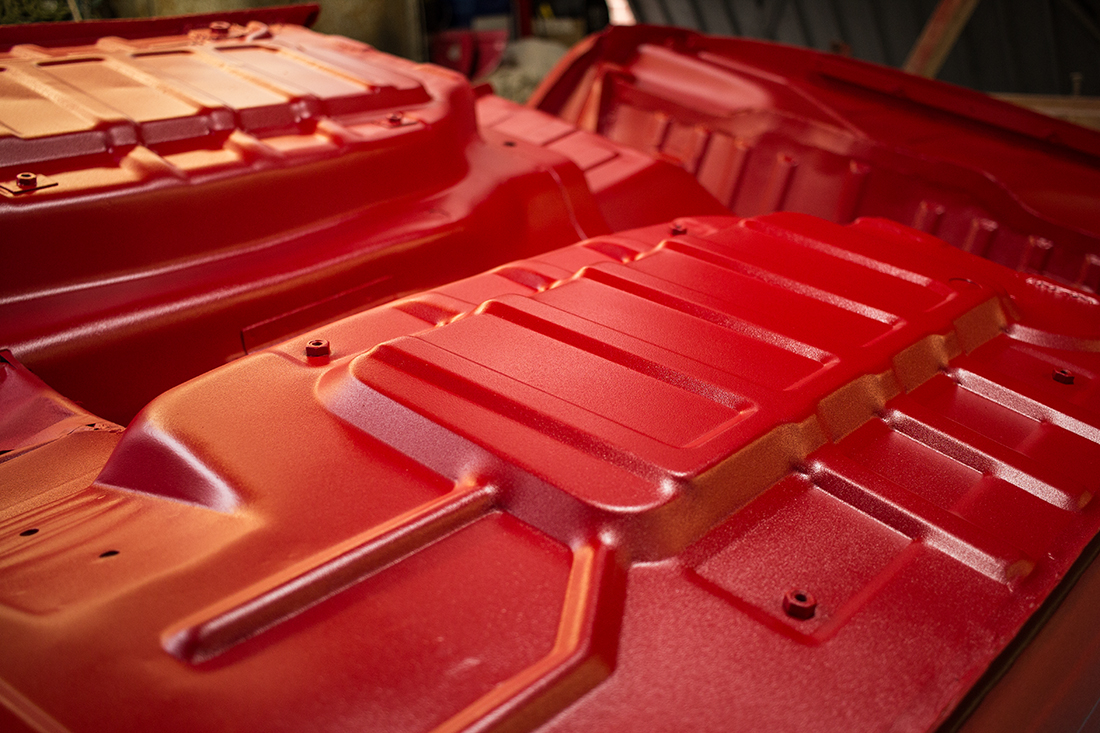
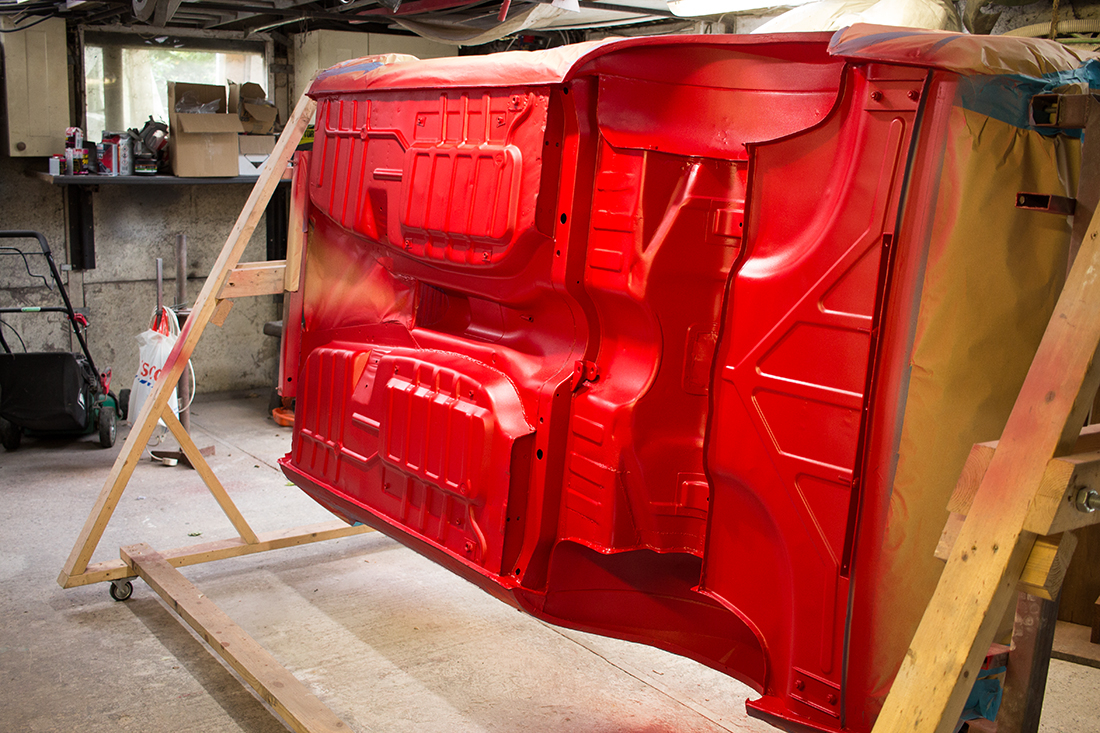
I repeated the same for the inside after masking off the bottom side. So far, so good.
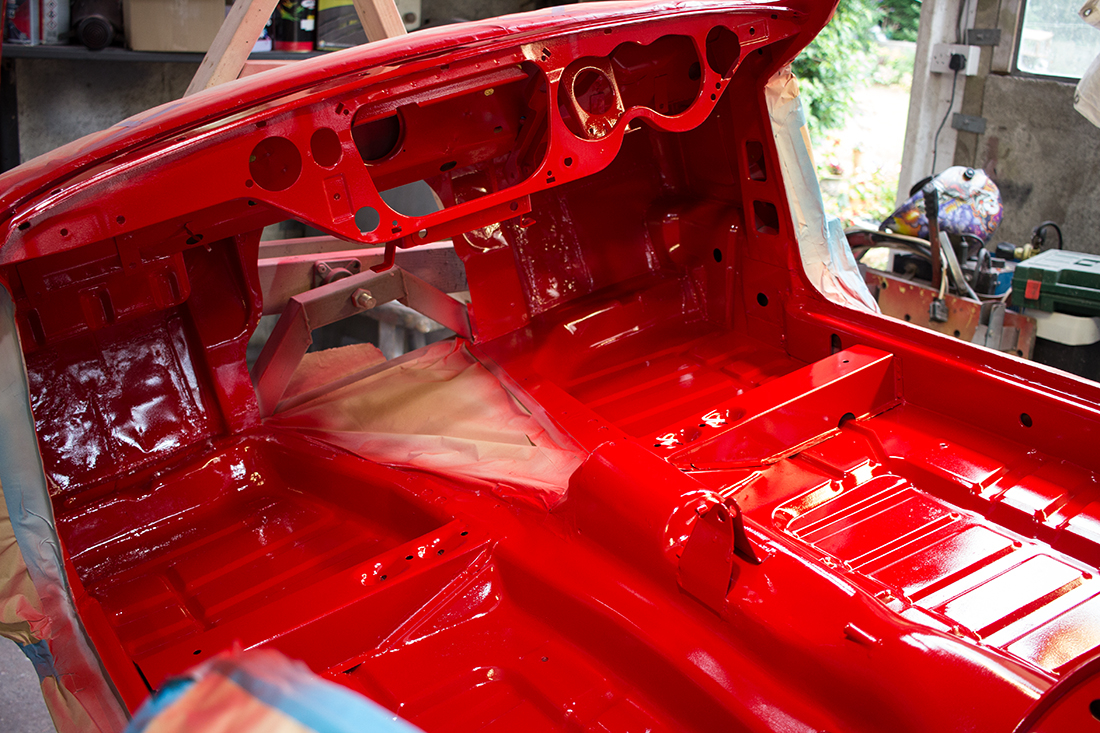
Under the dashboard is a tricky bit but my small detailing gun did the job. Doing the inside was good practice for the outside too. I removed the masking paper from the outside and worked on getting that flat again for a while, using finishing glaze on small areas that needed a touch-up. Eventually, I got to the stage where I thought it was time to take the plunge and just get the outside painted. I waited for a day when the weather was good and put a couple of coats of epoxy on thinking that if that looked good I’d go for top coat, if not, I’d just put a couple more coats of high build on and flat that back.
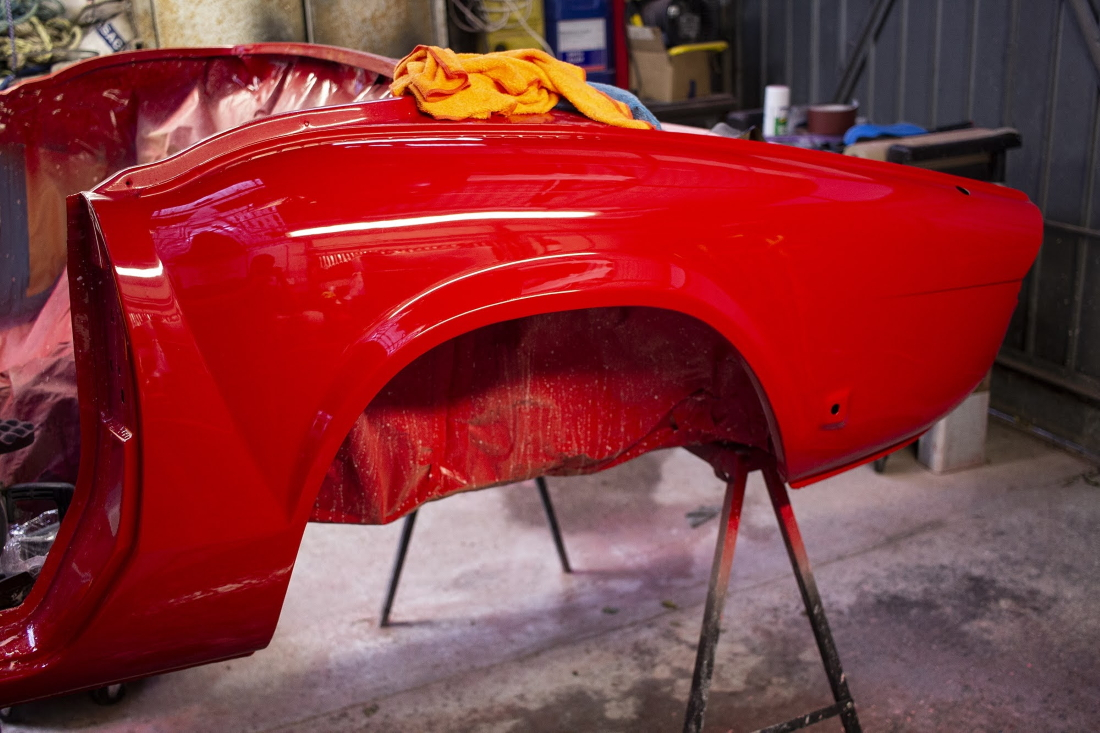
It looked good after a couple of coats of epoxy so I took the plunge and put 4 coats of signal red on. I had a couple of runs and quite a few dust particles/insects land on the rear deck.
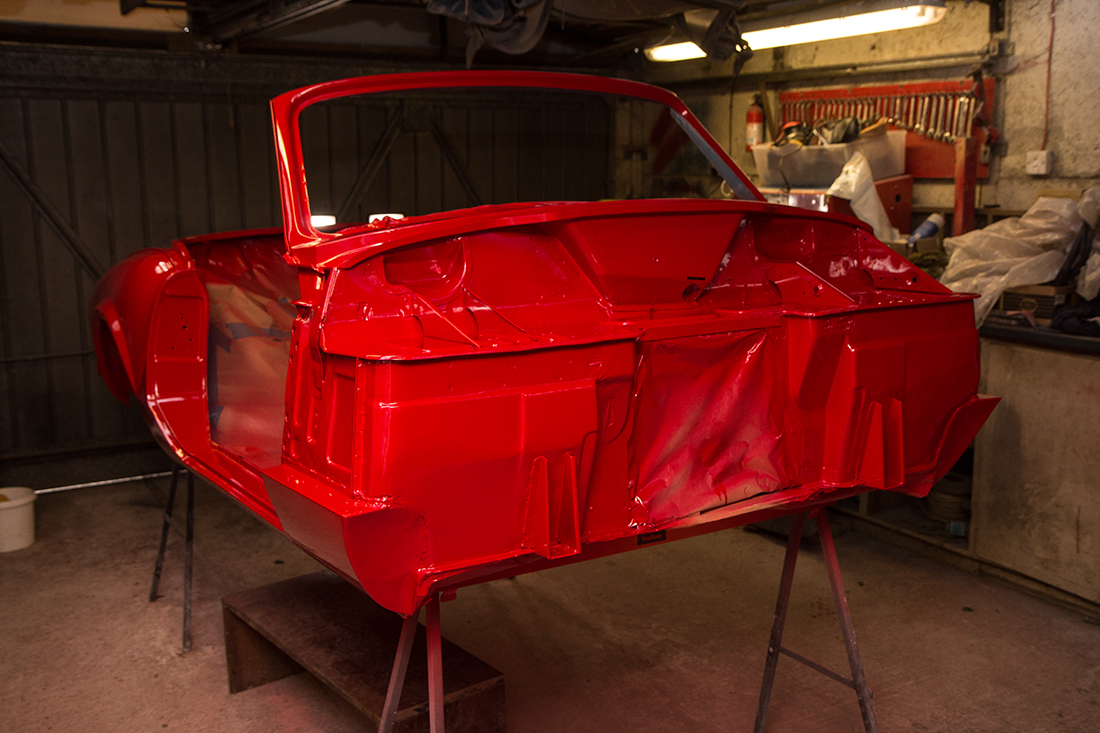
Not the best finish straight from the gun but I should have thinned the epoxy more to use it as a sealer. That way the top coat would have flowed more and left a better finish. A lot of polishing would follow.

The orange peel is definitely evident over the whole car but I was willing to respray a panel or two if it didn’t come up well after polishing.

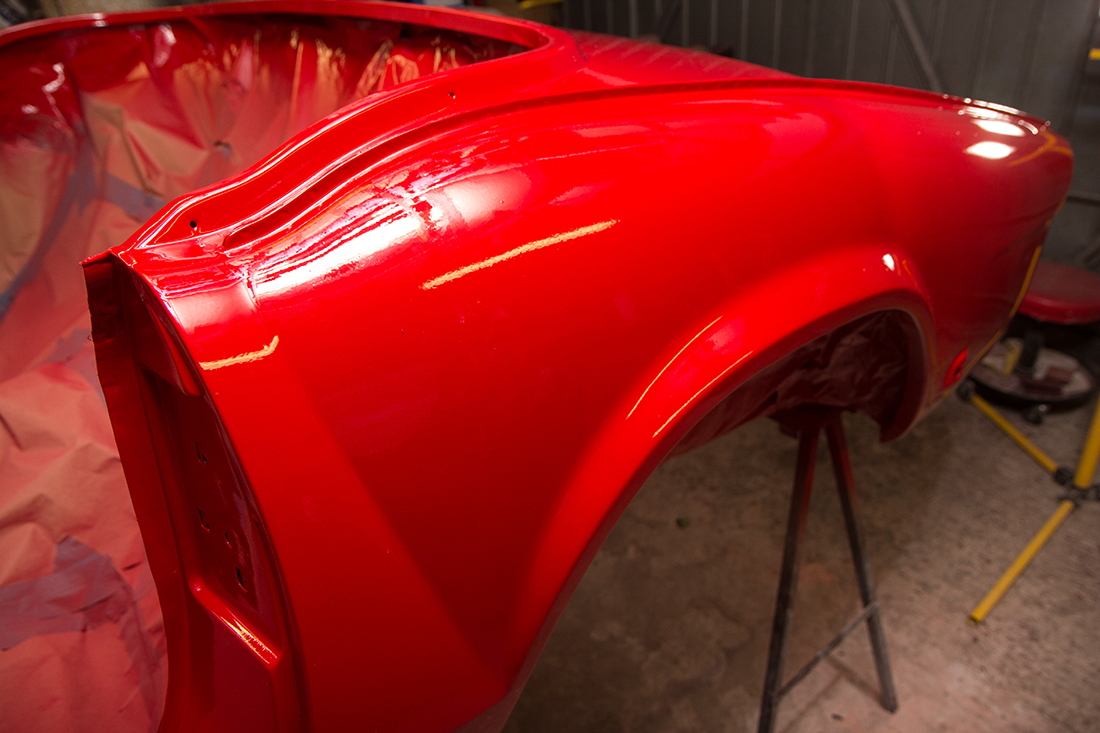
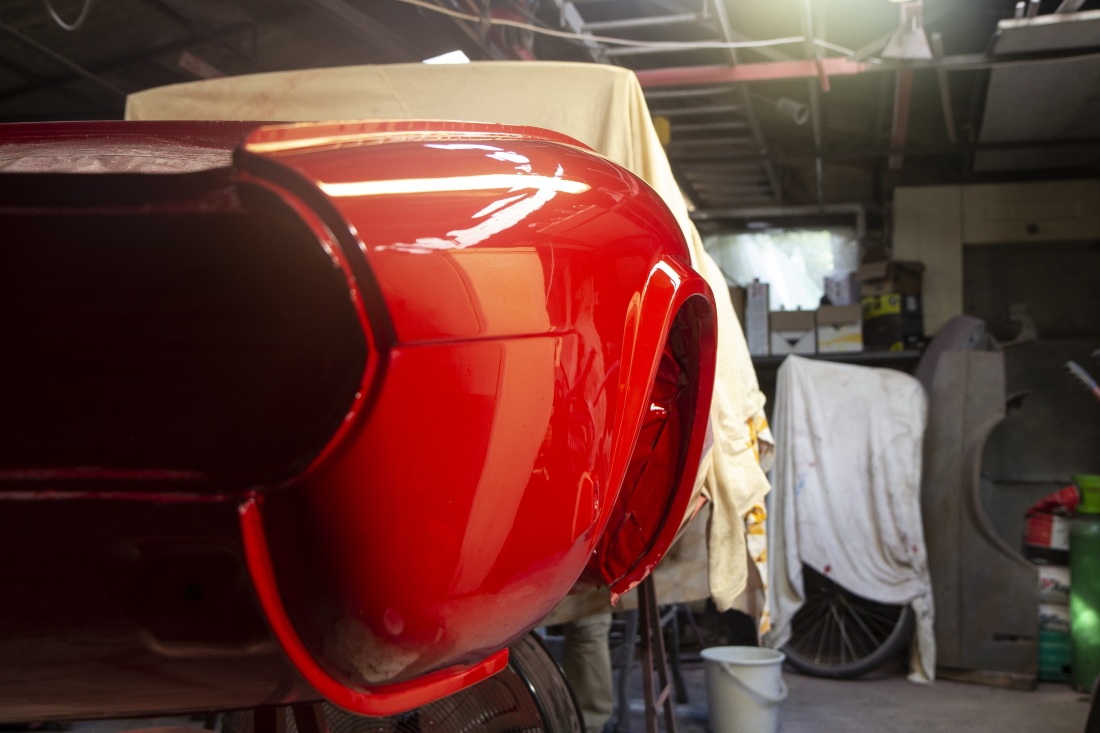
I spent the next couple of months cutting and polishing. Having an adjustable speed polisher makes a lot of difference as well as using decent polishing products. I settled on wet sanding with 1500, followed by Farecla G3 cutting compound on a firm white “waffle” style pad and finishing up with Meguiars #205 Ultra Finishing Polish on a soft black waffle pad. I tried a couple of finishing polishes including Farecla G10 which I didn’t rate at all—too many swirl marks. Meguiars #205 is brilliant stuff—it doesn’t go claggy and really leaves minimal swirl marks. Not the cheapest option but it is proof that you get what you pay for.
I think if I had thinned the final coat of epoxy down a lot more, I would have got away with less orange peel and probably wouldn’t have had to cut and polish so much. I did end up going through the top coat in a few places so that would need rectifying. It was looking pretty good though and would be subject to a full wash and wax yet. I think it’s going to look pretty pleasing when all the brightwork and trim are fitted.
 Since it was now getting on in the year and December was just around the corner, I decided to finish up with polishing and move on to getting it ready for fitting to the chassis. I removed all the masking tape and paper and applied Buzzweld Zero-Prep to the inner sills and panels. Any re-spraying that would need doing could be done in the spring next year. Now I just needed to get the engine and drivetrain fitted to the chassis before fitting the body. Once that was done I could concentrate on my job for the winter which is making repairs to the bonnet.