So the latest issue with the Golf (yes, yet another!) was severe juddering at around 2000RPM under load. It started intermittently and gradually became a consistent problem. So much so that it almost made the car undriveable. I started researching the issue and came to the conclusion that it must be the dual mass flywheel causing the problem. £300 later, I was armed with a genuine Sachs dual mass flywheel & clutch kit but after fitting it I still had the symptoms. What fixed the issue in the end was actually a faulty injector but I’ll go in to that later.
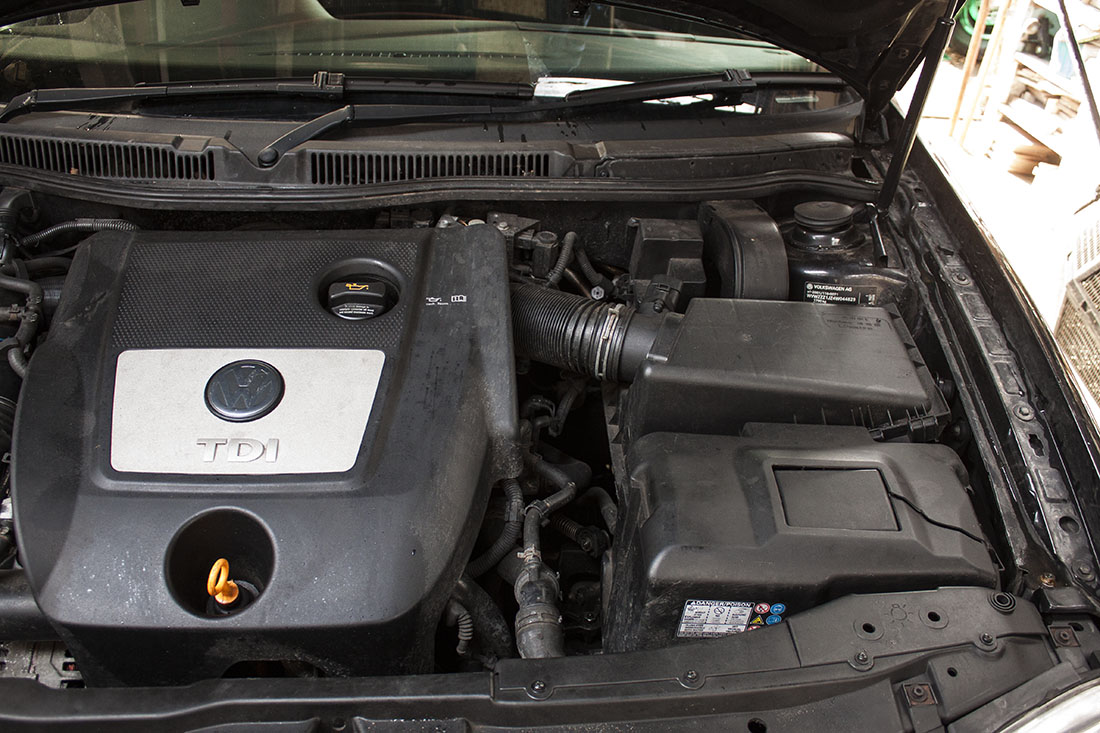
First off the battery and battery tray need removing as well as the air box and the plastic engine cover. At this point I had the car supported on axle stands as high as possible as the gearbox will need to be removed from under the car.
Once those are out the way you have access to the gear linkages, starter motor and electrical connections.

With the gearbox in neutral, remove the clips on the ends of the gear linkages and unbolt the support brackets. Disconnect the oxygen sensor, reverse light switch and speedo sensor from the back of the gearbox. Remove the starter motor.
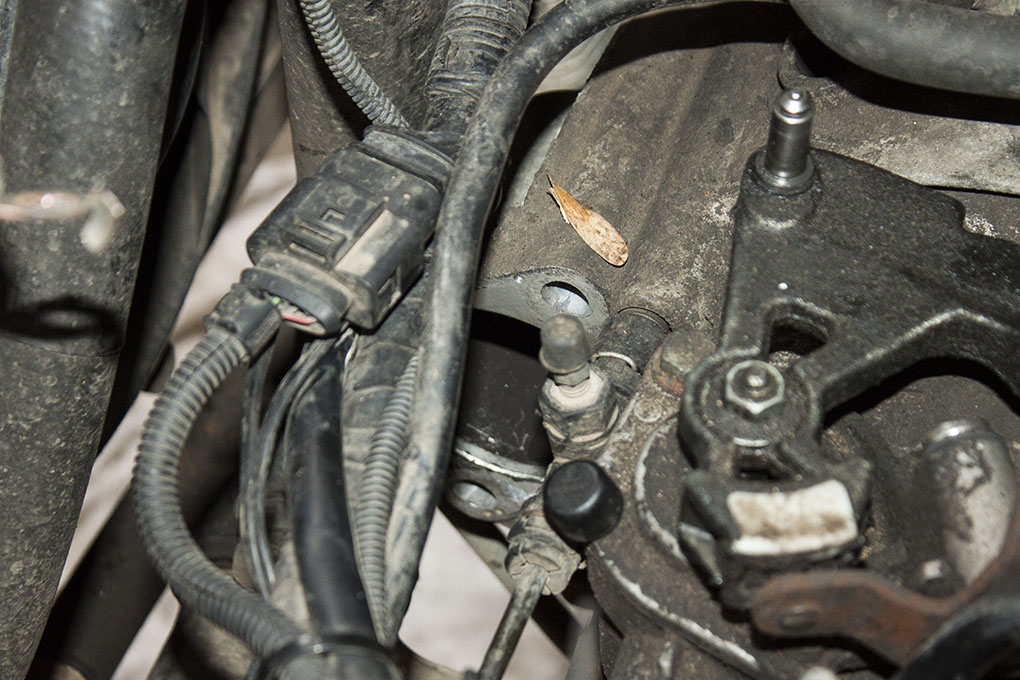
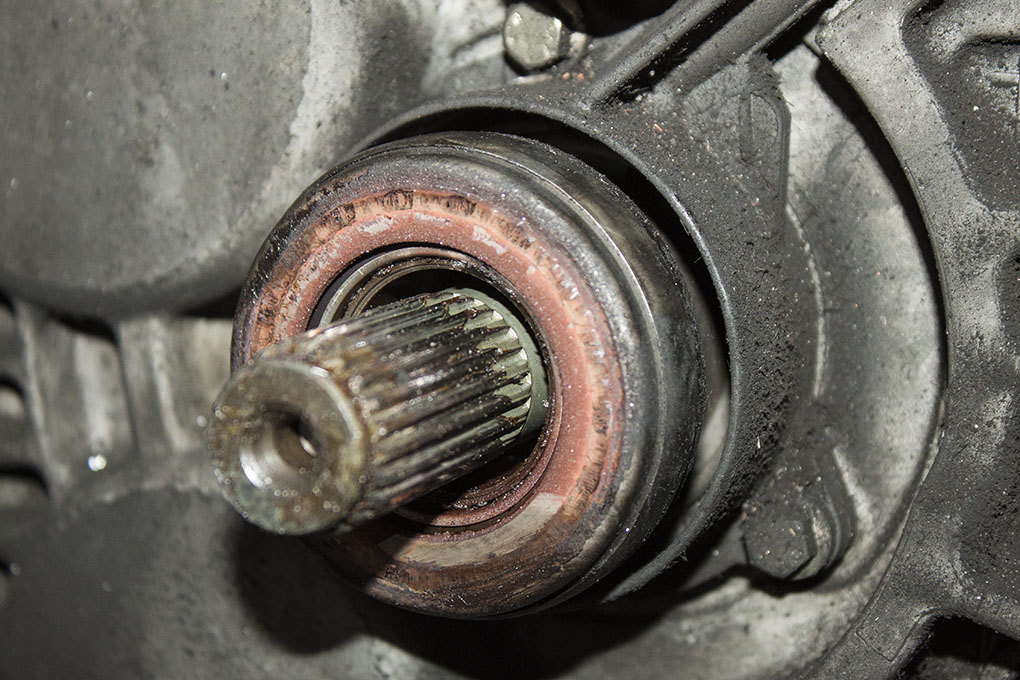
Remove the hydraulic clutch connector (above photo) and then unbolt the driveshafts under the car. You’ll need a triple square bit for those. While you’re under the car, you can unbolt the dog bone engine mount too. Once the driveshafts are free, I bungee tied the left on up out of the way.

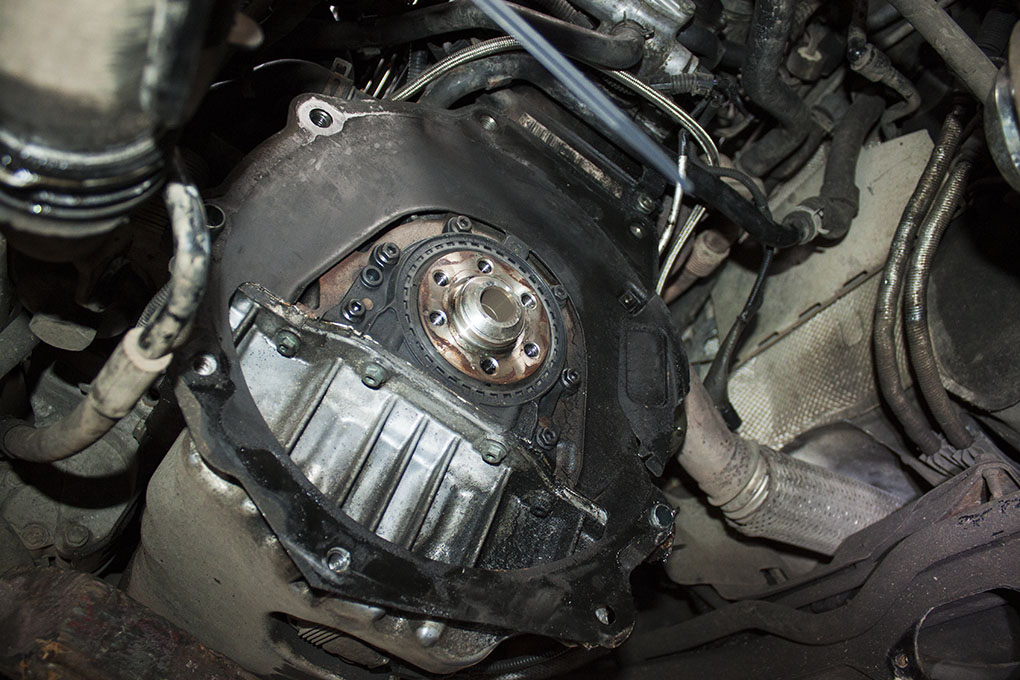
Now with the gearbox supported under the car with a jack and the engine supported from above either with a winch or something, the left gearbox/engine mount can be unbolted. I was lucky enough to have access to a powered winch but you could support the engine with a second jack if you can get one. The bell housing to engine bolts can be removed also. This is the tricky bit because the gearbox weighs about 50KG and it’s awkward to maneuver in to position. If standing in front of the car facing the windscreen, the gearbox has to roll towards you and rotate anti-clockwise while it is being removed so that the driveshaft flanges clear the sub-frame once the input shaft is free from the clutch. It will greatly help to lower the engine as far as it will go without damaging anything so that the angle of the gearbox end is leaning down towards the ground. With some jiggling around it will come out eventually. Then you’ll have the clutch and flywheel exposed.
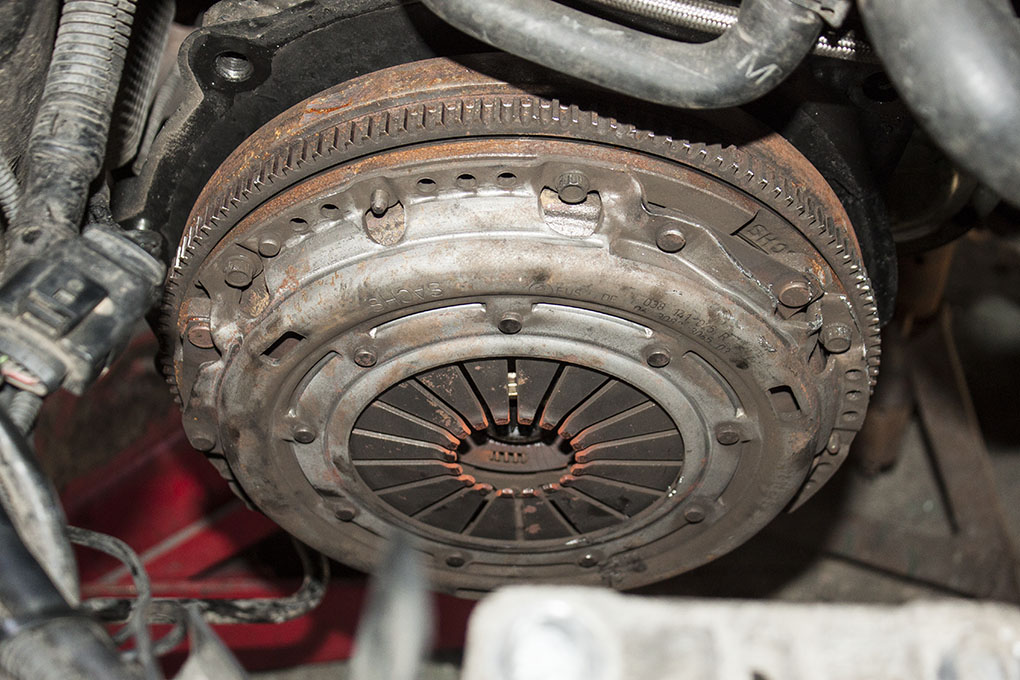
You’ll also be able to check the clutch release bearing at this stage. I was pretty certain mine was on the way out because of the short whining sound you could hear just at biting point when changing gears.
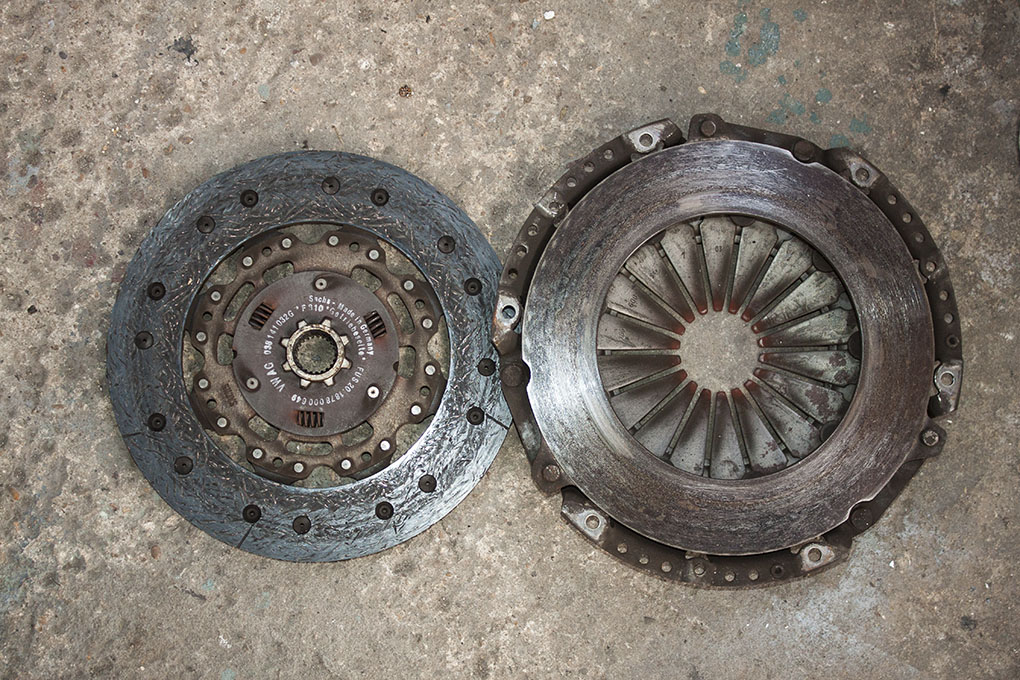
Remove the pressure plate bolts and the pressure plate using a 12 point socket. Now the friction disc should come away as well. Mine wasn’t all that bad but it didn’t have a great deal of life left in it. The friction material had almost worn down to the bolt heads. I reckon this might be the first clutch change this car has seen.
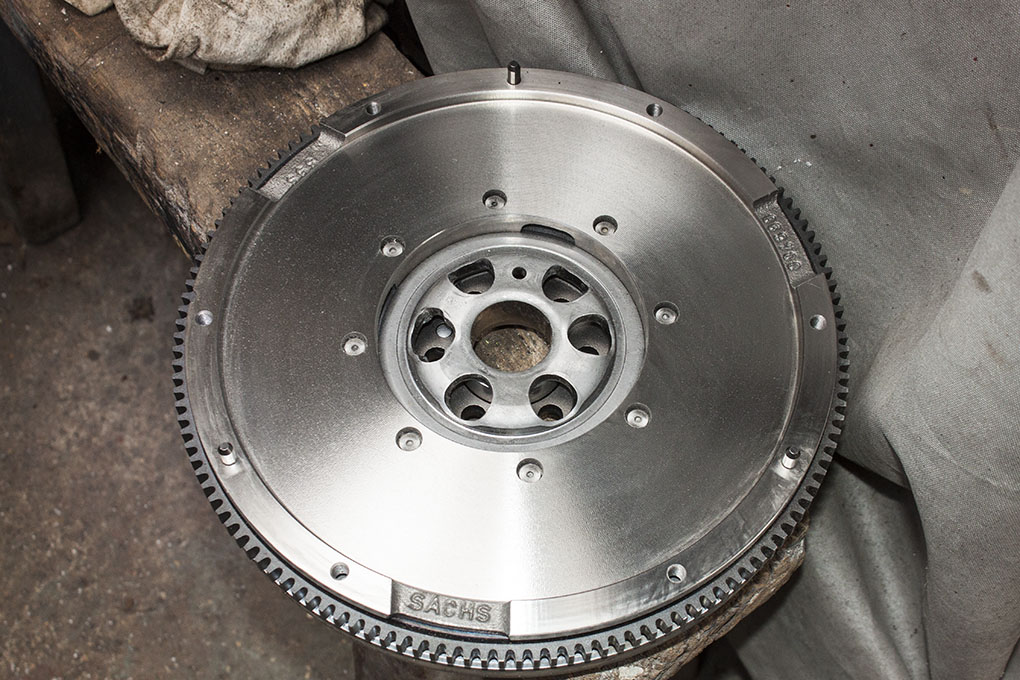
Next up is the flywheel itself. Mine was rocking a fair bit and seemed to have more rotational movement than it should do which, at the time, felt convincing that I’d found the issue. Little did I know at this stage. Still, it wasn’t a waste of time in the long run.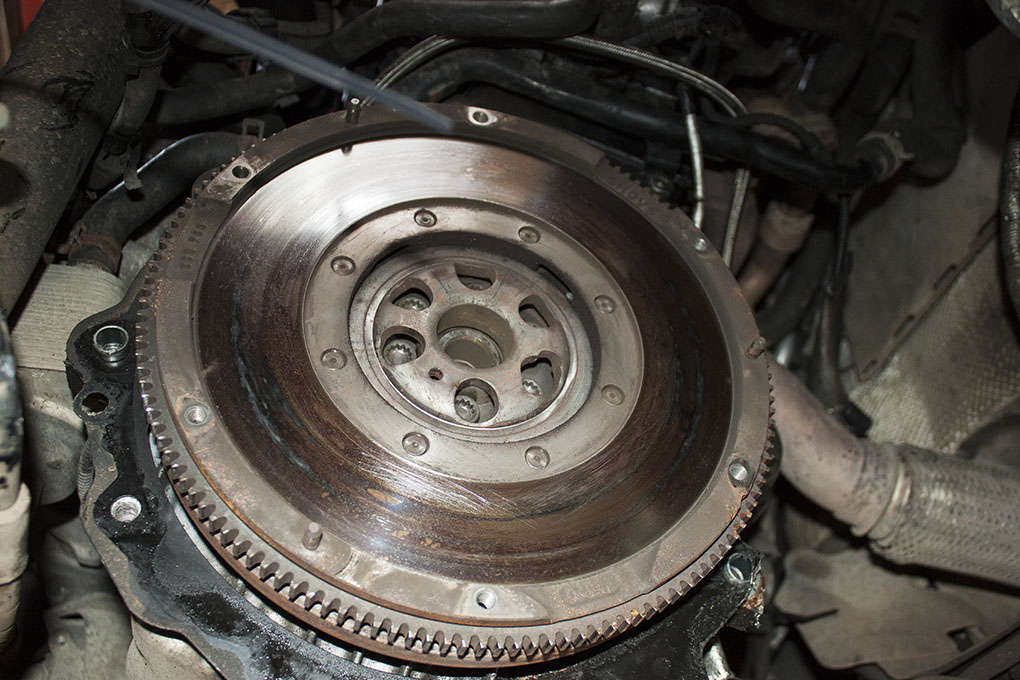
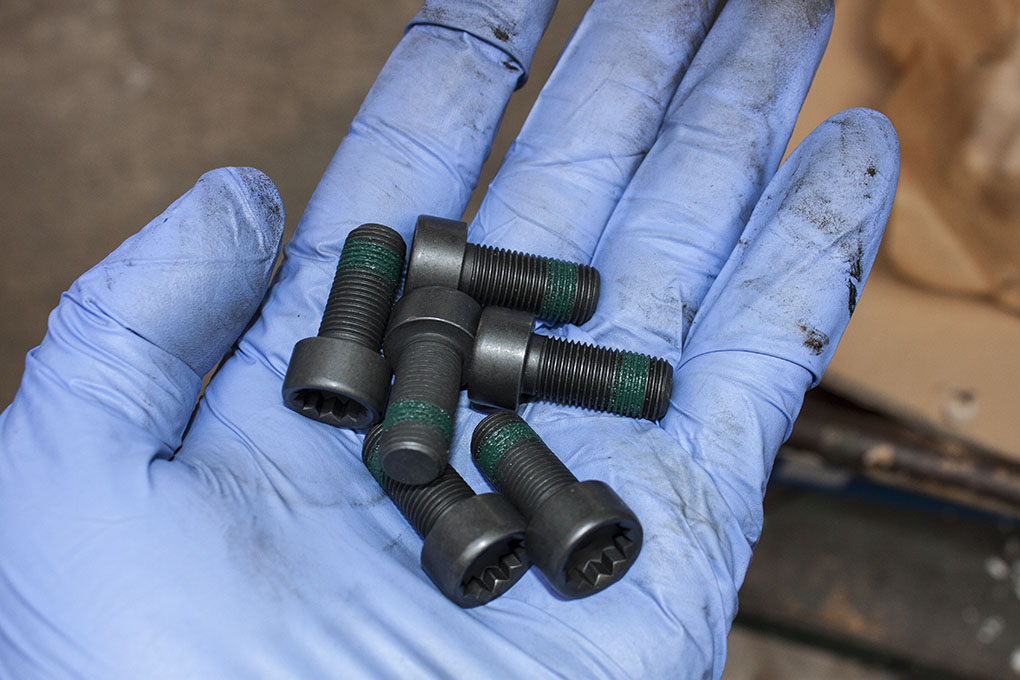
The 6 bolts to remove the flywheel are triple square bits again for this. You’ll also need to stop the engine turning over somehow as well, I used a spare bit of steel bar with two holes drilled in it. This could then be bolted to the flywheel and it was long enough to touch the ground. No signs of any leaks around the crank seal either which is a good sign.
Old vs new clutch release bearing below. This is easy to fit, just 3 bolts to undo.

The new flywheel can now go on. Using the bar I made up to keep it steady, I fitted the new bolts and tightened to 60N·m plus 90°. The friction disc and pressure plate can be fitted also, these bolts are just 22N·m. I used a generic clutch alignment tool from eBay. It has several different size “cones” that attach to a threaded rod. Seemed to do the trick nicely.
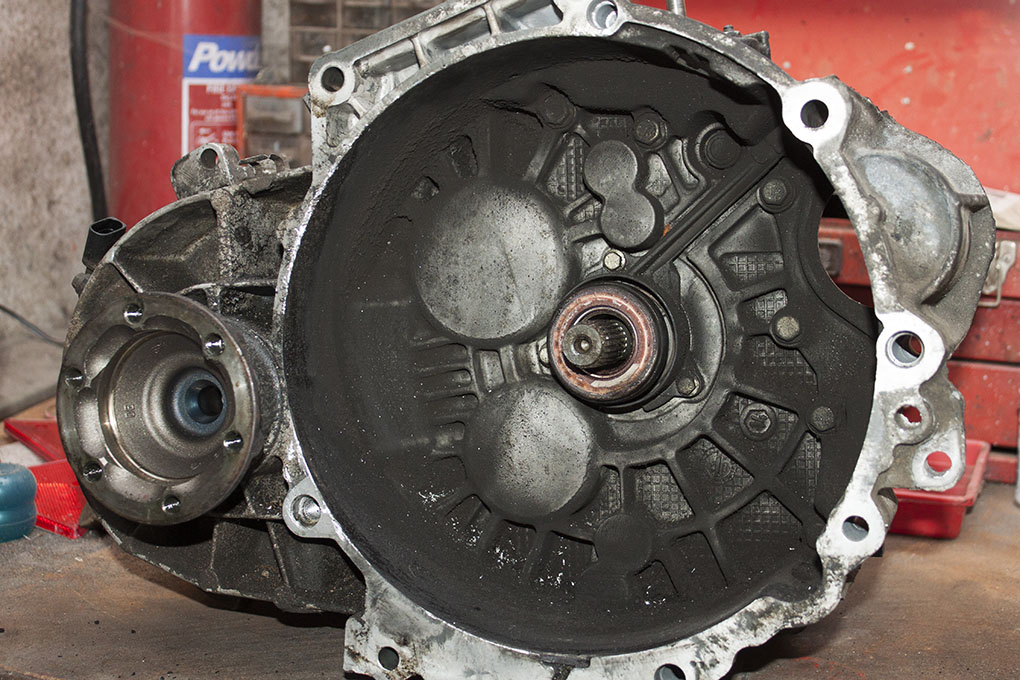
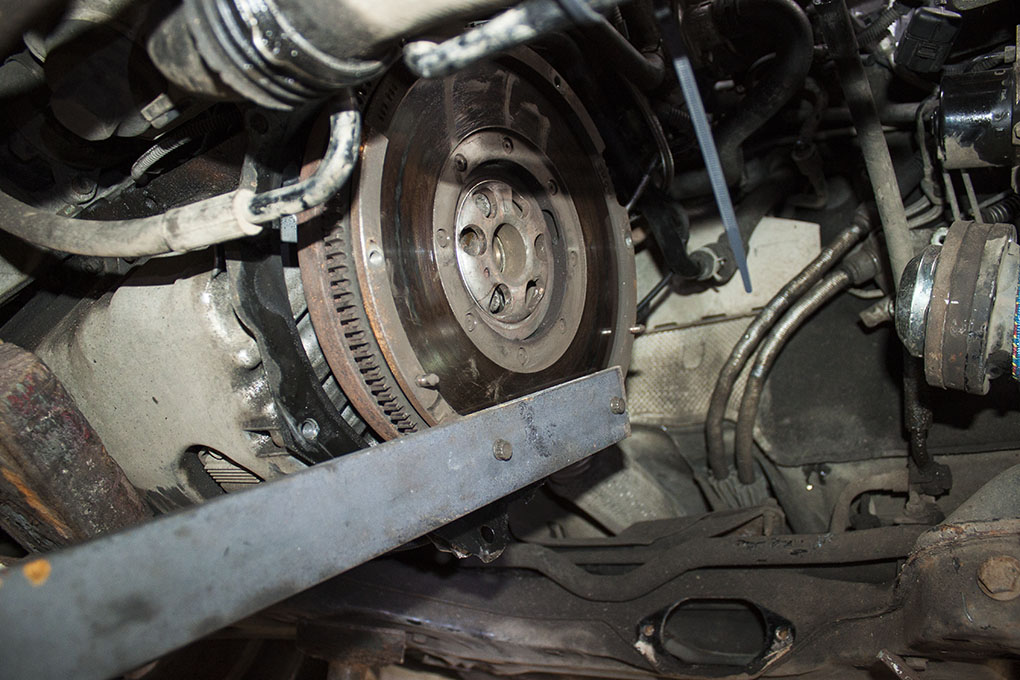
Now the hardest bit. Re-fitting the gearbox. This was a struggle to say the least. At least with removal you have gravity on your side. Eventually we got there but it took some time and the thermal cut out on the electric winch gave up which wasn’t helpful. I took a photo not too long before we got it in which hopefully gives an idea of the angle it needs to go back in.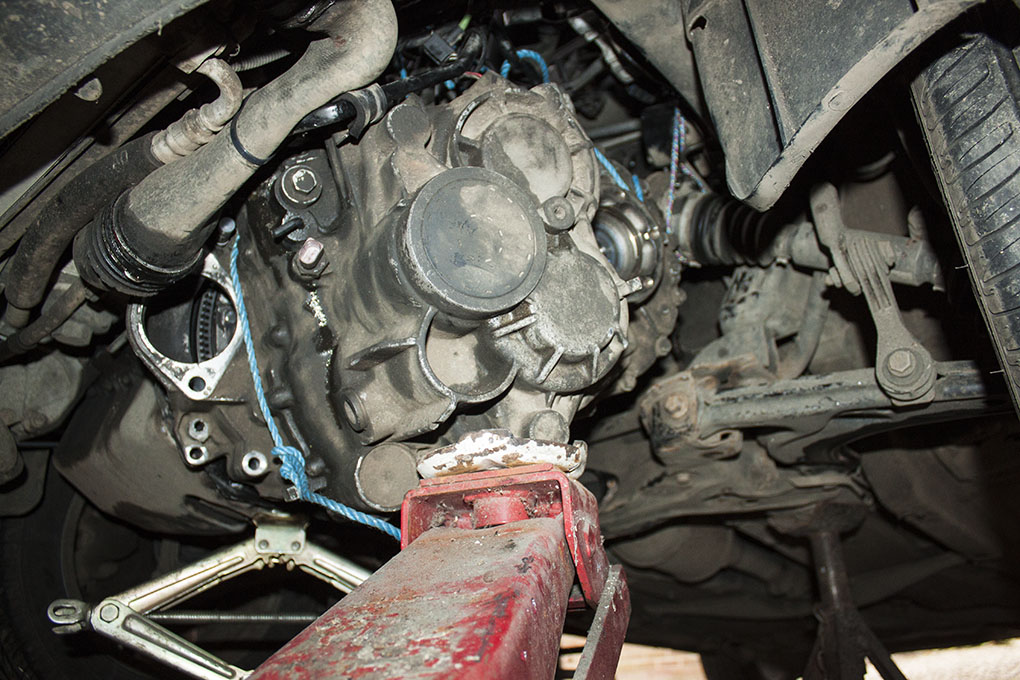
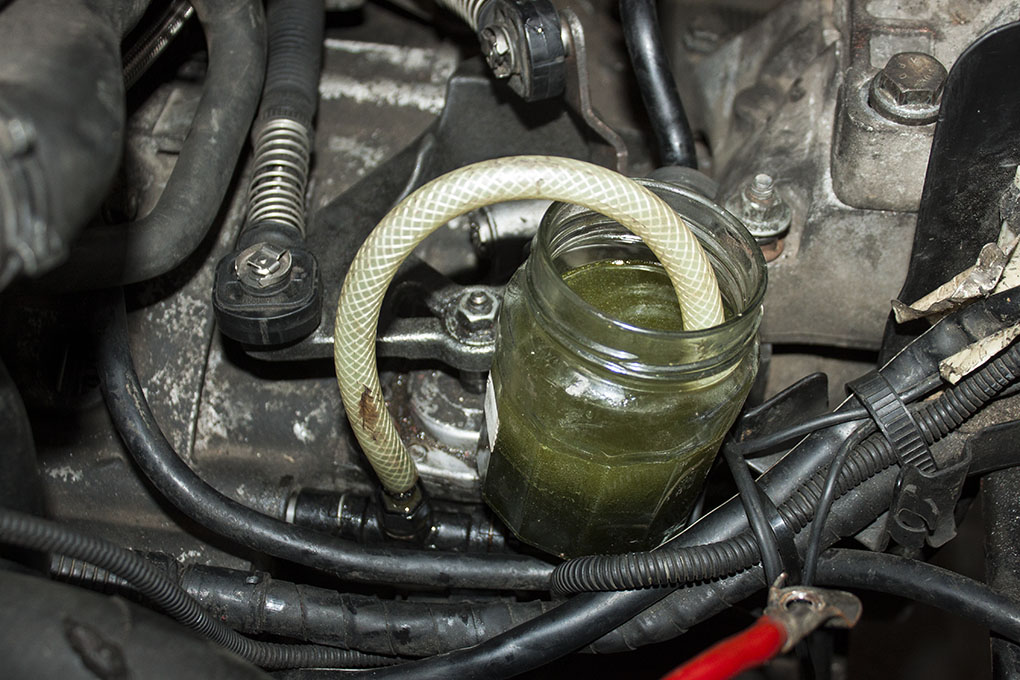
Everything else was pretty straight forward after the gearbox went back in. The only additional bits I did was to change the gearbox oil while I was at it as I lost some out of it while removing it. I also had to drill and re-tap an engine mount for a slightly larger (M14) bolt but that wasn’t an issue. The clutch also needs bleeding. I basically flushed all the old fluid out as well. It was pretty grim.
As I said earlier, all this made the clutch and gear change really smooth but the judder was still there. Initially when I had the problem I scanned for ECU faults using VAG-COM but didn’t get anything. I scanned it again after driving it for a while but got a “16685/P0301/000769 – Cylinder 1 Misfire Detected” although intermittently. After then changing the injector wiring loom as that seems to be a common fault, the problem persisted. I then replaced injector one with a good used one and it’s running perfectly again.
Onward.