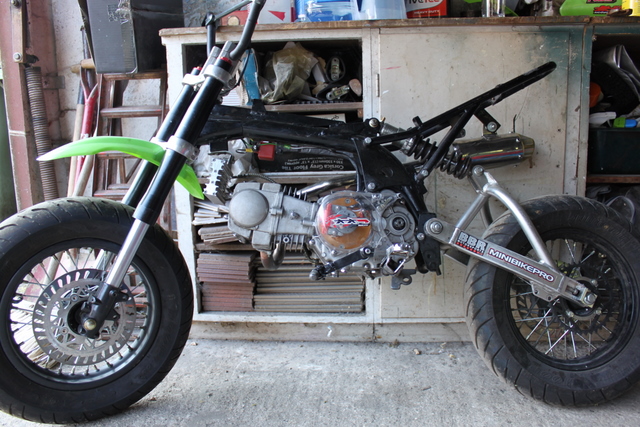
So i’ve started building a pit bike this year mainly from parts kindly donated by mates. So far this is how it’s looking:
First thing that needed doing was to replace the crank in the engine which is a 140cc single. They get put through their paces and this engine was in a friend’s bike. He’s replaced the engine since anyway. You can see where the flywheel made an escape through the engine casing ripping up the coil and breaking the stator plate along with it. The crank sheared clean off.
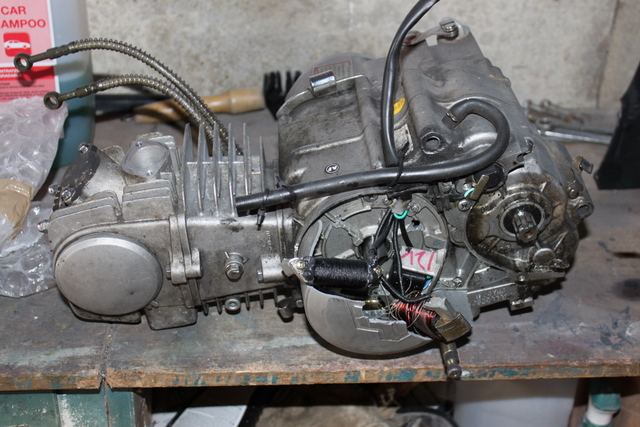

The engine needs stripping right down to replace the crank basically. I got a replacement crank. It had the wrong gudgeon pin size, so after messing about with different pistons and things I eventually got the right crank. I also got a gasket set and a light weight inner rotor kit to try and battle the problem with the crank getting obliterated when the centrifugal force of the flywheel gets too much. They are also supposed to improve performance but I can’t see how such a minute change is really going to translate in to more power or torque at the rear wheel.
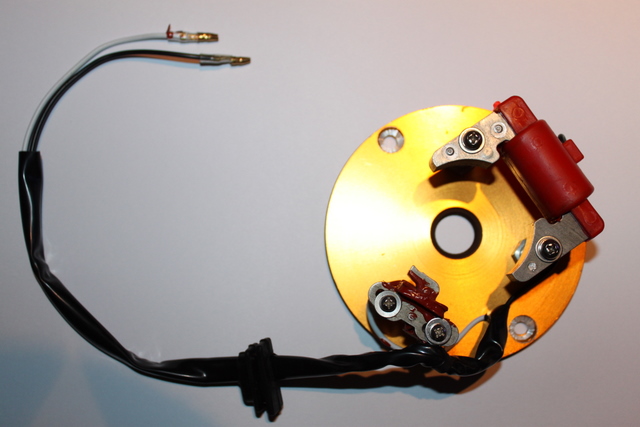
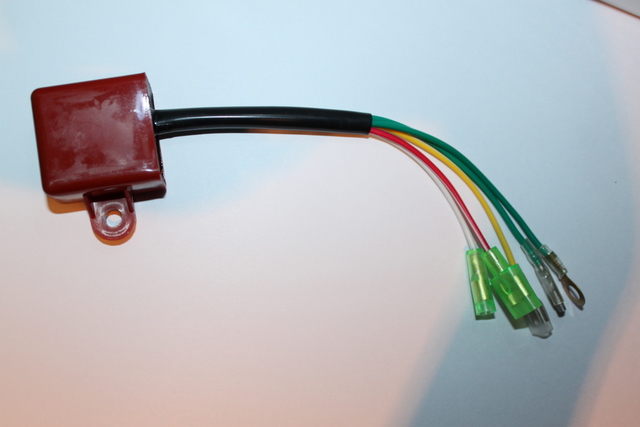
New stator plate, rotor and CDI unit…
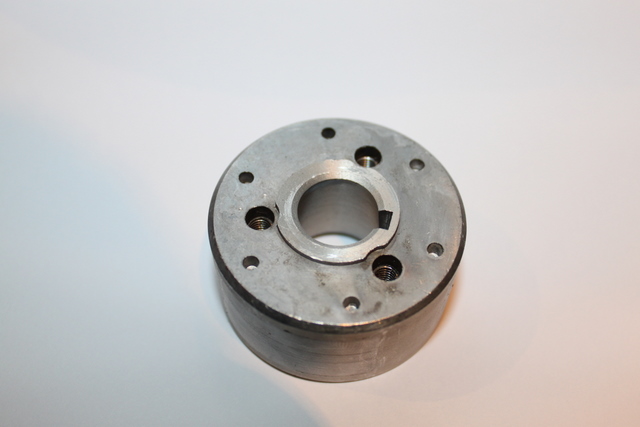
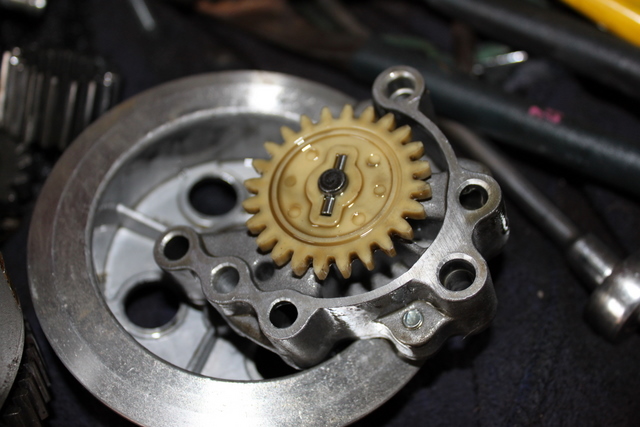
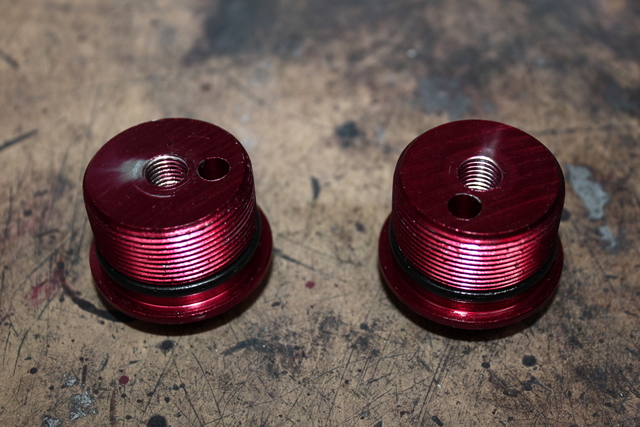
The kit also comes with a new “oil spinner”. I’m not entirely sure of the function of the oil spinner, the engine has an oil pump so I can’t see how it helps oil flow any. The difference between the old and new is that the new is much lighter and made from alloy instead of steel. I guess it may counter balance the rotor to a certain degree – there are two large bearings between each side of the crank towards the center though.
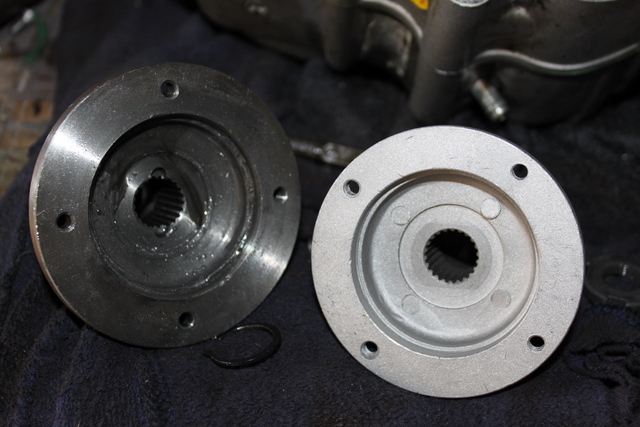
Old and new oil spinners…
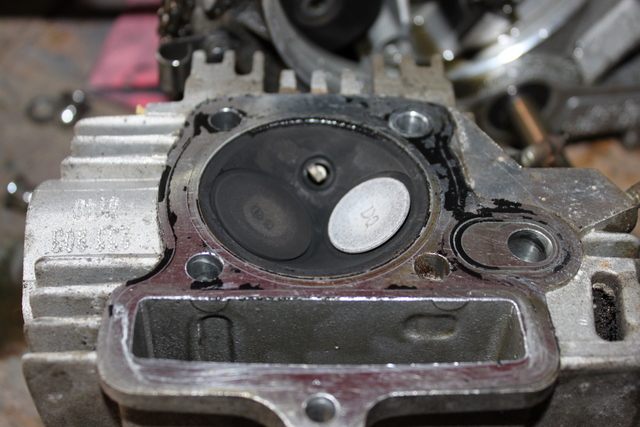
First step was to remove the cracked engine casing, old coil and stator plate. Remove the cam chain cover on the side of the head and unbolt the cam chain sprocket. This just leaves the 4 head bolts to remove before the head and barrel can be removed. The cam chain tensioner spring needs taking out too.
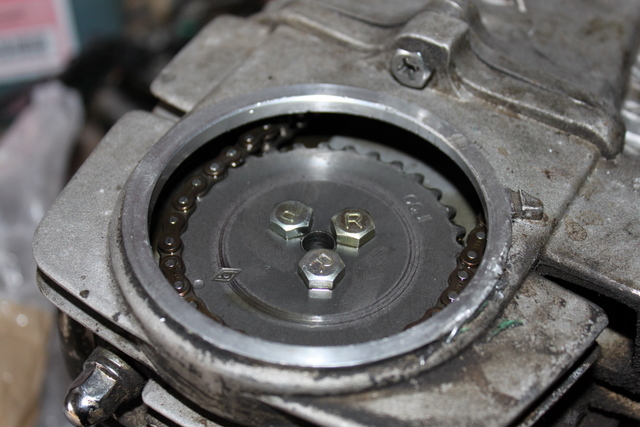
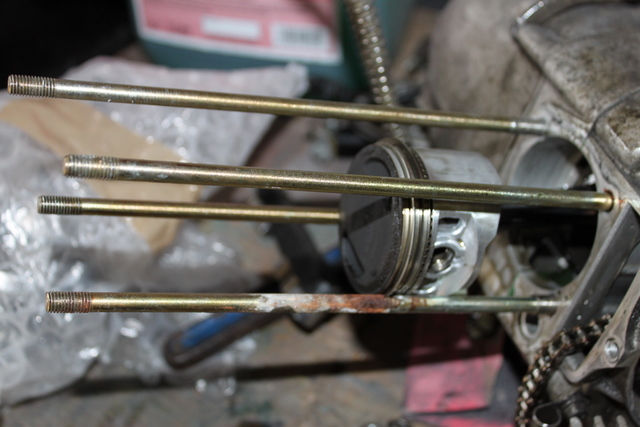
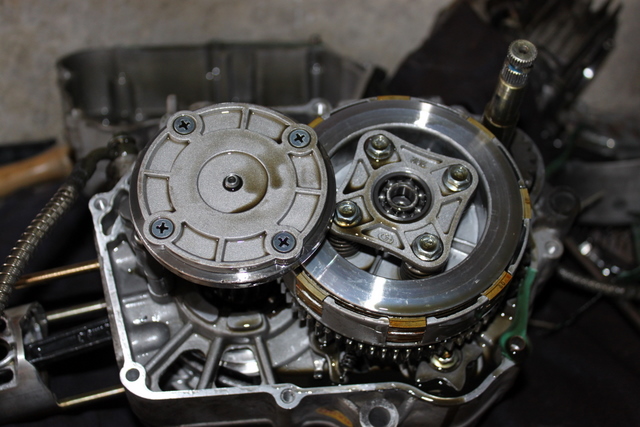
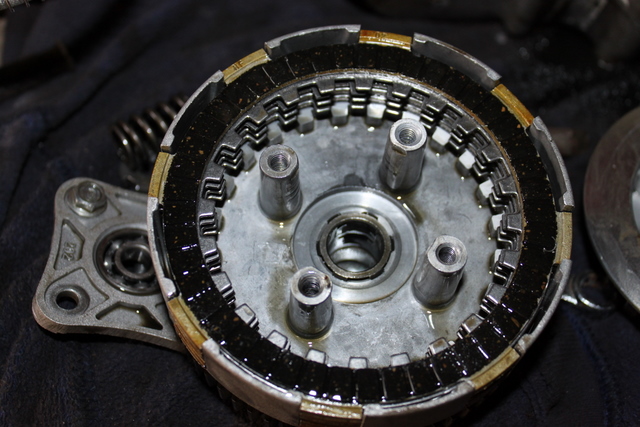
Remove one of the circlips holding the gudgeon pin in and the piston can be removed. Next is to remove all the engine bolts holding the two halves together. Once they are out the clutch housing can be taken off exposing the clutch and oil spinner. They are both held on with special nuts which you can buy a removal tool for, I used a hammer and a drift, not ideal but it did the job. New nuts though next time. The oil spinner has a cover plate that is held in by philips counter sunk bolts – I removed these with a punch and replaced them with torx equivalents which should be easier to remove next time. The clutch has a plate that loads the springs up and houses the release bearing.
At this stage you should be left with something like this. I took the oil pump off although I don’t think that was necessary. The gear “star” needs taking off so the shaft and the selector mechanism can be removed. Some of the gears need circlips removing, some just slip off.
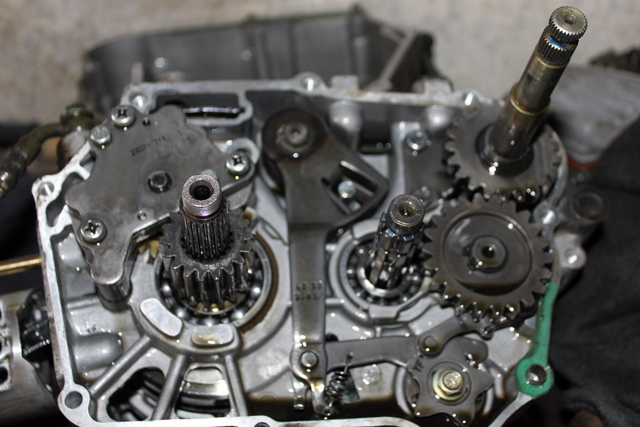
That side of the engine sould now pull off exposing the crank. Just watch out for any washers / spacers. You should be ok with the star thing for the gears, there are off center holes so it can only go on one way.
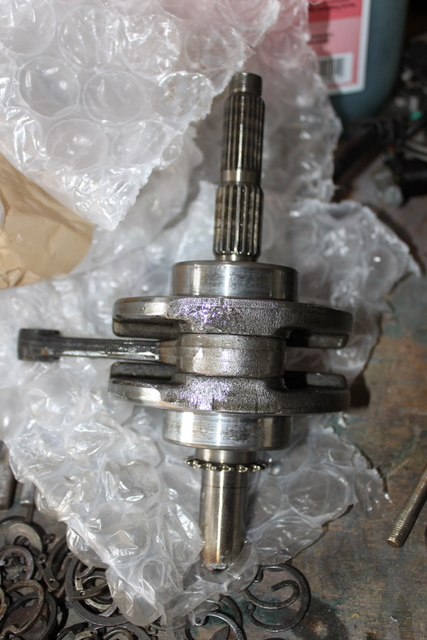
The crank can be taken out now and the new one fitted in its place. The side of the engine can be put back on and the gear selector shaft / mechanism refitted.
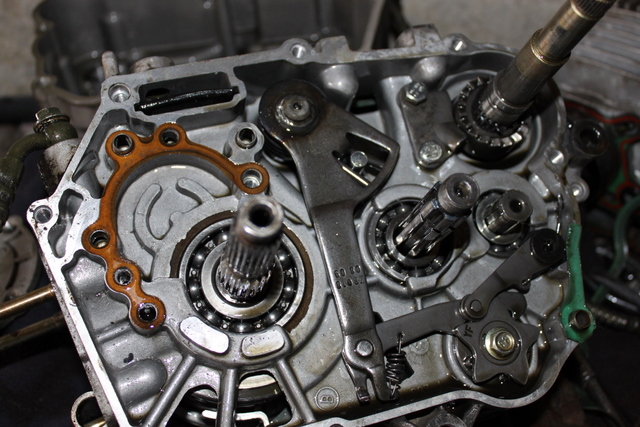
Refit the oil pump and gear “star”. The clutch can go back on, just give it a good wiggle and make sure everything is in place with the clutch. Seems to me that the slightest mis-aligned clutch plate or something can stop it dis-engaging. I had to learn this the hard way and take the clutch cover off again to sort it out. The release bearing plate also had a crack in it. I’m assuming that came from removing it unevenly. The 4 bolts should be removed a few turns each at a time to keep the pressure from the springs roughly even. Unless this one happened to be a particularly cheap part – quite possible!! I have another spare engine that was donated to me so I had a spare fortunately. The oil spinner can go back on. Clean all the mating surfaces up before fitting new gaskets.
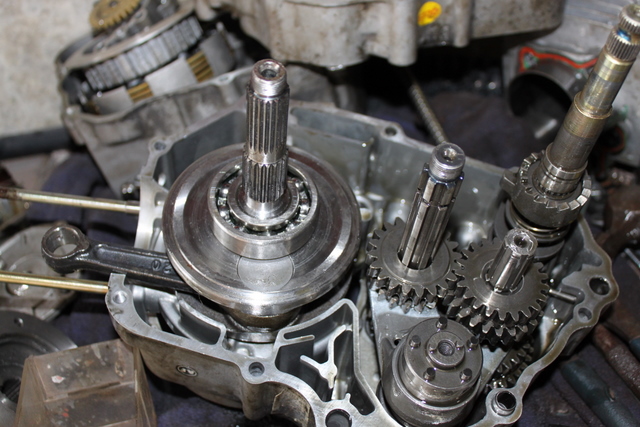
Once the main part of the engine was back together I fit the piston and barrel. Rotate the crank round to TDC and made a mark on the rotor to line up with a mark on the engine. This is needed to get the cam timing correct. Fit the head and tighten the head bolts. Fit the cam sprocket and chain. There’s a mark on the cam sprocket that should line up with the mark on the top of the head. This should line up when the crank is at TDC. If you run your finger round the edge of the cam sprocket against the chain, you can kind of move the chain along one tooth at a time and line everything up. A bit tricky but I got there in the end.
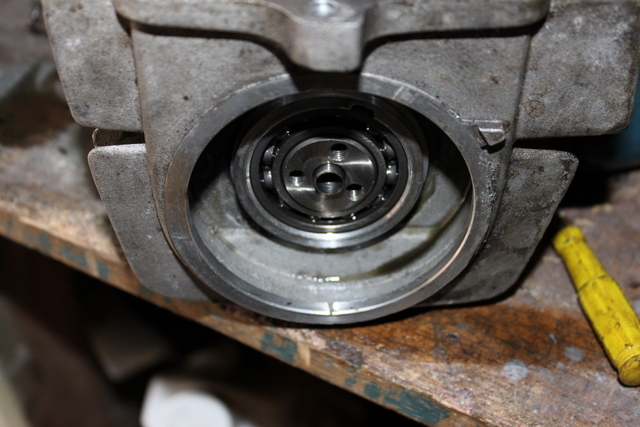
Fit the stator plate and rotor. I loosened off the stator coil with a piece of card between that and the rotor. I read the cheap inner rotor kits can produce a weak spark so this should help the rotor have the maximum possible effect on the coil.
I also fitted a clear plastic rotor cover so everyone can see how awesome my cheap inner rotor is, it’s so good in actual fact the stator plate colour is picked at random when you order it!
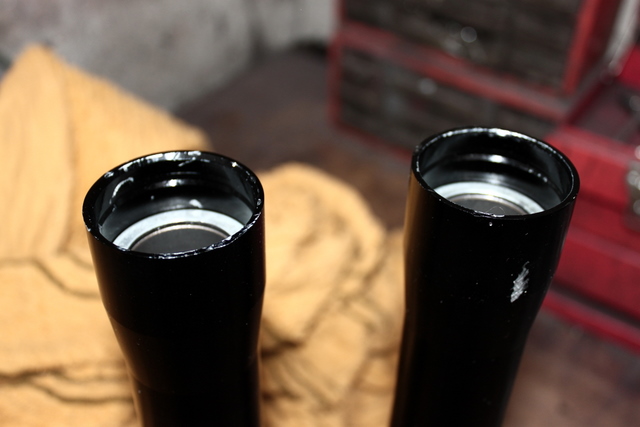
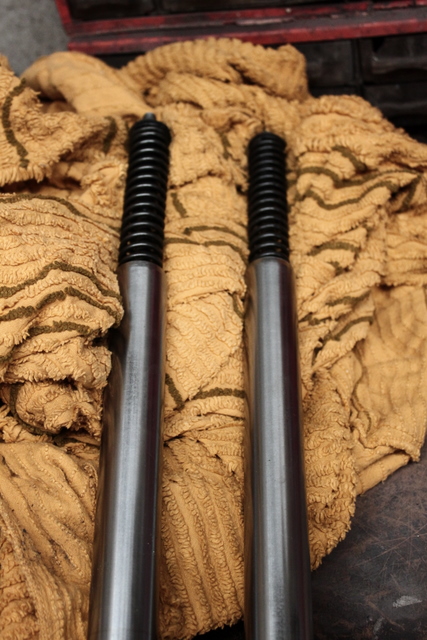
Now the engine is pretty much complete, I bolted it in to the frame and got a few bits here and there. Made up some spacers for the wheels and put them on. I have a pair of forks that were donated to me which needed the oil seals replacing.
I unbolted the tops of the forks and fork tubes. Removed the fork tubes and let them drain overnight.
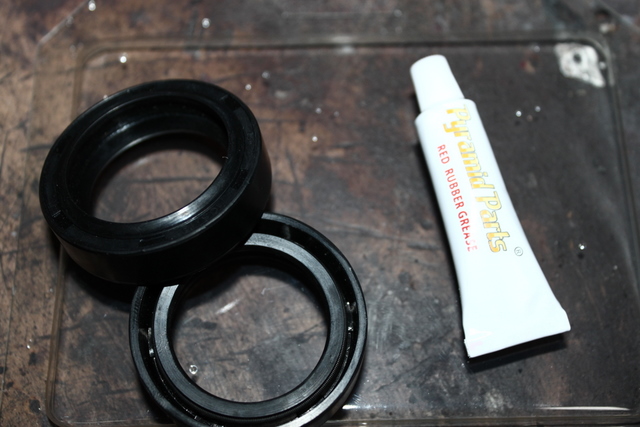
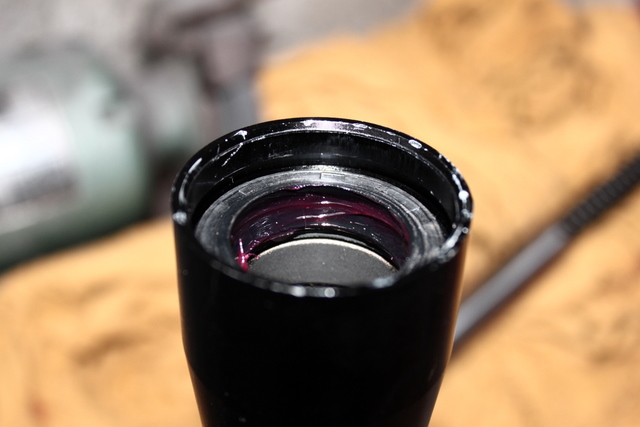
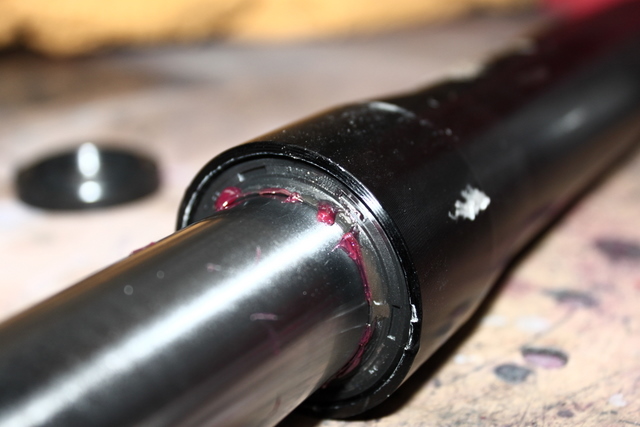
I refilled the forks with approximately the same ammount that came out of the good one which was about 100ml if my memory serves me correctly. I used 15w oil although I think that may be a bit light for track use. I’ll have to see how I go. The dust seals are not quite the same as the old ones but they are a good fit.
So with the forks fitted I’m now at the stage where it’s rolling. The next step is to get a carb for it and get the engine running. I want to make sure the engine is ok before I start fitting anything else. There are quite a few parts it needs, cables, controls, seat, brake caliper etc. With several things coming up I doubt ill be doing a great deal to it over the next few months but I may start getting more opportunities near the end of the summer.
Can’t wait to have it running and give it a blast!
Special thanks to everyone that has donated frames, engines, forks and what have you.