Now I’m sure there are people out there that say one way of doing things is better than another. I don’t claim to be a mechanic here, this is just my experience with it all. If you have any advice for people, comments are welcome, scroll to the bottom of this page.
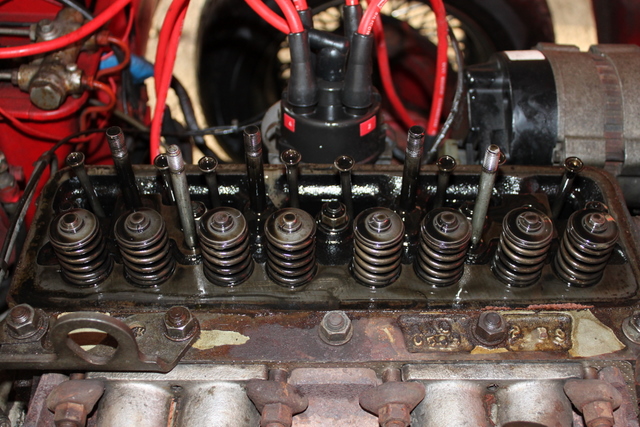
Inside the rocker cover on the car looks like this and I’m getting steam from the exhaust, especially when it’s cold……
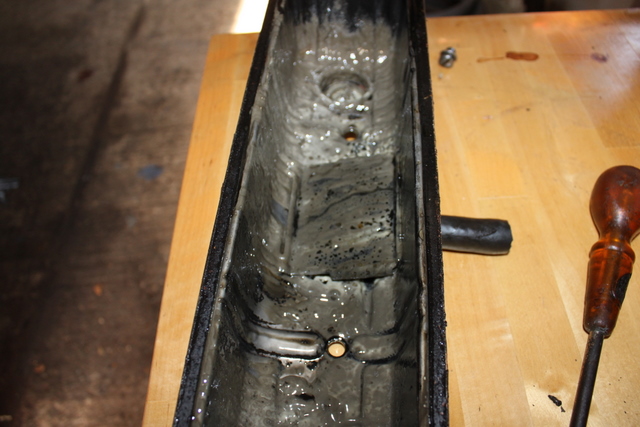
This probably means the head gasket is going because there is water getting in to the combustion chamber / oil. I bought a decoke set which includes the head gasket, water pump gasket, inlet / exhaust gasket and all the gaskets for the carbs etc.
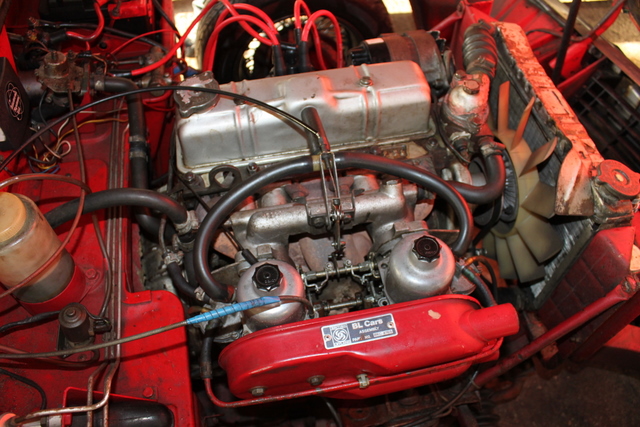
First thing to do is drain the coolant then you need to remove the carbs and the coolant hoses from the inlet manifold.
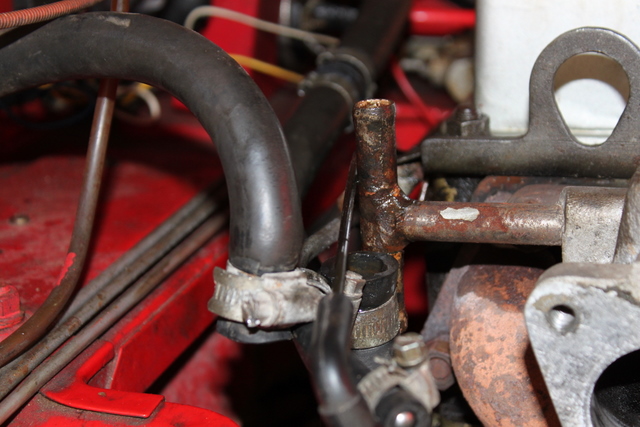
The throttle and choke cables need removing from the carbs as well as the fuel line, i’ve blocked the fuel line with a ball bearing as you can see on the left above.
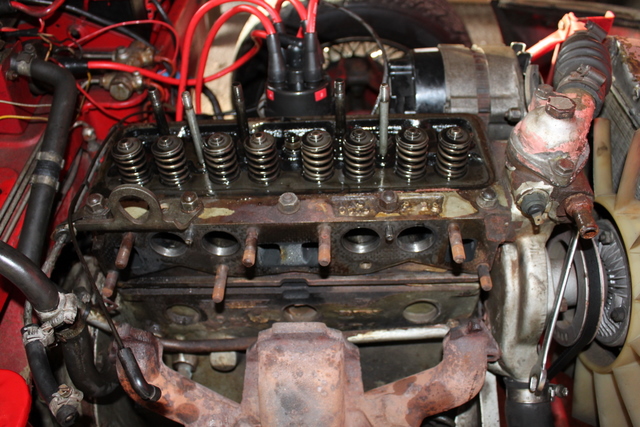
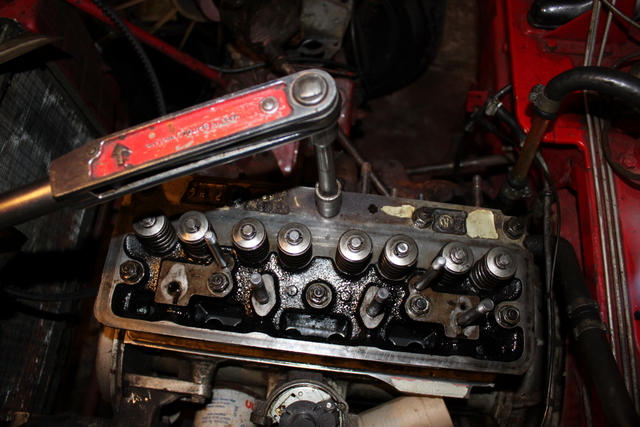
Next, take the rocker cover and rocker shaft off with the 4 nuts.
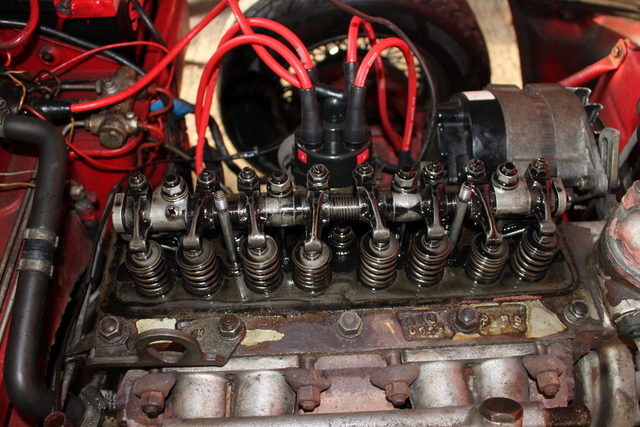
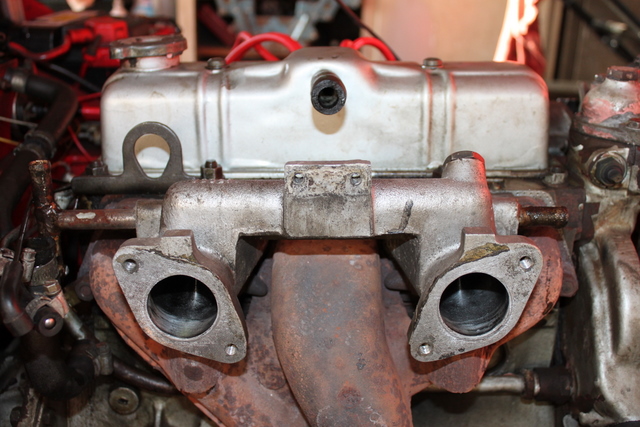
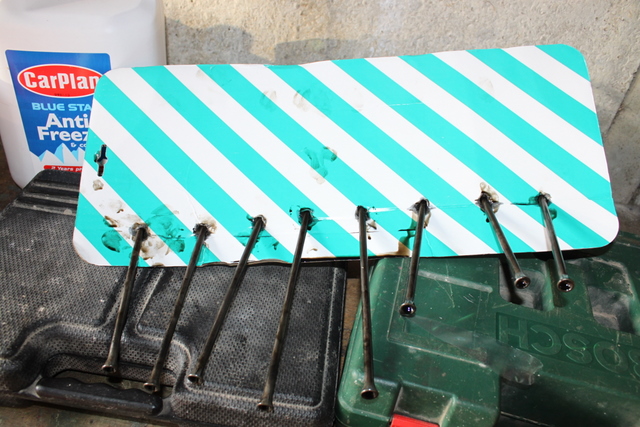
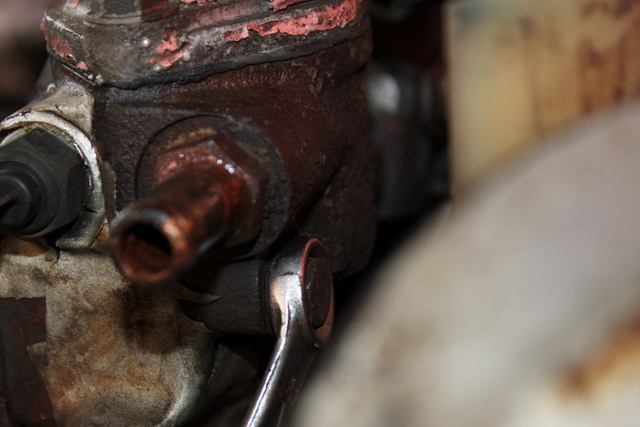
Once you have the rocker cover and rocker shaft off, remove the push rods making sure you keep them in the same order they came out. Unbolt the inlet and exhuast manifolds, the nuts for these can be a bit awkward to get to. If you use a 3/8″ drive with a universal joint attachment you should be able to reach the two nuts under the exhaust manifold without too much problem. The nut on the far left needs a short spanner, you might have to cut one if needs be.
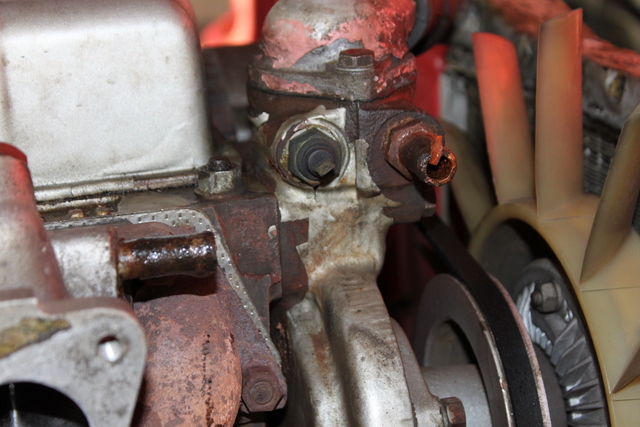
Once the manifolds are off the water pump needs unbolting, there are 3 bolts.
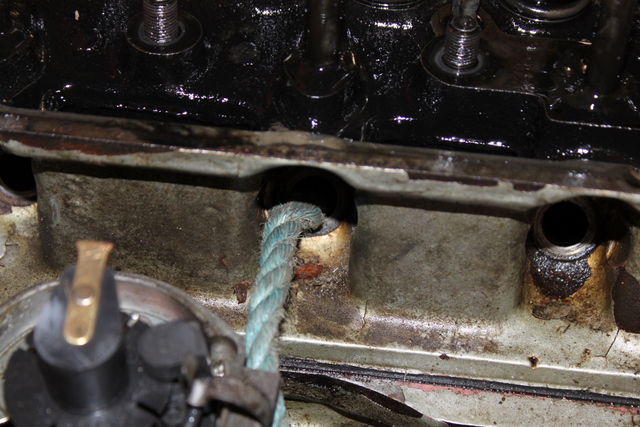
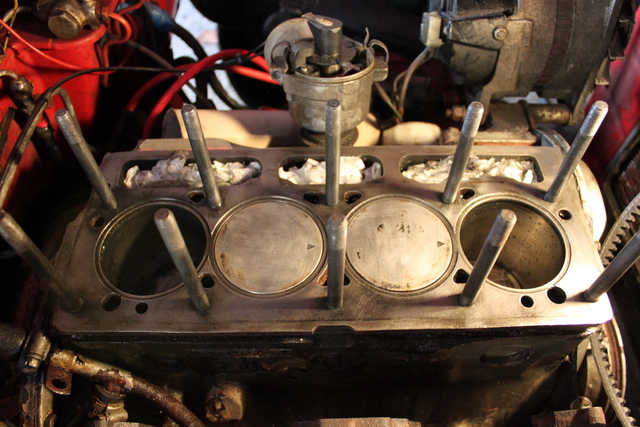
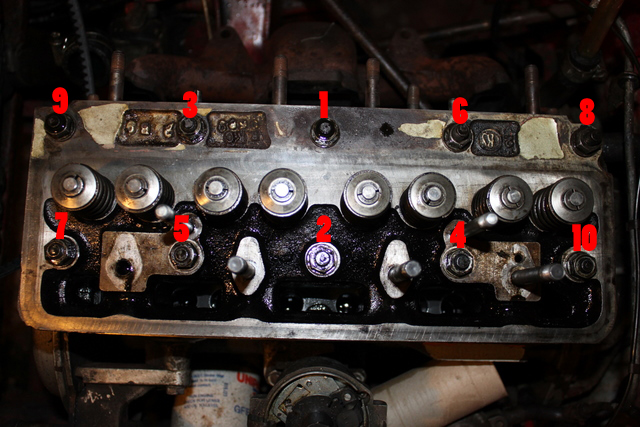
Remove the spark plugs and unbolt the head nuts, now the head is ready to come off. Disconnect the ignition coil and stuff some rope in to cylinder 2 or 3. Turn the engine over a couple of times until the head pops off, as all the valves are seated with the rocker shaft removed they stay safe and it makes removing the head a bit easier.
Once you have the head off it’s time to give it a good clean up and grind the valves in. I cleaned mine up using a drill with a wire wheel attachment and a small screwdriver to get the thicker, baked on carbon deposits.

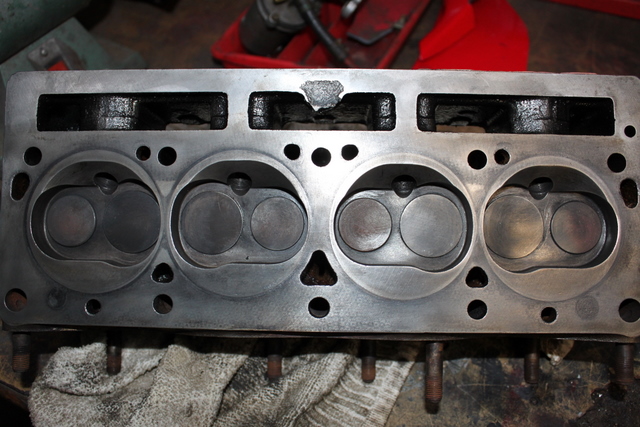
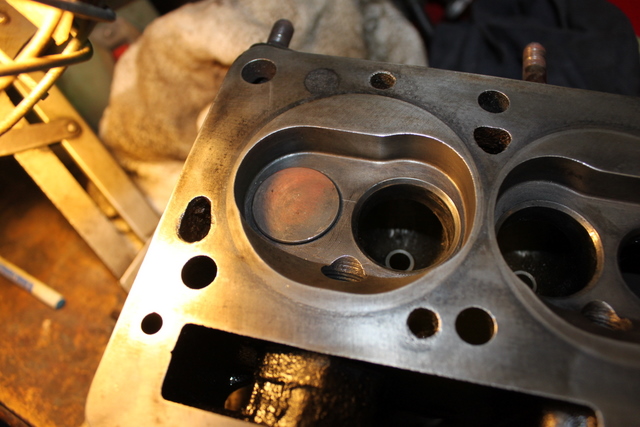
Nice clean cylinder head after some time and elbow grease! Not finished yet, there’s still the valves to clean up / grind in and the block / pistons will need a good clean up too. To avoid getting bits of rubbish in the engine I stuffed some kitchen roll down the push rod holes. Go steady on the pistons as they are aluminium and are a lot softer than the cast iron block and head. A compressor is handy to blow away the carbon that you’ve removed if you have one.
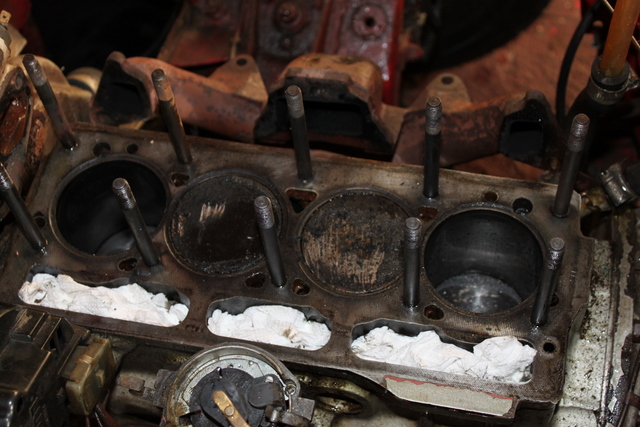
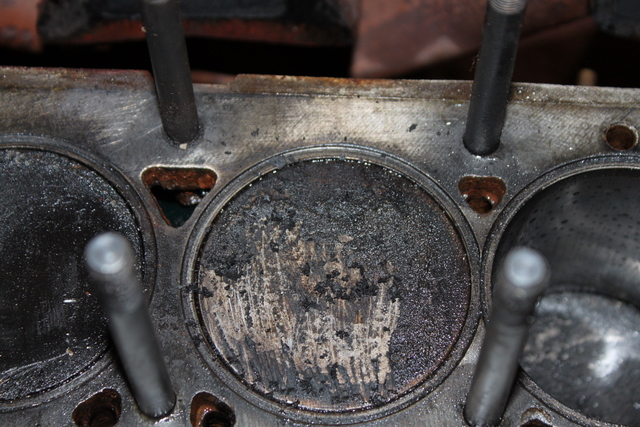
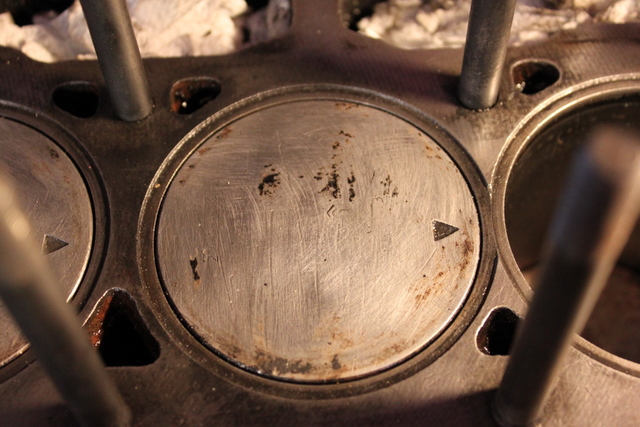
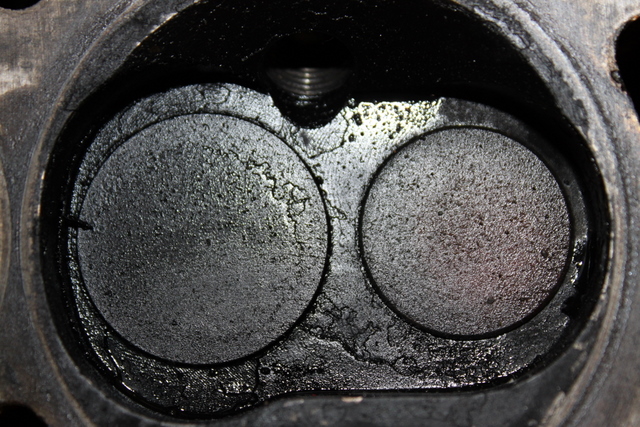
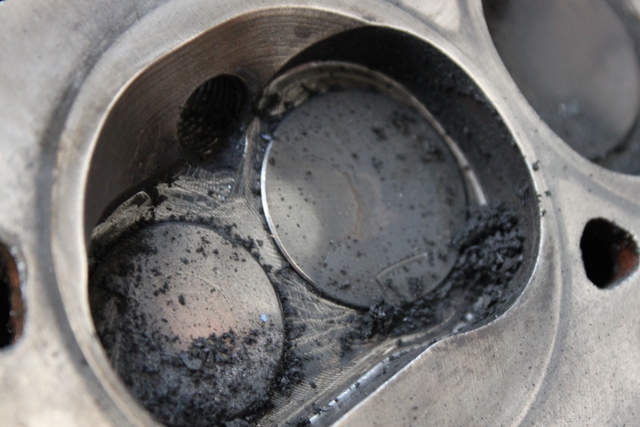
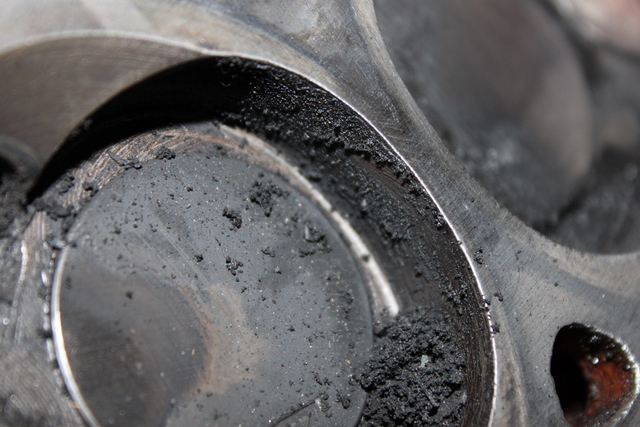
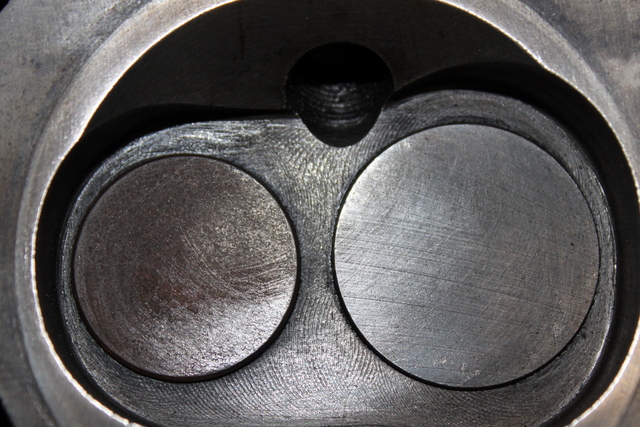
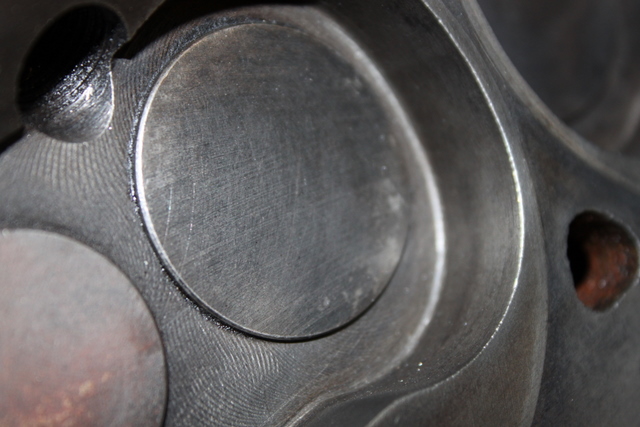
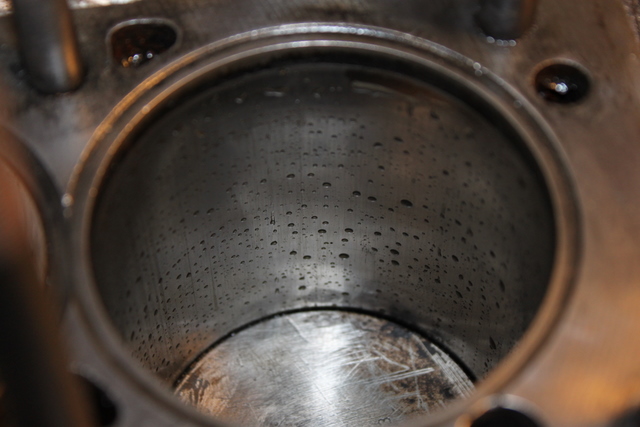
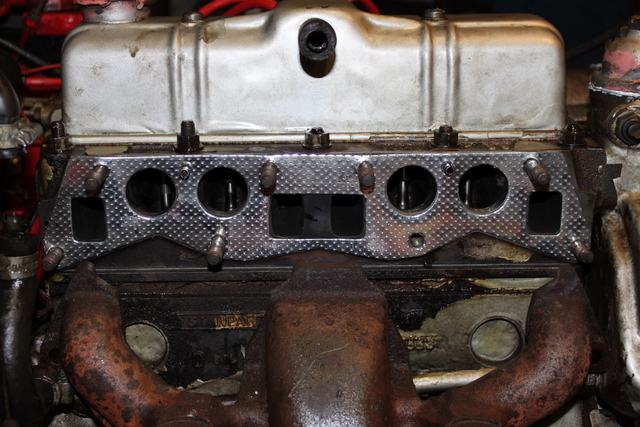
While the head is off it’s worth checking the cylinder bores too. Mine are in good condition, you’ll probably find a lip of carbon round the top of the bore, leave that there, I think it helps seal the chamber. Also, clean up the mating faces of the water pump. The fluid you can see in this cylinder is just a bit of water.
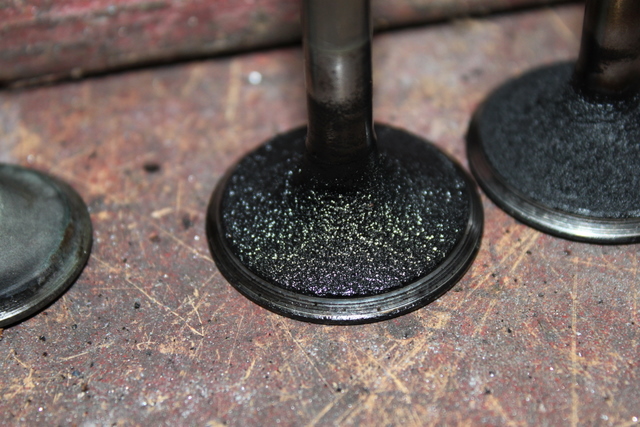
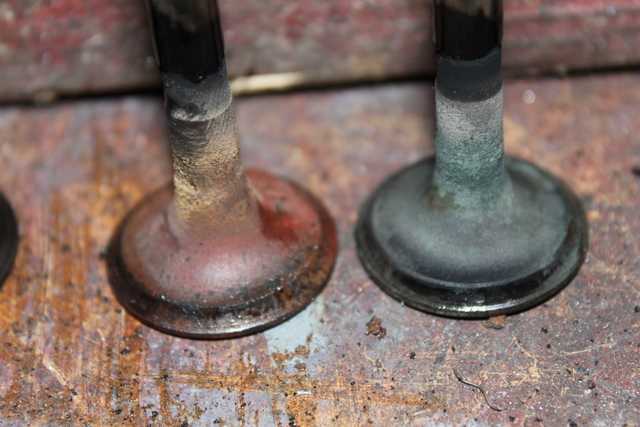
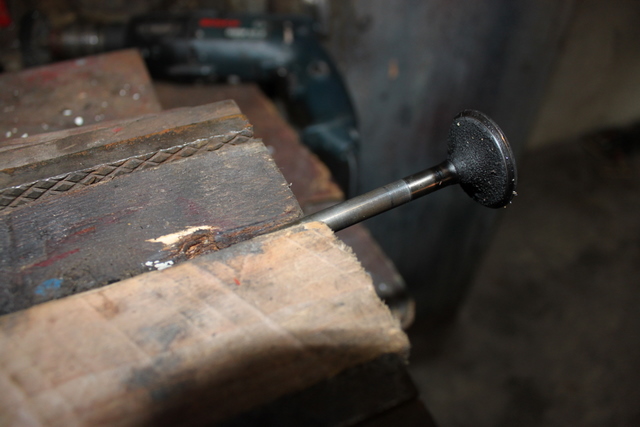
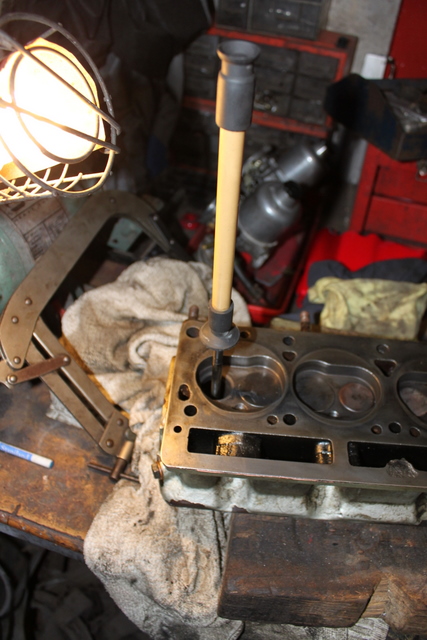
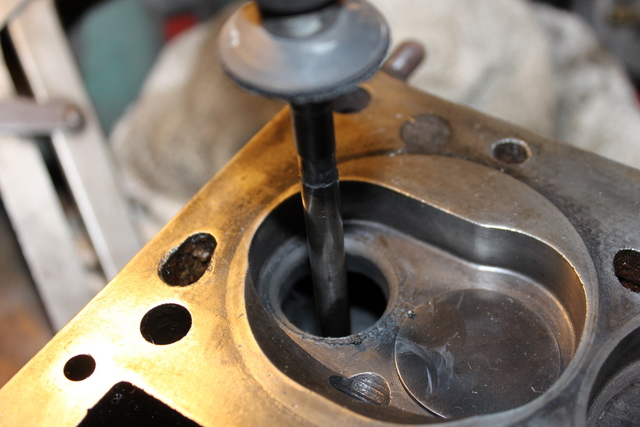
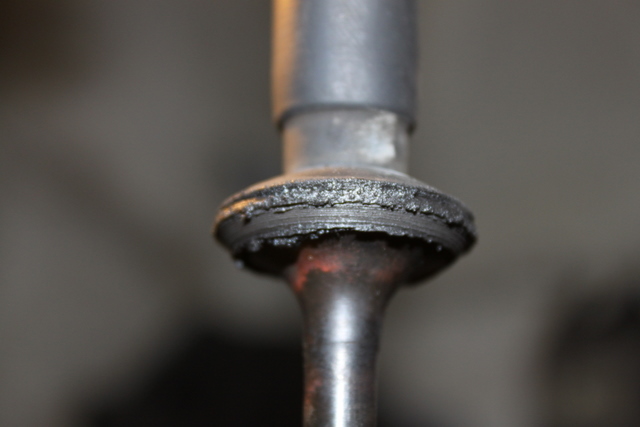
Now it’s time to remove the valves, give them a clean up and grind them back in to the seats. Removing them is easy with a tool that looks a bit like a G clamp. On one end there is a cup that is divided in to two that fits over the spring collar either side of the collets. The other end just had a disc that fits against the valve head. Once the “clamp” is tightened up, the spring is compressed and the collets can be removed, allowing the spring and valve to be removed. I removed all the valves and kept them in order, once they are removed they need cleaning up grinding in. I put the valve in the vice between two bits of wood to protect it and set to with the wire wheel attachment being careful not to come in to contact with the sealing surface. Then start grinding using paste applied to the valve where it meets the valve seat. With a valve grinding stick, grind the valve in twisting the stick between your hands until the valve and seat are nice and clean looking and free from any pitting. Keep lifting the valve off the seat occasionally so the paste has a chance to get between the vale and its seat. Make sure you wipe all the grinding paste away when you’re done, you don’t want that floating around the engine!

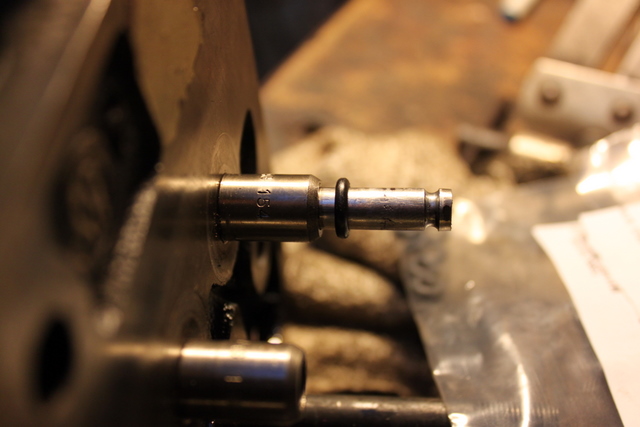
While I have the valves out I’m going to fit some so called “valve stem seals” which are basically rubber O rings which I bought from Rimmer Bros. I don’t know how much difference these are likely to make. Once the valve has travelled down for the first time the O ring is going to be pushed up the valve exposing the gap between the valve guide and the valve letting the oil go down there! Who knows? They can’t do any harm I suppose. They’re certainly a tight fit, I had loads of fun getting them on, pffft!
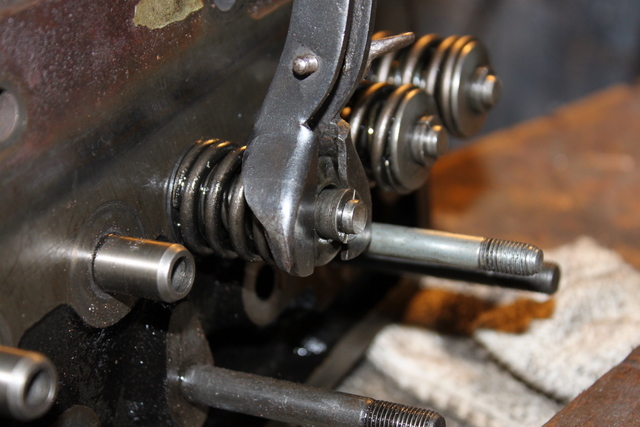
Refitting the valves can be a pain because getting the collets in isn’t exactly easy. One thing I found helped a lot was to adjust the valve removal tool so the spring cap doesn’t quite clear the collets, this way they’re already kind of held in place while you release the tool, make sure you cup your hand over the end of the spring cap so if a collet does ping off it doesn’t go too far!
With all the valves back in, give each valve stem a light tap with the hammer to make sure all the collets are seated in properly. Give the head and the block one more quick blast with some air and wipe the mating faces with some thinners or something to make sure they are clean and free from oil etc. Place the new head gasket on and make sure it’s on the right way with “top” showing on the tab towards the rear of the engine.
Torque down the head nuts in order. The torque setting for the Spitfire 1500 is 46 lb/ft.
Refit the push rods back in the order they were removed, put the rocker shaft back on. Make sure all the push rods are back in place correctly otherwise there may be some unhealthy noises when the engine is running again! Fit the water pump, inlet / exhaust manifolds and the rocker cover all with new gaskets. Fill the coolant and oil back up if needed.
All this took some time and is really a day’s work. I had pretty much finished on the Saturday, all that needed to be done was to re-torque the head down when it was hot. I called it a day, had some dinner and went down the pub.
The next day, I got the engine warmed up. Despite the noisy tappets the engine sounded nice and tight. I removed the rocker cover and rocker shaft to re-torque the head, the third nut I come to and it has stripped the stud! After removing two other studs I got the stripped stud out without too much hassle. Studs and nuts ordered off the internet but that puts the car out of action until I can get to it next weekend! At least I could remove the stud with a stud extractor and not have to remove the head again!
Roll on Christmas!
5 thoughts on “Spitfire 1500 Blown Head Gasket”
What size are the cylinder head nuts? I realized I’m missing two of them and never thought much of it until the car warmed up and I saw antifreeze coming up and out.
Thanks
Wayne
I think they are 3/8″ but I wouldn’t use anything other than a proper cylinder head nut personally.
Old school racers used to use upside down lug nus. Same size and threads, but beefier.
Great photos and step by step instructions! Did the rubber O rings make any difference, or do any harm?
Thanks Richard. I don’t think the O rings did any harm but I wouldn’t bother with them again. I recently rebuilt the engine and didn’t put them back in since I don’t think they really did anything!