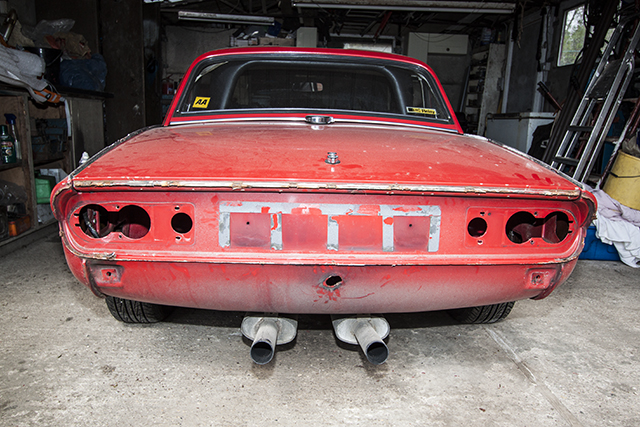
Most of that went fairly smoothly. The only bit I found hard was taking the side lights/indicators out of the quarter valances. There’s barely any access to the 4 tiny nuts that hold them on and it means squeezing your hand inside the valance. Any one with even slightly larger hands than me wouldn’t be able to do it! The more I take off the more I feel happy that I’ve finally got it off the road to restore it. There’s bits of rust all over the place that you’d never see without taking the trim off.
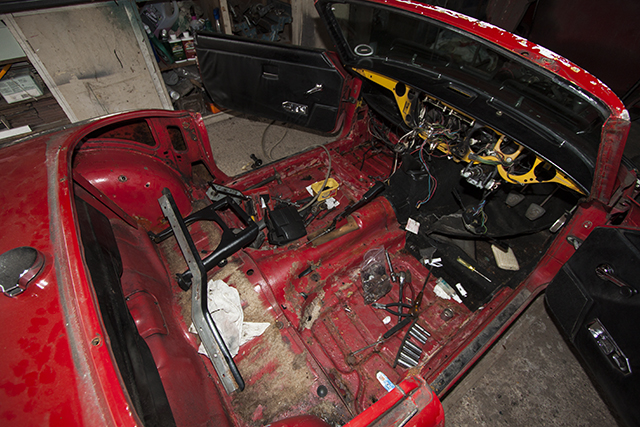
Today I’ve been concentrating on getting the interior starting with the seats. My friend Jamie popped round and lent a hand for a while. Under the seats was really nasty, soaked, mouldy and littered with bits of old crap, coins, receipts, screws, spanners—there was even a Christmas cracker hat in there. The seat foam has pretty much disintegrated which is common. It crumbles away and ends up falling out the bottom of the seats on to the carpet. The screws that hold the under felt in were largely rusted and needed chiselling off. I think most, probably all of the carpet will want replacing.
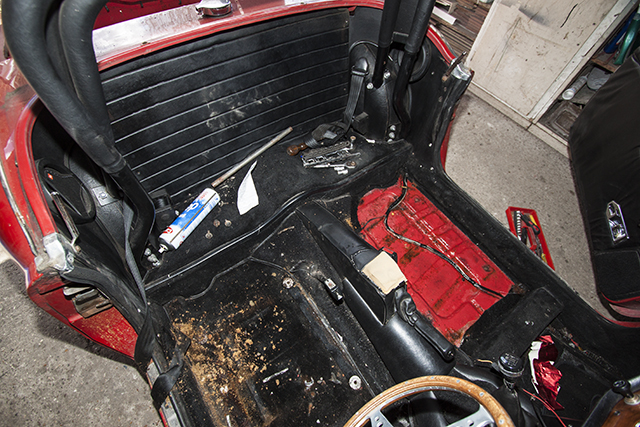
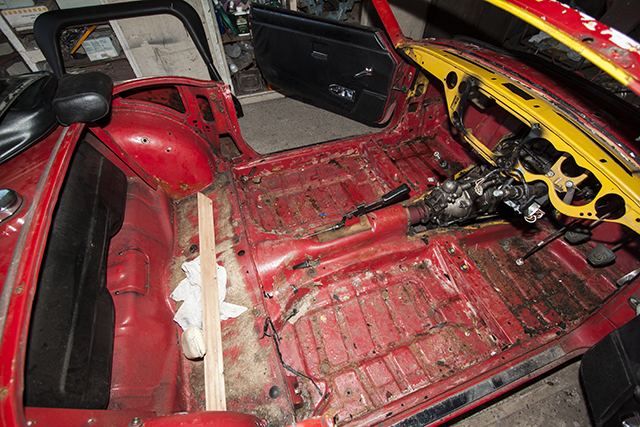
Quite a bit of the trim is glued in too so it’s a case of ripping it out. I’ve kept 90% of it, even the bits that will need replacing because I don’t know how the new trim will turn up. It might want cutting to shape or folding in a certain way. Most of the body shell is pretty good underneath the carpets considering it’s been soaked for ages. It’s not uncommon for the floor pans to want replacing etc. I’ve got away with it I reckon, just in time because the paint is bubbling a bit. Unfortunately there have been a couple of bits I’ve wrecked while I’ve been removing them. The aluminium strip that runs along the top of the windscreen frame for example, it’s pretty bent now. The crash pad that basically forms the top of the dash board in the photo below is wrecked so that’ll want replacing too. Sometimes unavoidable I suppose but it means spending more money. Accidentally ruining something within a few seconds and thinking “there goes fifty quid” is not good! At least I can get the parts.
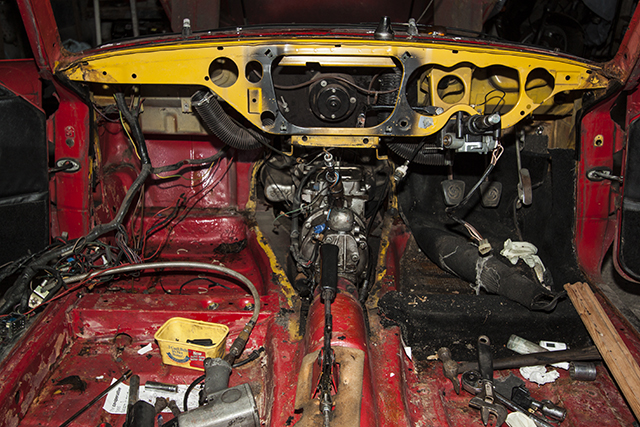
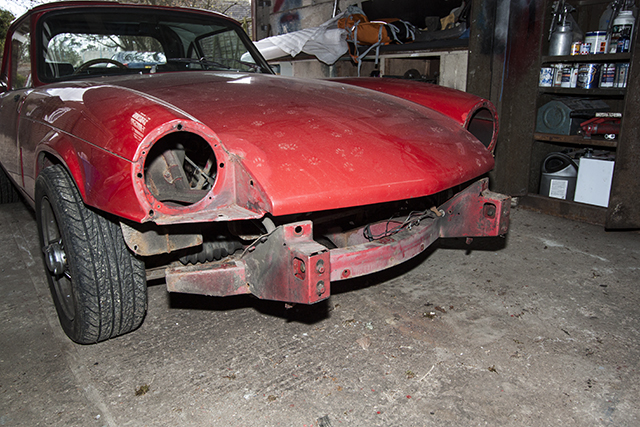
I always knew the car was originally yellow from seeing the odd bit exposed here and there. The previous owner had a bit of an strange view of a respray though, not doing any of the dashboard and leaving the odd bit of trim on here and there but doing other parts of the car which are pretty inaccessible. I’m going to remove the body tub, have it shot blasted and respray the whole thing. It needs it really, there’s too many nooks and crannies that have started to rust. All the paintwork under the carpet and trim is a mess with old glue and I’m sure underneath is rusty in parts.
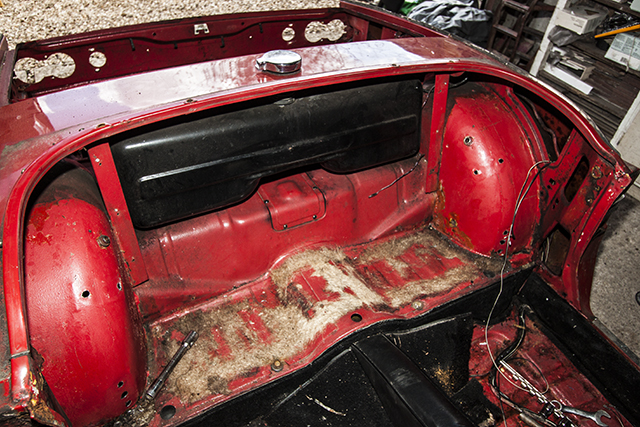
I’ve been disconnecting all the electrical items and removing the wiring loom also. The rear half of the wiring loom disconnects from the front which makes it a bit easier to work out where everything connects. Much of the connectors will want cleaning up or replacing. All the switches and electrical controls are dirty or tarnished, I’m sure the lights and heater fan will work better with cleaner contacts and switchgear. When I look at the wiring loom it has a tendency to make me think errrrmageeeerd!! See what you think…
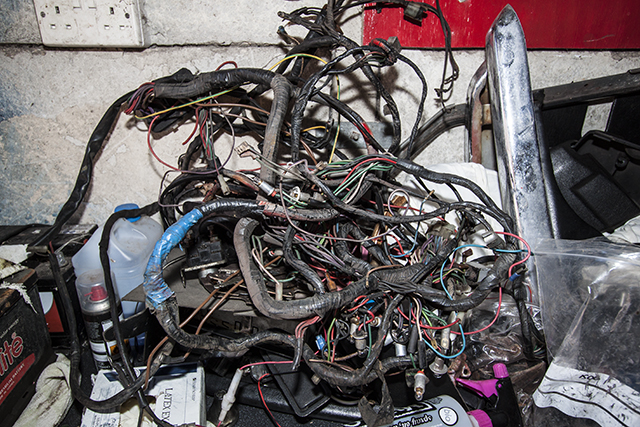
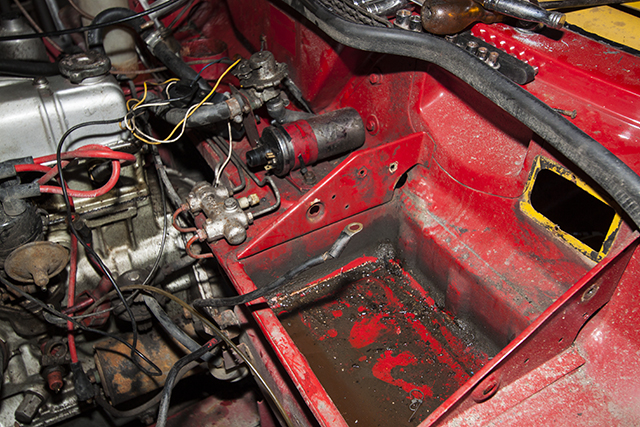
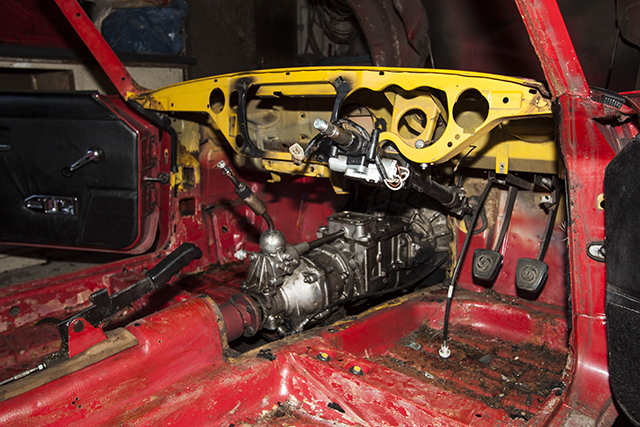
Everything in this car runs through 3 fuses! Not like a modern car where you might have 10 or more. They’re rated quite high too, 20 amps or more. There’s two problems with this, one, if something pops a fuse you lose loads of other stuff and two, if something is faulty but isn’t making a complete short then it doesn’t pop the fuse because it’s rating is too high. It’s never really been a problem except for one time when the fusebox burnt out because the overdrive supply was shorting out (OK, so it has been a problem!). The wiring loom all comes out along with the fusebox out through the front of the bulkhead. I removed the starter solenoid, the battery and the heater matrix too.
So this is where I’m at. I think I’ve probably spent about 6 hours which has included removing the hard top, all the glass and the boot lid. Next week I’ll be removing the brake lines, exhausts, steering column and anything that’s bolted to the bulkhead including the pedals. The fuel tank will want draining and removing as well as the doors. I should then be at the stage where the body tub can be removed. The project is well under way and there’s definitely no turning back now—not unless I’m going for a super light weight version! It’s amazing what you can do in half a day.

Once the body tub has been removed I’ll store it along with the bonnet. Engine and drivetrain will then be out followed by brakes, suspension and wheels etc. Really the first job I want to do is get the chassis, suspension and brake components shot blasted and painted. That gives me the basis of the car to build up from and once it’s a rolling chassis I can store that during the engine rebuild etc. A little way off yet but I’ve definitely made a big start. Taking everything to bits is pretty fun really. I’ve liked taking stuff to bits for as long as I can remember, it’s only in my adult years that I’ve actually been putting stuff back together again.